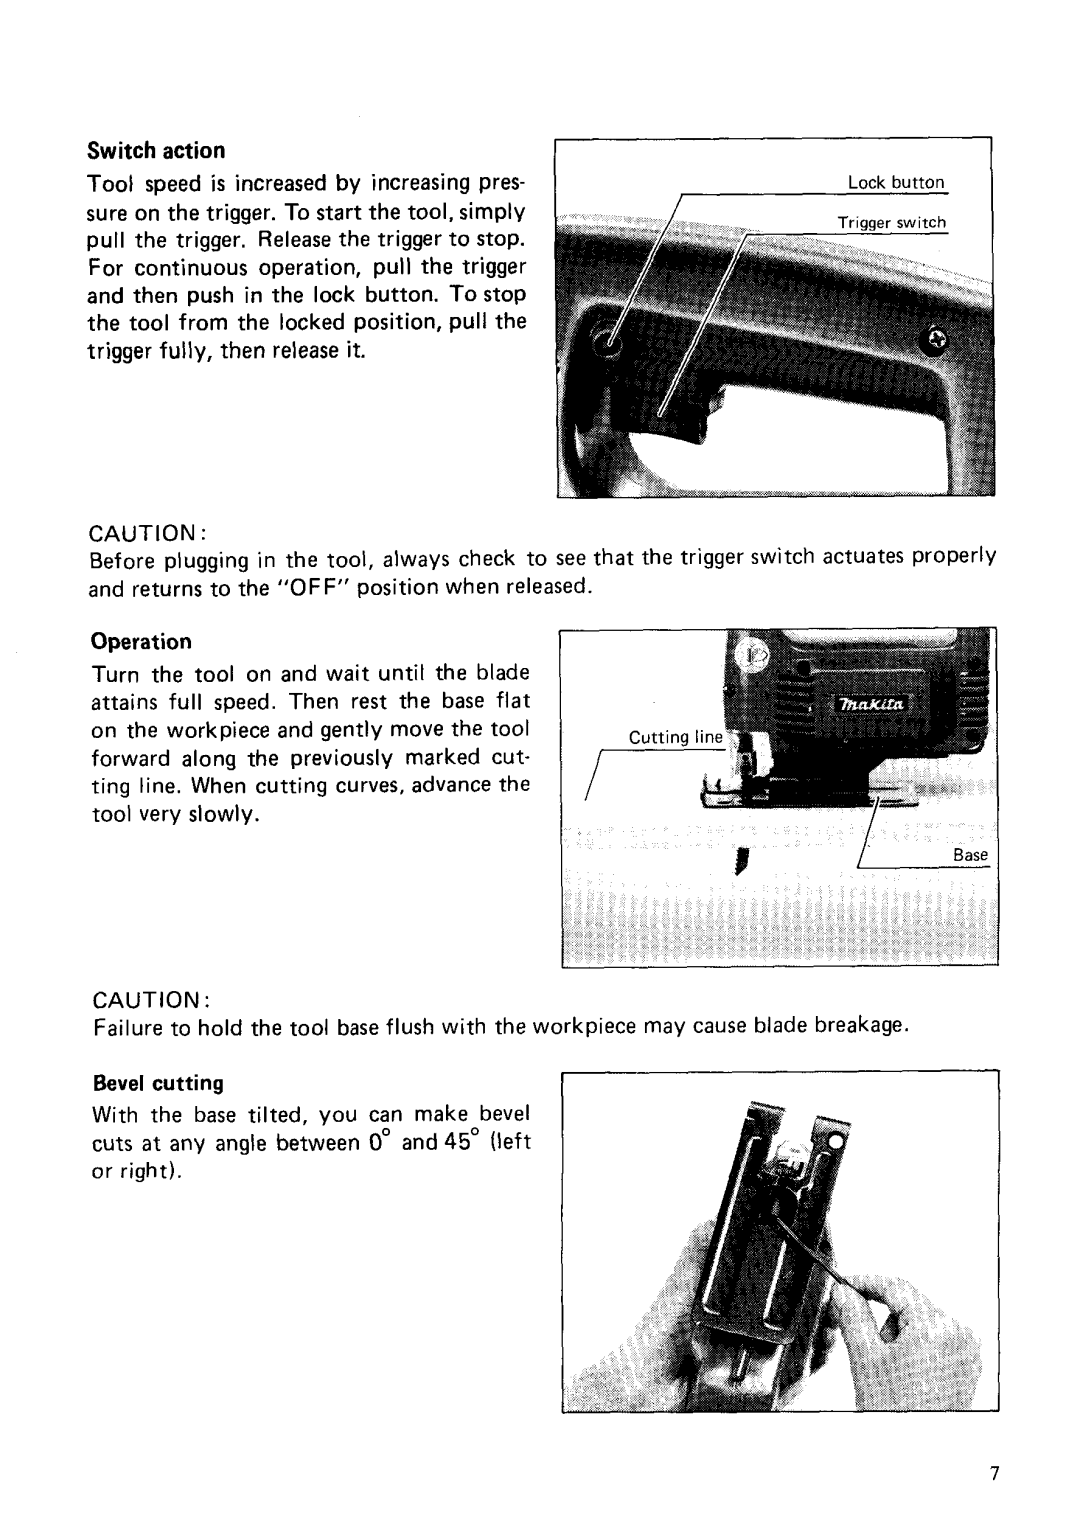
Switch action
Tool speed is increased by increasing pres- | Lock button |
sure on the trigger. To start the tool, simply | / |
| |
pull the trigger. Release the trigger to stop. |
|
For continuous operation, pull the trigger |
|
and then push in the lock button. To stop |
|
the tool from the locked position, pull the |
|
trigger fully, then release it. |
|
CAUTION :
Before plugging in the tool, always check to see that the trigger switch actuates properly and returns to the "OFF" position when released.
Operation |
|
|
Turn the tool on and wait until the blade |
|
|
attains full speed. Then rest the base flat |
|
|
on the workpiece and gently move the tool |
|
|
forward along the previously marked cut- |
|
|
ting line. When cutting curves, advance the |
|
|
tool very slowly. | I | I |
|
CAUTION :
Failure to hold the tool base flush with the workpiece may cause blade breakage.
Bevel cutting
With the base tilted, you can make bevel cuts a t any angle between 0" and 45" (left or right).
7
