6011DW, 6011D specifications
The Makita 6011D and 6011DW are renowned cordless drill models that exemplify the brand's commitment to power, efficiency, and user-friendly designs. Celebrated for their exceptional performance in various applications, these tools are an essential addition to any DIY enthusiast's or professional's toolkit.One of the main features of the Makita 6011D and 6011DW is their versatility. Both models are equipped with a compact, lightweight design that ensures ease of use, especially in tight spaces. Weighing in at just around 1.3 kilograms, they are designed to reduce user fatigue while maintaining optimal drilling and driving capabilities. This makes them an excellent choice for both indoor and outdoor projects, from assembling furniture to tackling home renovations.
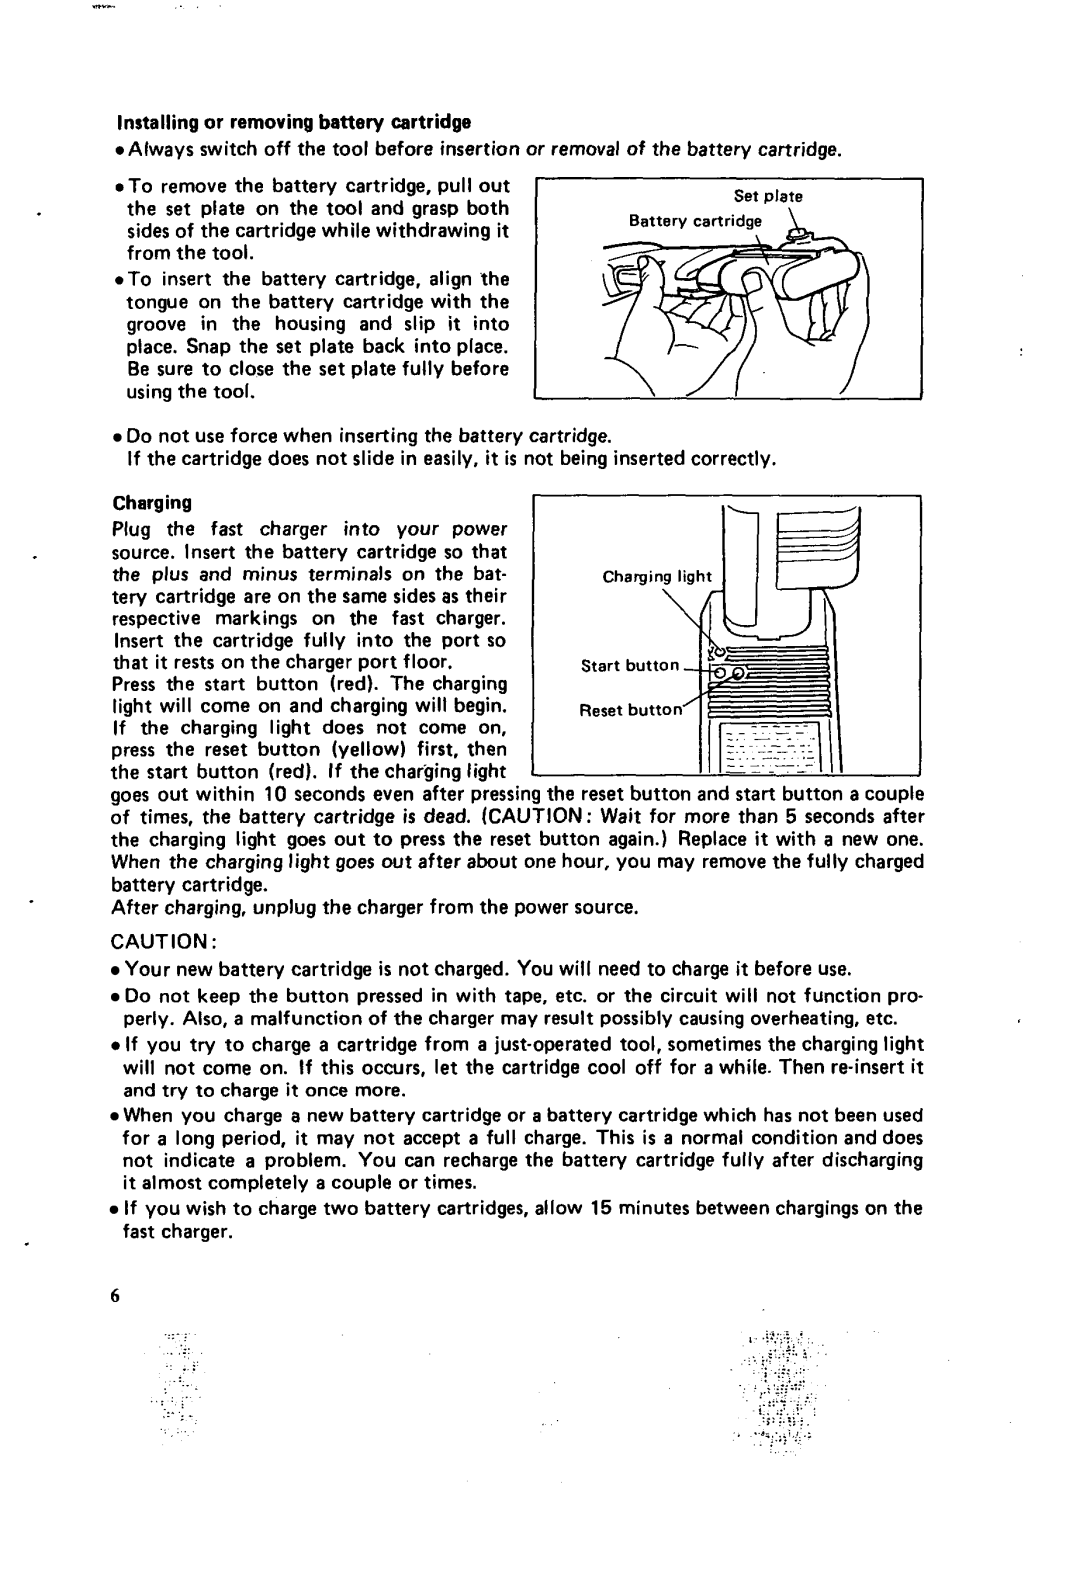
Powering the 6011D and 6011DW is a robust 10.8V lithium-ion battery, which delivers exceptional performance and longevity. The lithium-ion technology offers a significant advantage over traditional battery types, as it ensures a consistent power output and reduced charging time. The models also feature a built-in battery level indicator, allowing users to monitor battery life and plan tasks accordingly.
Another standout feature of these drills is their variable speed control, which allows for precise drilling in various materials. Users can select from multiple speed settings, ranging from 0 to 1,400 RPM, enabling them to tackle light-duty tasks as well as more demanding applications with ease. Additionally, the gear mechanism is designed for high torque, providing maximum torque output of 30 Nm, making it suitable for driving screws into hard materials.
The Makita 6011D and 6011DW also boast an ergonomic design, including a rubberized grip handle that enhances comfort during extended use. The tools are equipped with a keyless chuck for quick and easy bit changes, minimizing downtime between tasks.
Safety features have not been overlooked either; the integrated brake system ensures that the drill stops immediately when the trigger is released. The durable construction of both models adds to their ruggedness, making them resistant to wear and tear, ideal for heavy-duty jobs.
In conclusion, the Makita 6011D and 6011DW represent a combination of power, versatility, and innovative technologies. Their lightweight design, lithium-ion battery performance, variable speed control, safety features, and ergonomic design make them outstanding choices for anyone seeking a reliable cordless drill for both professional applications and home improvement projects. Whether you are a seasoned tradesperson or a DIY beginner, these models deliver reliable power and precision to meet all your drilling needs.

