INTEGRATED AMPLIFIER specifications
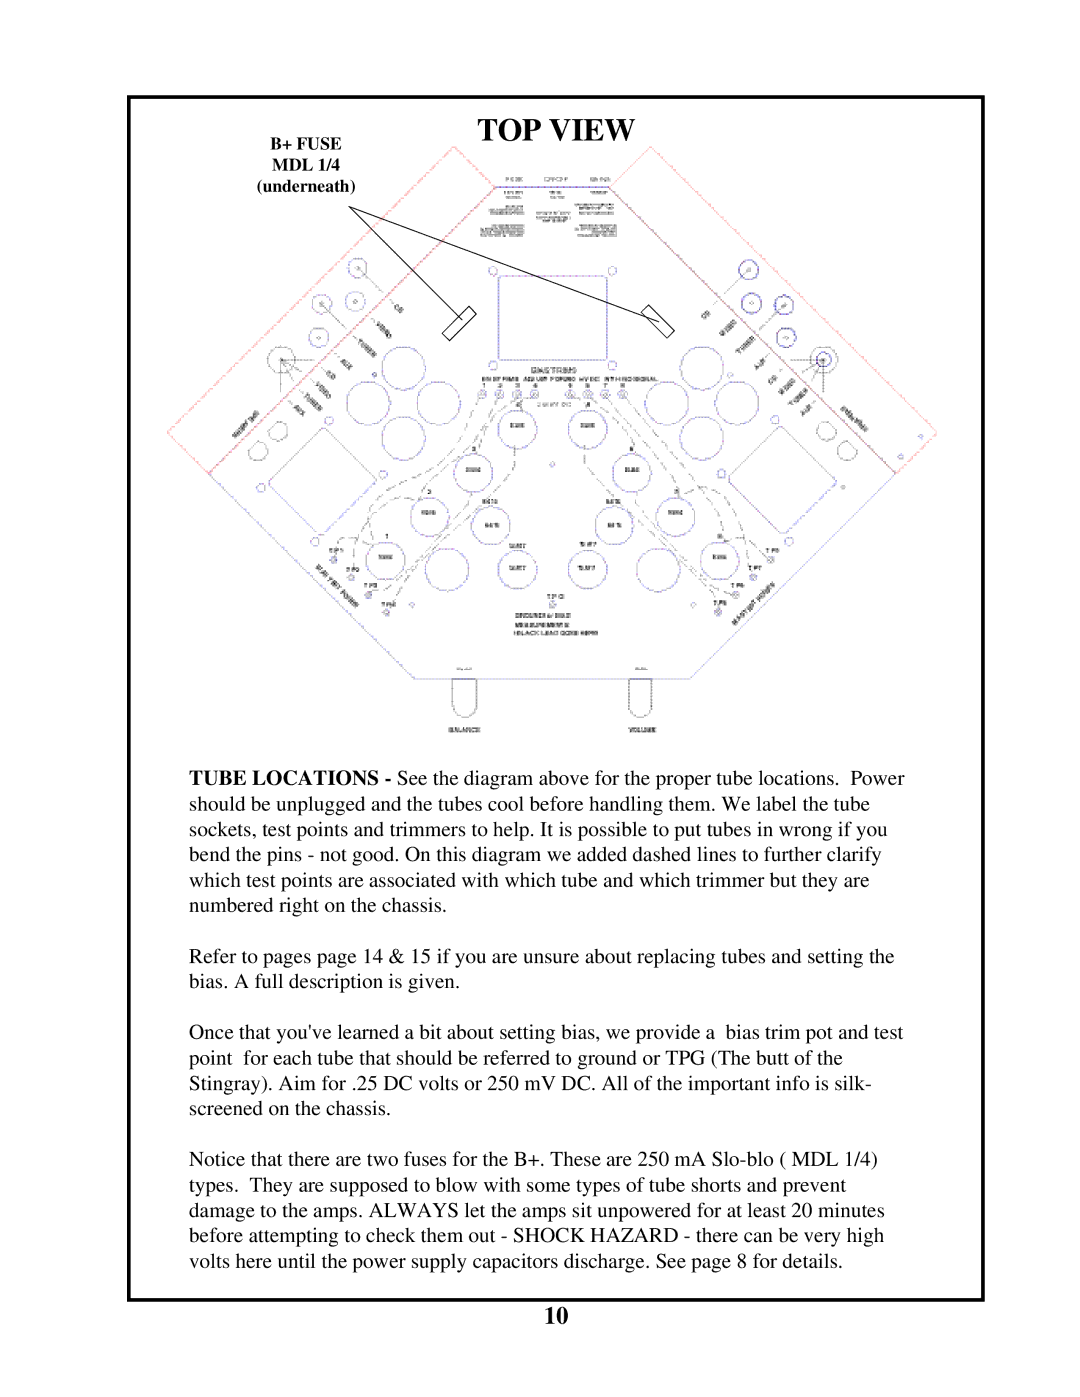
Manley Labs has a long-standing reputation for producing high-fidelity audio equipment, and their integrated amplifier is a shining example of this legacy. Catering to audiophiles who appreciate both performance and finesse, the Manley Labs Integrated Amplifier combines powerful technology with artistic design.One of the most notable features of the Manley Labs Integrated Amplifier is its renowned vacuum tube design. Utilizing high-quality 12AX7 and 12AT7 tubes, the amplifier delivers warm, rich sound that is characteristic of tube amplification. This vintage-inspired technology creates a unique listening experience, offering dynamic range and harmonic richness that solid-state amplifiers often struggle to replicate. Additionally, the product’s advanced circuitry ensures low distortion and excellent frequency response.
An elegant chassis houses this sophisticated amplifier, enhancing both aesthetics and acoustic performance. The front panel is designed with simplicity in mind, featuring easily accessible volume controls and inputs for a variety of sources, including vinyl turntables, digital sources, and streaming devices. The dual-mono topology, where each channel has its dedicated power supply and amplification, further enhances stereo imaging and separation, resulting in a more immersive soundstage.
The Integrated Amplifier is equipped with Manley’s proprietary features, including a passive volume control and selectable equalization options. This helps users customize their listening experiences according to personal preferences or their specific audio setups. With a high output power rating, the amplifier is capable of driving a wide range of loudspeakers, making it versatile for various audio configurations.
Another key characteristic is the incorporation of modern connectivity options while maintaining a classic sound. With balanced and unbalanced inputs, as well as headphone outputs, the Manley Labs Integrated Amplifier combines traditional tube warmth with contemporary flexibility. This adaptability allows it to remain relevant in a rapidly evolving audio landscape.
Overall, the Manley Labs Integrated Amplifier is a harmonious blend of cutting-edge technology and classical appeal. Its meticulous craftsmanship, attention to detail, and performance capabilities make it a preferred choice for connoisseurs of exquisite sound quality, ensuring that music is delivered with authenticity and elegance. Whether for home listening or professional applications, this integrated amplifier stands as a testament to Manley Labs' commitment to audio excellence.

