
Langevin Dual Vocal Combo specifications
The Manley Labs Langevin Dual Vocal Combo is a premium vocal processing unit that combines vintage warmth with cutting-edge technology. Designed for both professional recording studios and home setups, this unit stands out with its ability to enhance vocal tracks dramatically while preserving their natural character.One of the standout features of the Dual Vocal Combo is its dual-channel architecture, which allows engineers to process two vocal signals simultaneously. This is particularly useful when recording duets or layering harmonies. Each channel is equipped with a dedicated mic preamp, providing individual control over gain, EQ, and compression, thus offering flexibility for different vocal styles and recording environments.
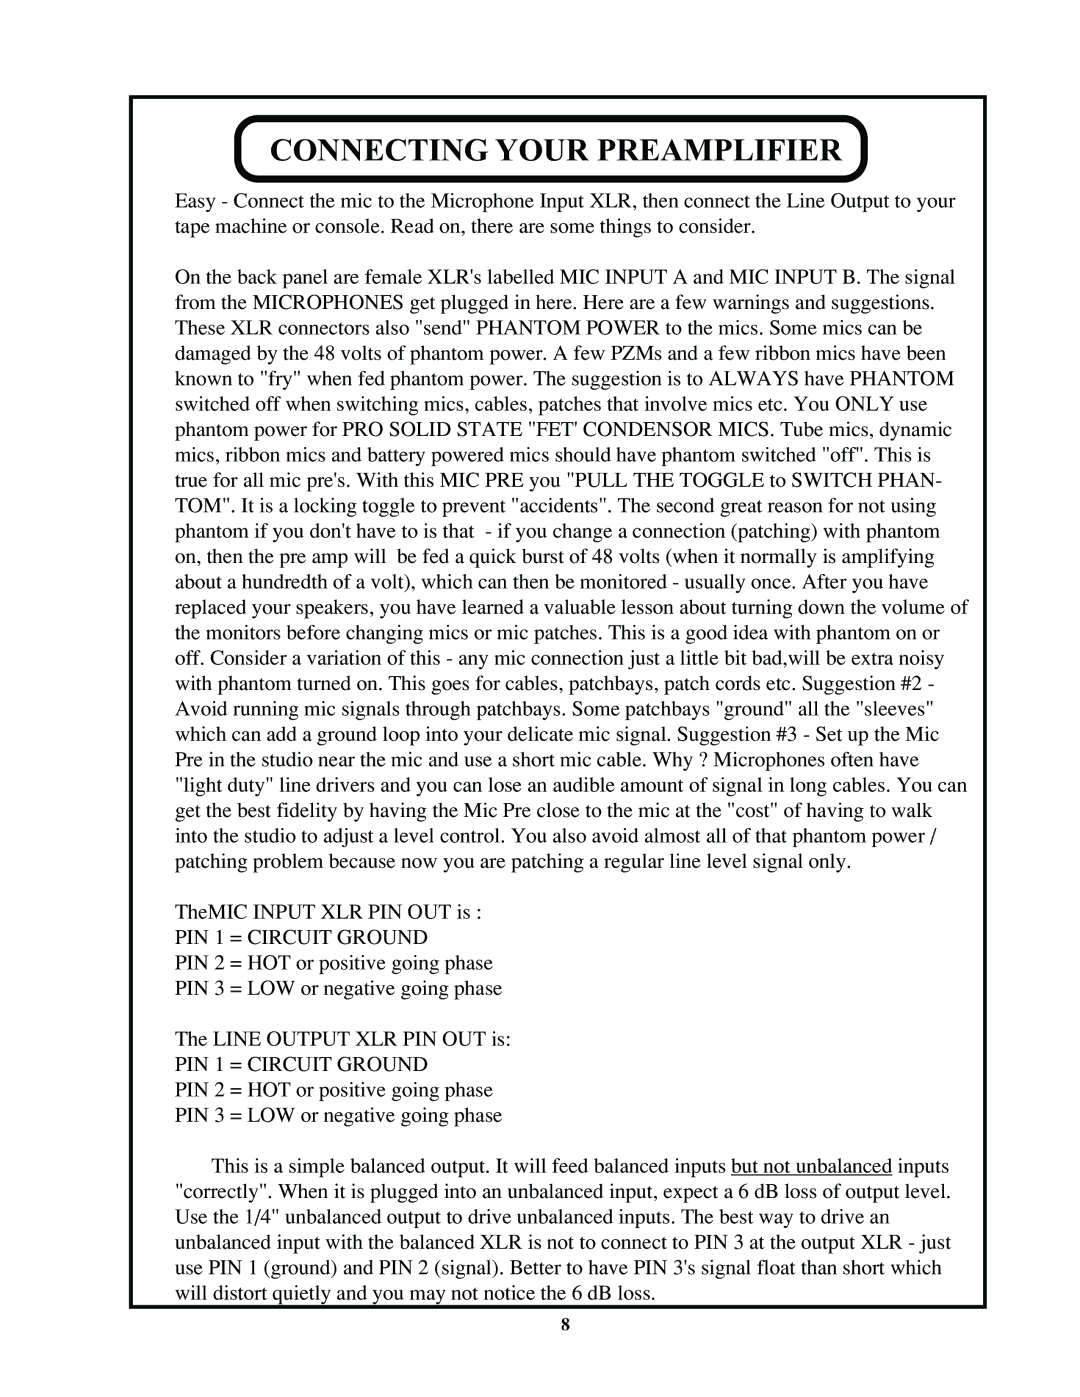
The mic preamps in the Langevin Dual Vocal Combo are renowned for their low-noise performance and ability to handle high sound pressures without distortion. With high-quality discrete components, the preamps deliver a warm, rich tone that enhances the clarity and presence of vocals. The unit also incorporates a high-pass filter to eliminate unwanted low-end rumble, which helps to focus the vocal sound in the mix.
Another significant feature is the built-in optical compressors. These compressors are designed to provide smooth, transparent dynamic control, allowing for a more polished final sound. The optical design ensures that the compression is musical and responsive, providing the ability to gently tame peaks without squashing the dynamics of the performance.
The EQ section of the Dual Vocal Combo comprises four bands of equalization, with both boost and cut capabilities. This flexibility enables engineers to sculpt their vocal tracks precisely, enhancing desired frequencies while reducing any harsh elements. The frequency selections cover the full vocal range, making it versatile for various vocal tones.
The Dual Vocal Combo also features an intuitive user interface, making it easy to navigate adjustments. Its robust construction ensures durability, suitable for constant use in a studio environment. With the signature Manley design aesthetics, it adds a touch of professionalism to any recording setup.
In conclusion, the Manley Labs Langevin Dual Vocal Combo is an exceptional choice for vocal processing. With its dual preamps, high-quality compression, extensive EQ options, and user-friendly design, it caters to the needs of both amateur and seasoned professionals looking to elevate their vocal recordings. Whether for tracking, mixing, or live performance, this unit proves to be an invaluable asset in any audio arsenal.