Manuals
/
Martin Audio
/
Home Audio
/
Speaker
Martin Audio
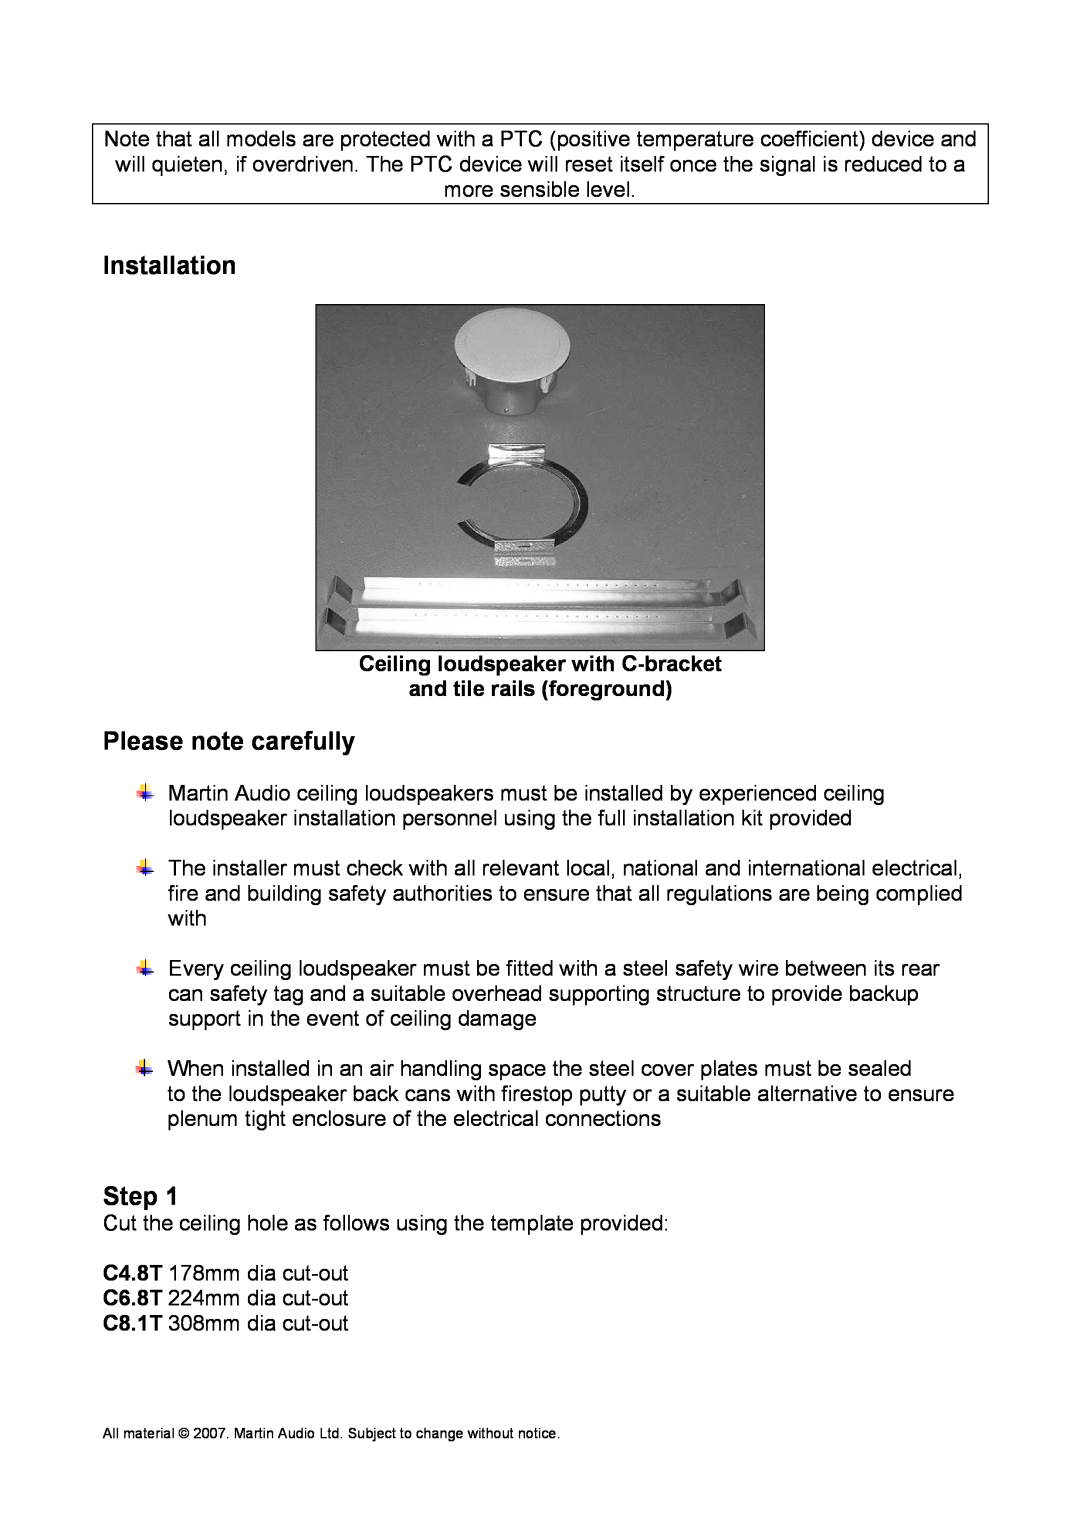
C4.8T Installation, Please note carefully, Step, Ceiling loudspeaker with C-bracket
Models:
C8.1T
C4.8T
C6.8T
1
4
10
10
Download
10 pages
35.49 Kb
1
2
3
4
5
6
7
8
Install
Warranty
Input & Loop Through connector
Safety
Voltage & power settings
Page 4
Image 4
Page 3
Page 5
Page 4
Image 4
Page 3
Page 5
Contents
C4.8T, C.6.8T, C8.1T
The Martin Experience
User’s Guide
Installation Guide
Description
Unpacking
Compliance
Voltage & power settings
Baffle switch
Baffle switch location
Model
Installation
Please note carefully
Step
Ceiling loudspeaker with C-bracket
C4.8T & C6.8T rail orientation
C-bracketclipped over rail
rails placed outwards
C8.1T rail orientation
Tile rail end Step
C-bracketscrewed to tile rail Step
Loudspeaker in place
2-wayceiling loudspeaker orientation
Note swivel-tabpositions before fully tightening
Tightening the swivel-tabscrews Step
Input & Loop Through connector
Step
Ceiling loudspeaker rear can
Safety tag location
fireproof steel cover fitted Step
Locate grille tags into slots
Warranty
Step
Top
Page
Image
Contents