3.Starting with the right-hand side door, remove the parts for the top hinge as shown in Top Hinge graphic. Lift the refrigerator door from the bottom hinge pin.

4.Remove the shim (on some models) from the bottom hinge pin and keep it for later use. See Bottom Hinge graphic.

5.Before removing the left-hand side door, disconnect the wiring plug located on top of the top hinge by wedging a flat- blade screwdriver or your fingernail between the two sections. See Wiring Plug graphic.

NOTE: The green, ground wire remains attached to the hinge.

6.Remove the parts for the left-hand side door top hinge as shown in the Top Hinge graphic. Lift the door from the bottom hinge pin.

NOTE: On some models, remove the shim from the bottom hinge pin and keep it for later use. See Bottom Hinge graphic.

Reverse Door - Standard Door (optional)

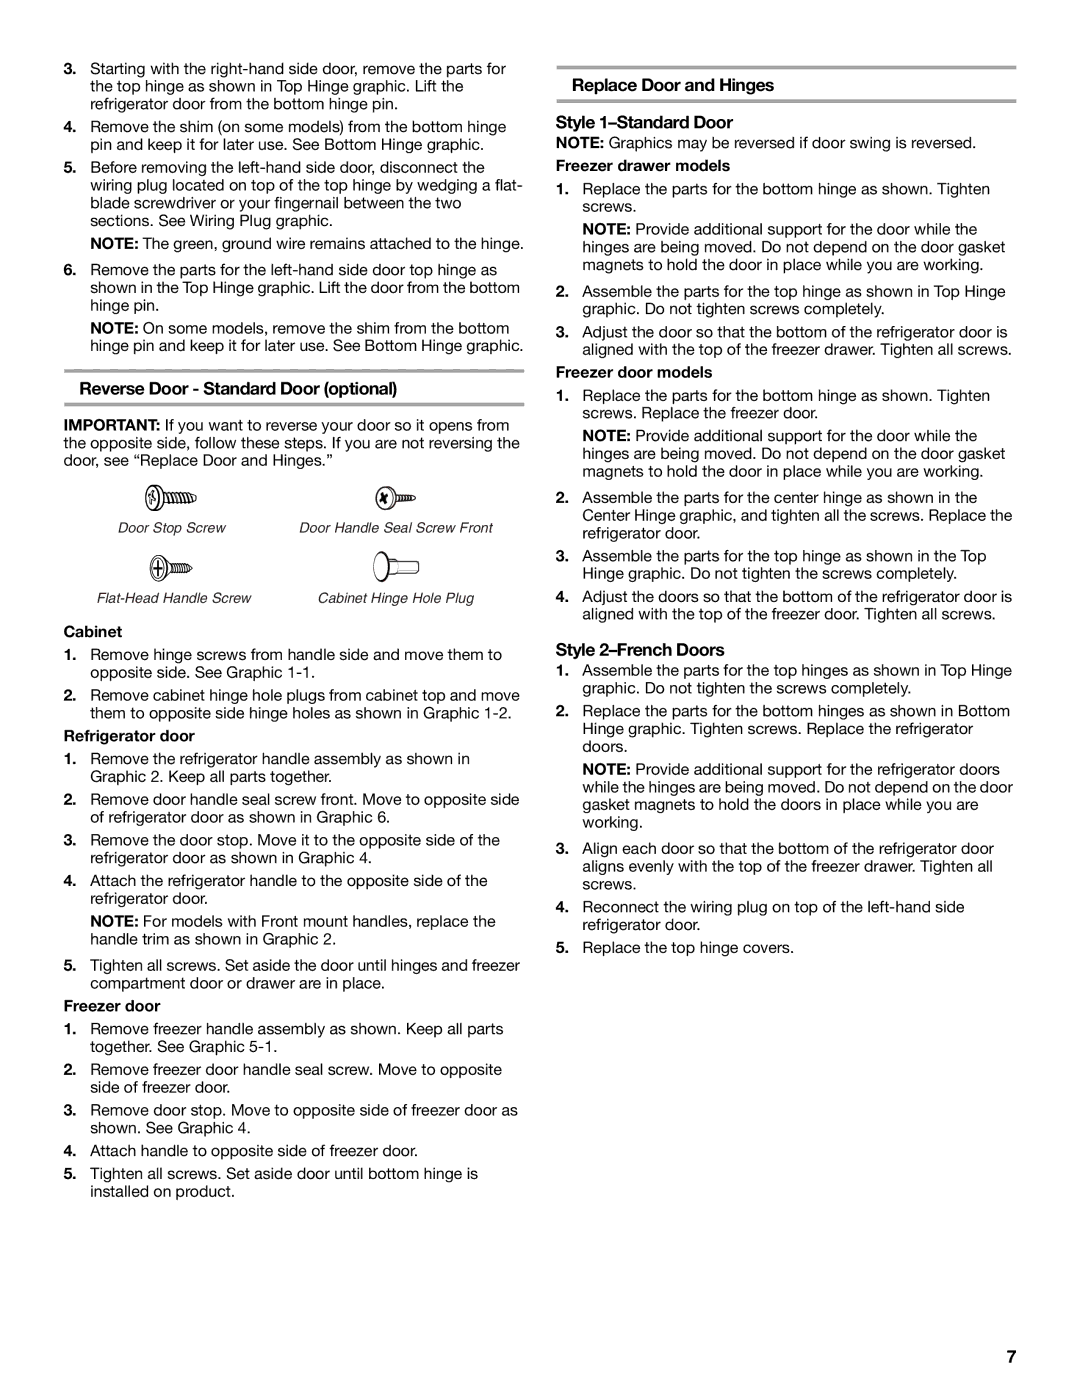
IMPORTANT: If you want to reverse your door so it opens from the opposite side, follow these steps. If you are not reversing the door, see “Replace Door and Hinges.”

Door Stop Screw

Door Handle Seal Screw Front

Flat-Head Handle Screw

Cabinet Hinge Hole Plug

Cabinet

1.Remove hinge screws from handle side and move them to opposite side. See Graphic 1-1.

2.Remove cabinet hinge hole plugs from cabinet top and move them to opposite side hinge holes as shown in Graphic 1-2.

Refrigerator door

1.Remove the refrigerator handle assembly as shown in Graphic 2. Keep all parts together.

2.Remove door handle seal screw front. Move to opposite side of refrigerator door as shown in Graphic 6.

3.Remove the door stop. Move it to the opposite side of the refrigerator door as shown in Graphic 4.

4.Attach the refrigerator handle to the opposite side of the refrigerator door.

NOTE: For models with Front mount handles, replace the handle trim as shown in Graphic 2.

5.Tighten all screws. Set aside the door until hinges and freezer compartment door or drawer are in place.

Freezer door

1.Remove freezer handle assembly as shown. Keep all parts together. See Graphic 5-1.

2.Remove freezer door handle seal screw. Move to opposite side of freezer door.

3.Remove door stop. Move to opposite side of freezer door as shown. See Graphic 4.

4.Attach handle to opposite side of freezer door.

5.Tighten all screws. Set aside door until bottom hinge is installed on product.

Replace Door and Hinges

Style 1–Standard Door

NOTE: Graphics may be reversed if door swing is reversed.

Freezer drawer models

1.Replace the parts for the bottom hinge as shown. Tighten screws.

NOTE: Provide additional support for the door while the hinges are being moved. Do not depend on the door gasket magnets to hold the door in place while you are working.

2.Assemble the parts for the top hinge as shown in Top Hinge graphic. Do not tighten screws completely.

3.Adjust the door so that the bottom of the refrigerator door is aligned with the top of the freezer drawer. Tighten all screws.

Freezer door models

1.Replace the parts for the bottom hinge as shown. Tighten screws. Replace the freezer door.

NOTE: Provide additional support for the door while the hinges are being moved. Do not depend on the door gasket magnets to hold the door in place while you are working.

2.Assemble the parts for the center hinge as shown in the Center Hinge graphic, and tighten all the screws. Replace the refrigerator door.

3.Assemble the parts for the top hinge as shown in the Top Hinge graphic. Do not tighten the screws completely.

4.Adjust the doors so that the bottom of the refrigerator door is aligned with the top of the freezer door. Tighten all screws.

Style 2–French Doors

1.Assemble the parts for the top hinges as shown in Top Hinge graphic. Do not tighten the screws completely.

2.Replace the parts for the bottom hinges as shown in Bottom Hinge graphic. Tighten screws. Replace the refrigerator doors.

NOTE: Provide additional support for the refrigerator doors while the hinges are being moved. Do not depend on the door gasket magnets to hold the doors in place while you are working.

3.Align each door so that the bottom of the refrigerator door aligns evenly with the top of the freezer drawer. Tighten all screws.

4.Reconnect the wiring plug on top of the left-hand side refrigerator door.

5.Replace the top hinge covers.

7

Page 7
Image 7
Maytag W10175446B manual Reverse Door Standard Door optional, Replace Door and Hinges Style 1-Standard Door, Cabinet

W10175446B specifications

The Maytag W10175446B is a highly regarded appliance component widely used in the brand's range of refrigerators, particularly noted for its innovative technology and user-friendly features. This part, often associated with refrigerator water filtration systems, is designed to enhance the quality of drinking water and ice while ensuring that the appliance operates at optimal efficiency.

One of the primary characteristics of the W10175446B is its advanced filtration system. It is engineered to reduce contaminants such as lead, chlorine, and various sediment particles that can compromise the purity and taste of water. By utilizing activated carbon and other filtration media, the W10175446B effectively delivers clean, crisp water ideal for drinking and cooking.

Another significant feature of this component is its easy installation process. Designed for a seamless fit in compatible Maytag refrigerator models, the W10175446B allows homeowners to replace their filters without the need for specialized tools or professional assistance. This accessibility is a notable advantage for consumers who prioritize DIY maintenance and convenience.

In terms of performance, the W10175446B showcases exceptional flow rates, ensuring that water dispensed from the refrigerator remains consistent in pressure and taste. This ensures that ice and drinking water are always readily available, making it perfect for busy households that rely heavily on their refrigerator's water and ice dispensers.

The longevity of the W10175446B is another appealing aspect. This part typically has a lifespan of six months, depending on usage and water quality. This regular replacement cycle encourages homeowners to stay proactive about their water quality, ensuring that they enjoy fresh and safe drinking water year-round.

Moreover, the W10175446B is designed with environmental considerations in mind. The filtration system reduces the need for bottled water, helping to decrease plastic waste and promote sustainable practices. It's a small but significant step towards more eco-friendly living.

Overall, the Maytag W10175446B is an essential part for elevating the functionality of Maytag refrigerators. With its advanced purification technology, ease of use, reliable performance, and eco-conscious design, it stands out as a valuable component that enhances both family health and appliance efficiency. Choosing the W10175446B means choosing quality, convenience, and sustainability.