INSTALLATION REQUIREMENTS

Tools and Parts

Tools Needed

Gather the required tools and parts before starting installation. Read and follow the instructions provided with any tools listed here.

Location Requirements

Check the opening where the microwave oven will be installed. The location must provide:

Minimum installation dimensions. See “Installation

Dimensions” illustration.

Measuring tape

Straightedge

Pencil

Masking tape or thumbtacks

Scissors

No. 2 Phillips screwdriver

No. 3 Phillips screwdriver

Electric drill

1/8" (3 mm), 1/2" (13 mm) and 5/8" (16 mm) drill bits

Stud finder

1¹⁄₂" (3.8 cm) diam. hole drill bit for wood or metal cabinet

Keyhole saw

Level

Diagonal wire cutting pliers

Caulking gun and weatherproof caulking compound

Duct tape

Minimum one 2" x 4" (50.8 x 101.6 mm) wood wall stud and

minimum 3/8" (9.5 mm) thickness drywall or plaster/lath within

cabinet opening.

Support for weight of 150 lbs (68 kg), which includes

microwave oven and items placed inside the microwave oven

and upper cabinet.

Grounded electrical outlet inside upper cabinet. See

“Electrical Requirements” section.

NOTES:

If installing the microwave oven near a left sidewall, make sure


there is at least 6" (15.2 cm) of clearance between the wall and


the microwave oven, so that the door can open fully.

Some cabinet and building materials are not designed to


withstand the heat produced by the microwave oven for

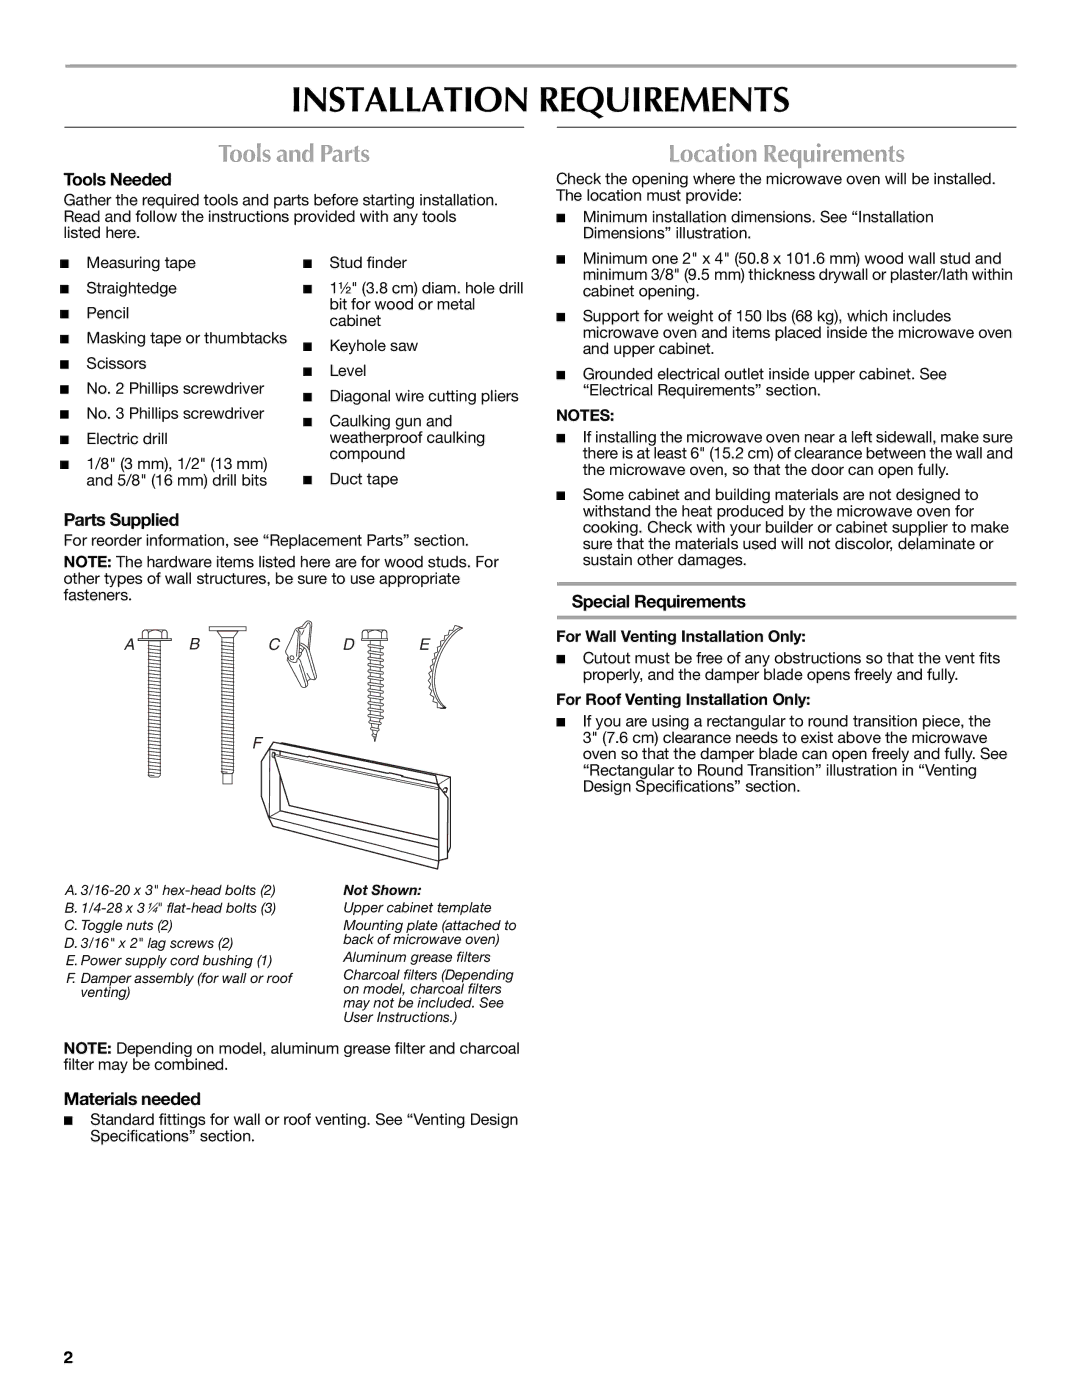
Parts Supplied

For reorder information, see “Replacement Parts” section.

NOTE: The hardware items listed here are for wood studs. For other types of wall structures, be sure to use appropriate fasteners.

A

B

C

D

E

F

cooking. Check with your builder or cabinet supplier to make

sure that the materials used will not discolor, delaminate or

sustain other damages.

Special Requirements

For Wall Venting Installation Only:

Cutout must be free of any obstructions so that the vent fits properly, and the damper blade opens freely and fully.

For Roof Venting Installation Only:

If you are using a rectangular to round transition piece, the 3" (7.6 cm) clearance needs to exist above the microwave oven so that the damper blade can open freely and fully. See “Rectangular to Round Transition” illustration in “Venting Design Specifications” section.

A. 3/16-20 x 3" hex-head bolts (2) B. 1/4-28 x 3¹⁄₄" flat-head bolts (3) C. Toggle nuts (2)

D. 3/16" x 2" lag screws (2)

E. Power supply cord bushing (1)

F. Damper assembly (for wall or roof venting)

Not Shown:

Upper cabinet template

Mounting plate (attached to back of microwave oven)

Aluminum grease filters

Charcoal filters (Depending on model, charcoal filters may not be included. See User Instructions.)

NOTE: Depending on model, aluminum grease filter and charcoal filter may be combined.

Materials needed

Standard fittings for wall or roof venting. See “Venting Design Specifications” section.

2

Page 2
Image 2
Maytag W10188238A, W10188947A installation instructions Installation Requirements, Tools and Parts, Location Requirements

W10188947A, W10188238A specifications

The Maytag W10188238A and W10188947A are essential components designed for Maytag appliances, specifically washing machines and dryers. Their features and technologies cater to enhancing the performance and longevity of these household devices, making laundry tasks easier and more efficient.

One of the main features of both models is their durability. Maytag is renowned for its commitment to manufacturing reliable appliances, and these components reflect that tradition. Made with high-quality materials, the W10188238A and W10188947A exhibit resistance to wear and tear, ensuring they can withstand the rigors of regular use. This durability translates into improved performance over time, reducing the need for frequent replacements or repairs.

A standout characteristic of these parts is their compatibility with a range of Maytag appliances. The W10188238A serves as a crucial part, often related to the washer's timer or control board, which plays a significant role in the overall functionality of the machine. Meanwhile, the W10188947A typically relates to the dryer’s thermal fuse or safety mechanism, ensuring that it operates safely and prevents overheating. This compatibility enhances the user’s confidence in selecting the right parts for repairs, knowing they are purchasing components specifically designed for their appliance.

In terms of technology, both models incorporate advanced engineering to ensure optimal performance. The W10188238A features precise calibration that allows for accurate cycle timing and efficient water usage, contributing to energy savings and reducing utility bills. Similarly, the W10188947A often includes features that promote safety, such as reliable thermal cut-off capabilities, which protect the dryer from excessive heat that can lead to fire hazards.

Installation of these components is typically user-friendly, further emphasizing Maytag’s dedication to customer satisfaction. They are designed to fit easily into their respective appliances, with straightforward instructions that can be followed by most homeowners without the need for professional assistance.

In conclusion, the Maytag W10188238A and W10188947A are exemplary components that embody the brand's focus on quality, compatibility, and safety. Their robust design and innovative technologies not only enhance the performance of Maytag washing machines and dryers but also assure users of their reliability and durability for years to come, making them an excellent choice for anyone looking to maintain their laundry appliances.