Manuals
/
Maytag
/
Kitchen Appliance
/
Range
Maytag
W10321012A
warranty
GeneralCleaning, How the Cycle Works, To Self-Clean, Ceramic Glass
Models:
W10321012A
1
9
12
12
Download
12 pages
2.4 Kb
5
6
7
8
9
10
11
12
Troubleshooting
Cooktop On Indicator Light
Warranty
Accessories
For self-cleaningranges
Safety
Feature Guide
To Bake Using Sabbath Mode
Page 9
Image 9
Page 8
Page 10
Page 9
Image 9
Page 8
Page 10
Contents
ELECTRIC RANGE USER INSTRUCTIONS
Table of Contents
The Anti-TipBracket
RANGE SAFETY
See the installation instructions for details
Making sure the anti-tipbracket is installed
For self-cleaningranges
IMPORTANT SAFETY INSTRUCTIONS
SAVE THESE INSTRUCTIONS
For units with ventilating hood
FEATURE GUIDE
Hot Surface Indicator Light
Cooktop On Indicator Light
COOKTOP USE
Ceramic Glass
Electronic Oven Controls
OVEN USE
Sabbath Mode on some models
Control Display
Aluminum Foil
To Bake Using Sabbath Mode
Positioning Racks and Bakeware
Bakeware
RANGE CARE
Self-CleaningCycleon some models
Oven Vent
Bakingand Roasting
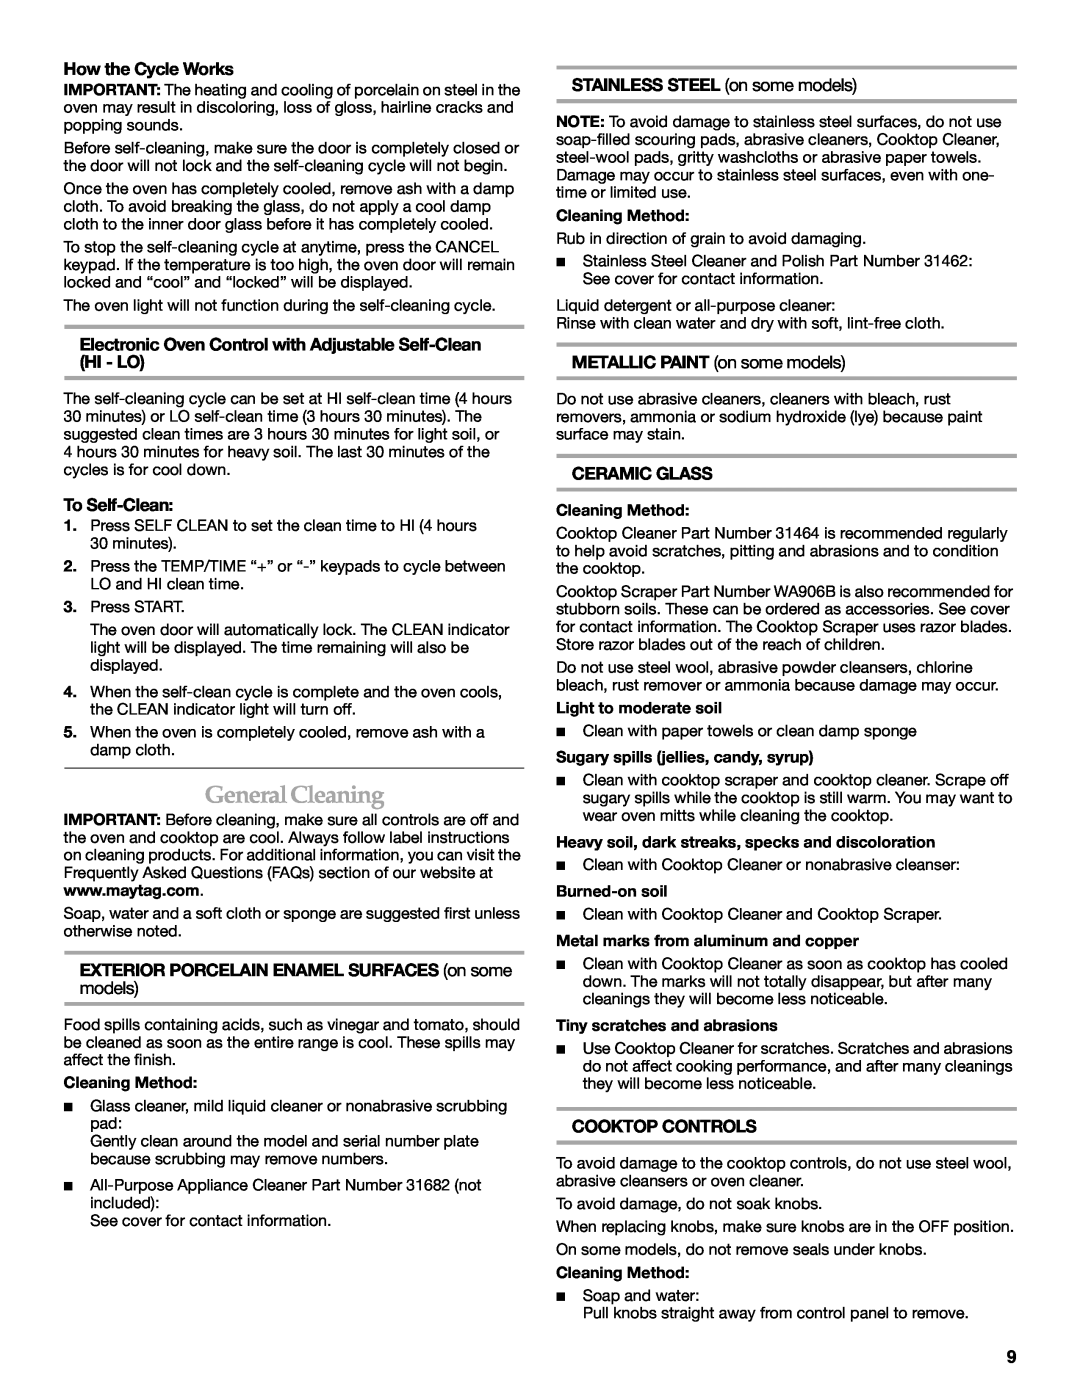
To Self-Clean
GeneralCleaning
How the Cycle Works
EXTERIOR PORCELAIN ENAMEL SURFACES on some
Oven indicator lights flash
TROUBLESHOOTING
Oven Light
CONTROL PANEL AND OVEN DOOR EXTERIOR
Self-Cleaningcycle will not operate
ACCESSORIES
Cooktop Cleaner
All-PurposeAppliance Cleaner
LIMITED WARRANTY
MAYTAG MAJOR APPLIANCE WARRANTY
ITEMS EXCLUDED FROM WARRANTY
This limited warranty does not cover
Top
Page
Image
Contents