Disabling Sounds

To turn off all dispenser and control sounds, press and hold LIGHT and LOCK at the same time for 3 seconds.

To turn all sounds back on, press and hold LIGHT and LOCK at the same time for 3 seconds again.

NOTE: On some models, the display screen on the dispenser control panel has a backlight, which will turn off automatically when the control buttons have not been used for 30 seconds or more. When the backlight is off, the first press of a control button will only reactivate the backlight, without changing any settings. Within 30 seconds after the backlight has been reactivated, additional presses of control buttons will change the applicable settings.

Convertible Drawer Temperature Control

The control can be adjusted to properly chill meats or vegetables. The air inside the pan is cooled to avoid “spot” freezing and can be set to keep meats at the National Livestock and Meat Board recommended storage temperatures of 28° to 32°F (-2° to 0°C). The convertible vegetable/meat drawer control comes preset at the lowest meat setting.

To store meat:

Set the control to one of the three MEAT settings to store meat at its optimal storage temperature.

To store vegetables:

Set the control to VEG to store vegetables at their optimal storage temperatures.

NOTE: If food starts to freeze, move the control to the left (less cold). Remember to wait 24 hours between adjustments.

Crisper Humidity Control

(on some models)

You can control the amount of humidity in the moisture-sealed crisper. Adjust the control to any setting between LOW and HIGH.

LOW (open) for best storage of fruits and vegetables with skins.

HIGH (closed) for best storage of fresh, leafy vegetables.

Chilled Door Bin

(on some models)

Cool air from the freezer is directed to the refrigerator door bin directly beneath the vents.

NOTE: The dairy compartment and can rack are not associated with the Chilled Door Bin feature.

Chilled Door Bin Control

The chilled door bin control is located on the left-hand side of the refrigerator compartment.

A

A. Chilled door bin control

Slide the door chill control to the left or down to reduce the flow of cold air to the bin and make it less cold.

Slide the door chill control to the right or up to increase the flow of cold air to the bin and make it colder.

Water and Ice Dispensers

(on some models)

Depending on your model, you may have one or more of the following options: the ability to select either crushed or cubed ice, a special light that turns on when you use the dispenser, or a lock option to avoid unintentional dispensing.

IMPORTANT: After connecting the refrigerator to a water source or replacing the water filter, flush the water system. Use a sturdy container to depress and hold the water dispenser lever for

5 seconds, then release it for 5 seconds. Repeat until water begins to flow. Once water begins to flow, continue depressing and releasing the dispenser lever (5 seconds on, 5 seconds off) until a total of 3 gal. (12 L) has been dispensed. This will flush air from the filter and water dispensing system, and prepare the water filter for use. Additional flushing may be required in some households. As air is cleared from the system, water may spurt out of the dispenser.

NOTES:

The dispensing system will not operate when the freezer door is open.

Allow 24 hours for the refrigerator to cool down and chill water.

Allow 24 hours to produce the first batch of ice. Discard the first three batches of ice produced.

The display screen on the dispenser control panel has a backlight, which will turn off automatically when the control buttons have not been used for 30 seconds or more. When the backlight is off, the first press of a control button will only reactivate the backlight, without changing any settings. Within 30 seconds after the backlight has been reactivated, additional presses of control buttons will change the applicable settings.

The Water Dispenser

IMPORTANT: Dispense enough water every week to maintain a fresh supply.

To Dispense Water:

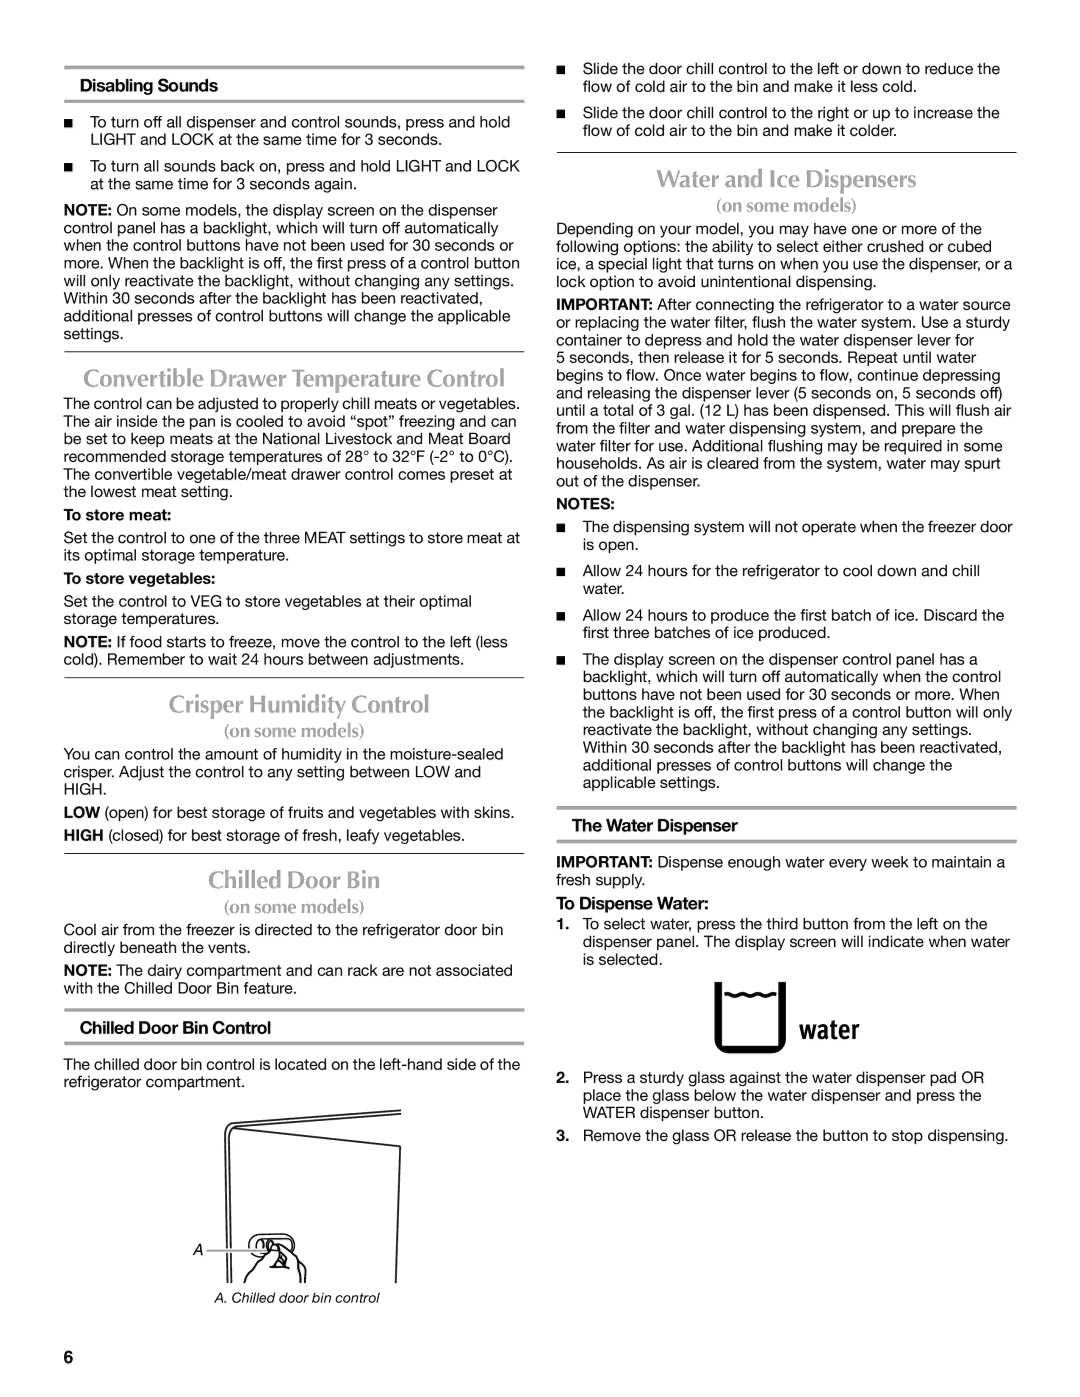
1.To select water, press the third button from the left on the dispenser panel. The display screen will indicate when water is selected.

2.Press a sturdy glass against the water dispenser pad OR place the glass below the water dispenser and press the WATER dispenser button.

3.Remove the glass OR release the button to stop dispensing.

6

Page 6
Image 6
Maytag W10321476A installation instructions Crisper Humidity Control, Chilled Door Bin, Water and Ice Dispensers

W10321476A specifications

The Maytag W10321476A is a high-performance appliance designed to enhance convenience and efficiency in your kitchen. As part of the renowned Maytag brand, which is known for its dependability and innovative technology, this model stands out for its robust features that cater to various cooking needs.

One of the main characteristics of the W10321476A is its spacious design. This model offers ample capacity, making it suitable for larger families or those who love to host gatherings. The interior is designed to maximize storage options while ensuring that all items are easily accessible. The thoughtful layout allows for the accommodation of various cookware, making it versatile enough for different cooking tasks.

Among its notable technological advancements, the W10321476A is equipped with an advanced cooking system that ensures even heat distribution. This feature is particularly beneficial for baking, as it helps achieve consistent results every time. Additionally, the appliance includes a powerful convection fan that circulates hot air within the oven, significantly reducing cooking time and enhancing overall efficiency.

The W10321476A also features a self-cleaning option, allowing users to maintain cleanliness and hygiene with minimal effort. This convenient feature saves valuable time, as it eliminates the need for scrubbing or using harsh chemicals. Instead, you can simply select the self-cleaning cycle and let the appliance handle the rest.

Another significant attribute of the Maytag W10321476A is its user-friendly interface. The control panel is intuitively designed, making it easy to select various cooking modes and adjust settings. This ensures that users of all skill levels can operate the appliance with confidence.

Moreover, the W10321476A is built with durability in mind. Constructed from high-quality materials, this model not only offers reliability but is also easy to maintain. The stainless-steel finish adds a sleek and modern touch to any kitchen decor, making it a stylish addition to your home.

In conclusion, the Maytag W10321476A is a notable appliance that combines functionality, advanced technology, and durable design. Its spacious interior, efficient cooking systems, self-cleaning capabilities, and user-friendly interface make it an excellent choice for anyone looking to elevate their culinary experience. Whether you are an experienced chef or a beginner, this appliance aims to meet your cooking needs while pairing style with practicality.