60EQ-A specifications
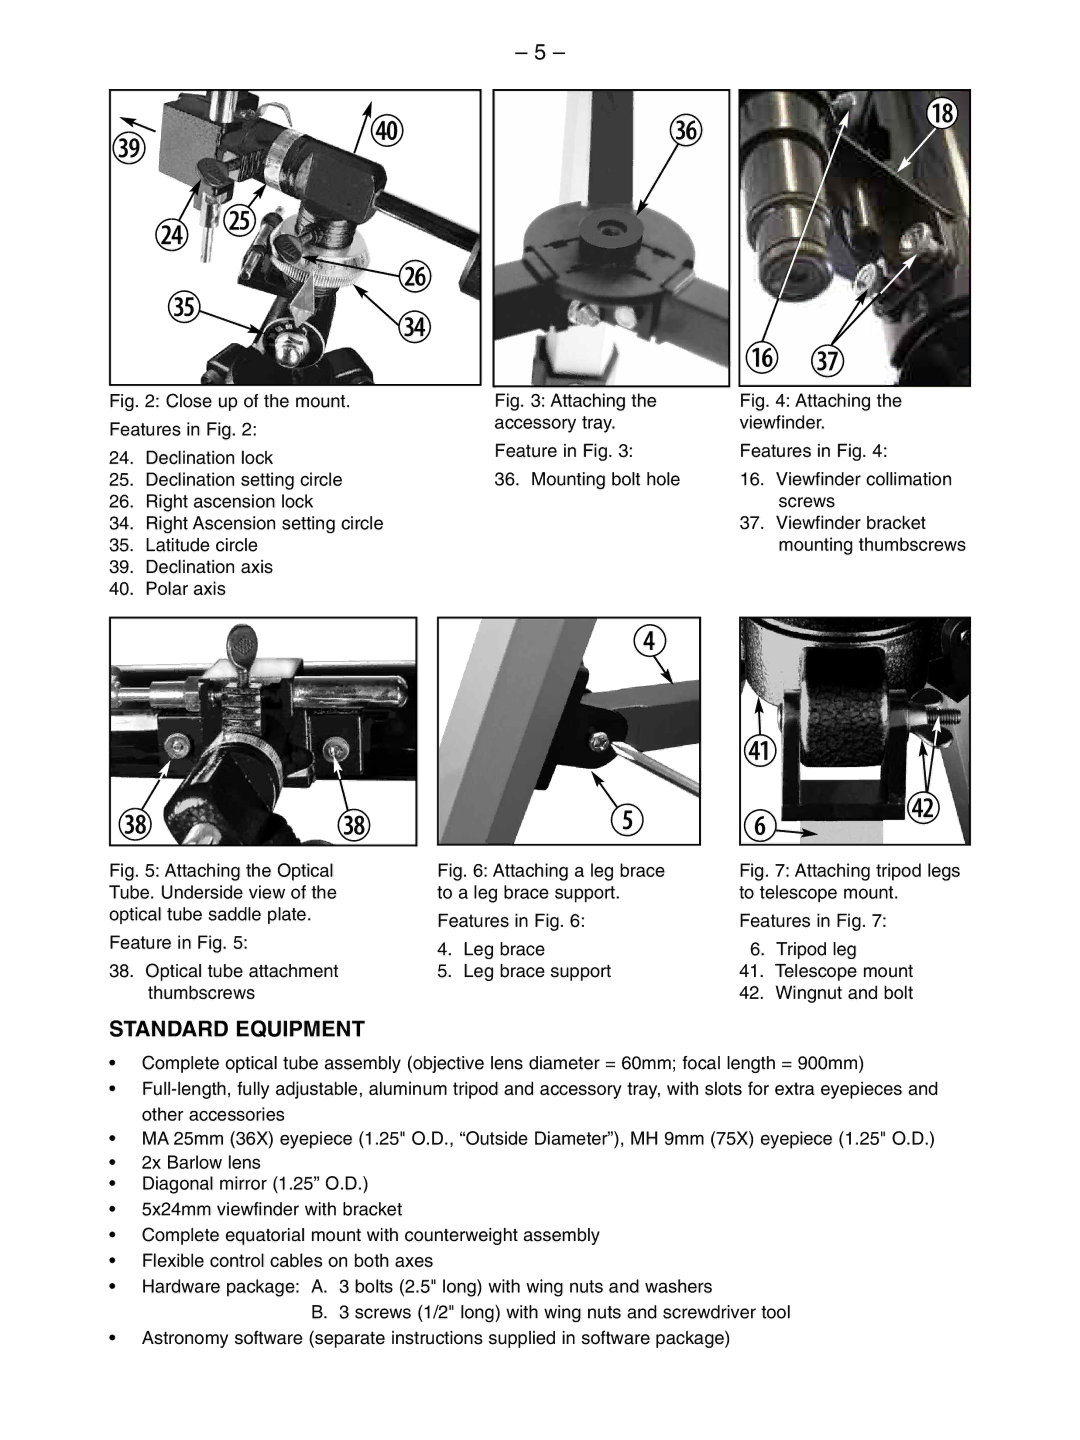
The Meade 60EQ-A is a remarkable entry-level telescope that opens the universe to beginner astronomers and enthusiasts alike. With its combination of quality optics, ease of use, and robust features, this telescope makes stargazing accessible and enjoyable for all.One of the standout features of the Meade 60EQ-A is its 60mm aperture. This allows for adequate light-gathering capability, enabling users to observe celestial objects such as the Moon, Saturn’s rings, and even some deep-sky objects like star clusters and nebulae. The telescope comes with two quality eyepieces—MA 9mm and MA 25mm—providing different magnifications for diverse viewing experiences. The 25mm eyepiece offers wider fields of view, making it perfect for observing larger celestial objects, while the 9mm eyepiece enhances detail in more distant objects.
A key technology employed in the Meade 60EQ-A is its fully coated optics. This feature enhances light transmission, resulting in brighter and clearer images. The telescope is engineered with high-quality glass and features a refractor design, which is known for its ability to produce sharp images with minimal chromatic aberration.
The telescope is mounted on a sturdy equatorial mount, which is essential for tracking celestial movements smoothly. The equatorial design means that once the telescope is aligned with the North Star, it can easily follow the motion of celestial objects as they move across the night sky. This feature greatly enhances the viewing experience, making it easier to observe planets and stars over extended periods.
Another advantage of the Meade 60EQ-A is its lightweight design, allowing for easy portability. It can be set up quickly, making it ideal for both backyard usage and trips to darker locations outside the city.
In addition, the telescope comes with an included smartphone adapter. This innovative accessory allows users to capture images of the night sky using their mobile devices, bridging the gap between traditional stargazing and modern technology.
In conclusion, the Meade 60EQ-A is a well-equipped telescope that combines quality optics, user-friendly features, and excellent portability. Whether you are a novice looking to explore the wonders of the universe or an experienced stargazer seeking a reliable instrument, the Meade 60EQ-A provides a fantastic platform for astronomical observations. Its robust construction, easy setup, and impressive features make it a valuable addition to any aspiring astronomer’s arsenal.

