LXD 75-Series specifications
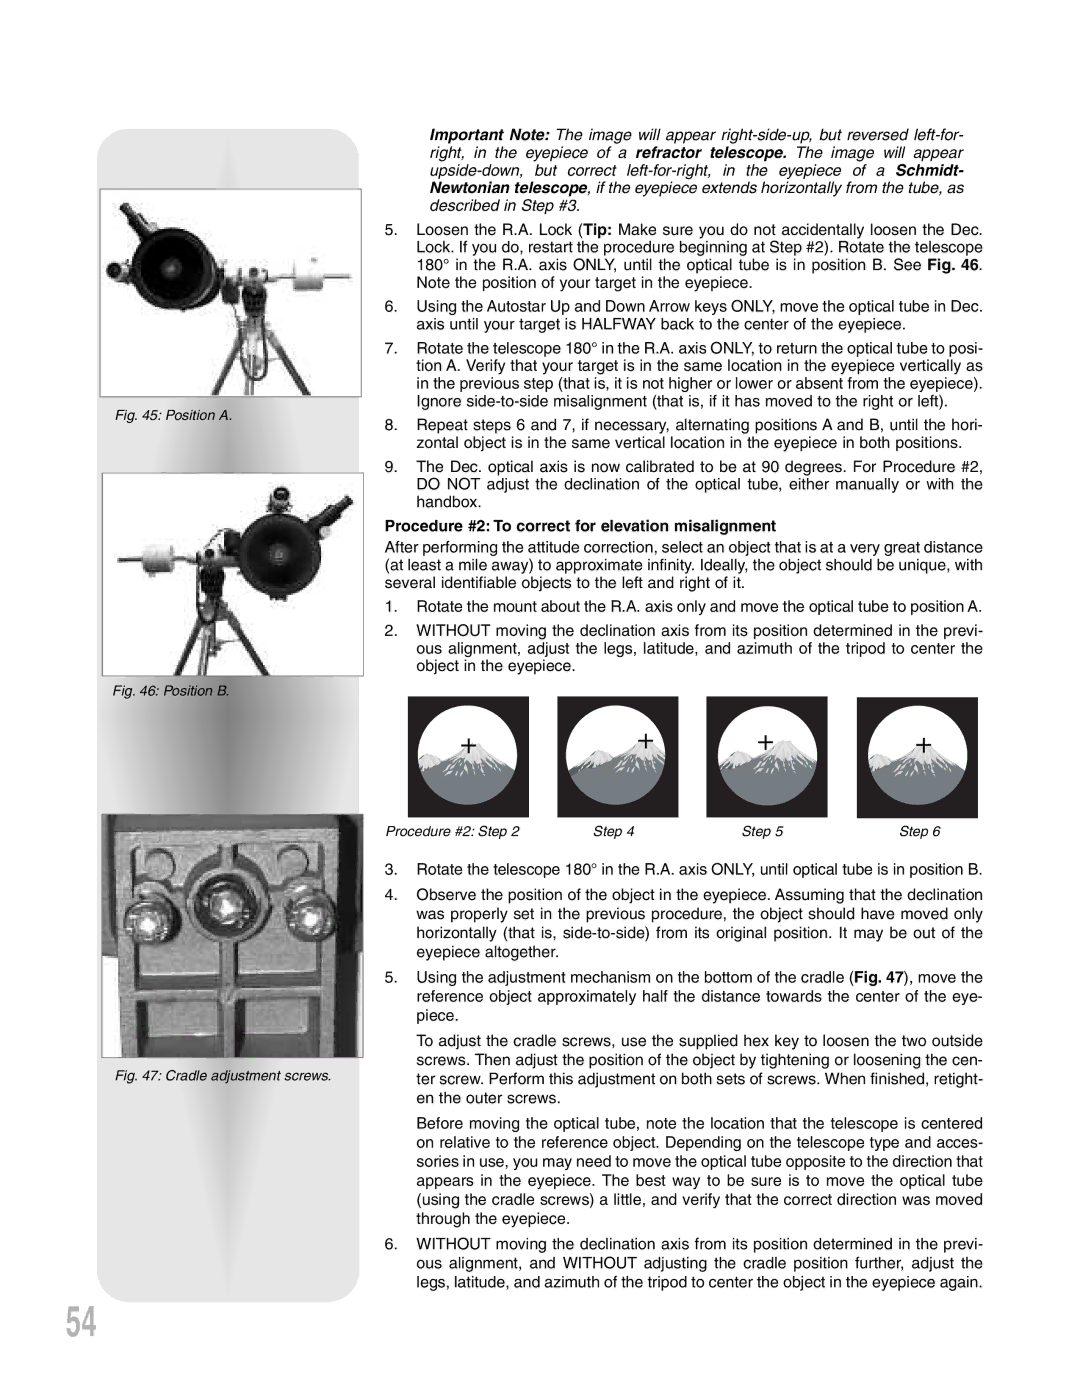
The Meade LXD 75-Series telescopes represent a significant advancement in amateur astronomy technology, combining ease of use with professional-grade features. Designed for both novice and experienced astronomers, the LXD 75-Series offers sophisticated tracking capabilities and a range of optical tube assemblies, making it a versatile choice for stargazers.One of the most notable features of the LXD 75-Series is its advanced German equatorial mount, which provides precise tracking of celestial objects. This mount is equipped with digital setting circles and a built-in autoguider port, allowing users to take long-exposure astrophotography without the hassle of manual adjustments. The telescope's mount is designed to be sturdy yet lightweight, enhancing portability for backyard observations or remote excursions.
The optical tube assemblies available in the LXD 75-Series include both refractor and reflector designs, allowing astronomers to choose according to their preferences. Refractors provide crisp, high-contrast images ideal for planetary observations, while reflectors excel in deep-sky viewing, revealing the nuances of nebulae and galaxy structures. The series typically offers apertures ranging from 6 to 10 inches, giving users the flexibility to select a model that best suits their observational needs.
Another feature that stands out in the LXD 75-Series is its user-friendly GoTo system. This system utilizes a database containing thousands of celestial objects and employs sophisticated software to navigate the night sky effortlessly. With a simple push of a button, users can locate and track objects, making the stargazing experience more engaging and less intimidating for beginners.
The LXD 75-Series also emphasizes durability and ease of assembly. The telescopes are designed for quick setup, with intuitive components that make it easy to get started in minutes. Additionally, the quality of craftsmanship ensures longevity, which is vital for a reliable observational tool.
In conclusion, the Meade LXD 75-Series stands out for its combination of advanced technologies and user-centric designs. With powerful tracking capabilities, versatile optical options, and an easy-to-use GoTo system, these telescopes cater to the diverse needs of astronomical enthusiasts. Whether for casual observation or serious astrophotography, the LXD 75-Series proves to be a stellar option for those looking to explore the wonders of the universe.

