3300

Automatic Rain Delay

for Melnor Water Timers

User Instructions

Requirements

!This unit requires a Melnor® electronic water timer model 3015, 3060, 3100 or 3280 (not

included) that includes a connector for this Automatic Rain Delay. Follow the timer instructions to program the timer. For more information, call 877-283-0697.

Install the Batteries

Tool required: Phillips head screwdriver.

Remove the two small screws and remove the battery cover. Insert two, fresh AA batteries. Please note the positive (+) and negative (–) ends of the batteries and ensure they are inserted correctly following the markings

inside the battery compartment.

Replace the battery cover and screws. A fresh set of quality batteries should last a full watering season or about nine months.

Place the Moisture Sensor

!CAUTION: Never use a hammer or any other tool to pound the unit into the ground. Do not

attempt to force the unit into the ground. This will

damage the Sensor. The AquaSentry® has a maximum wireless range of 200 feet (60 meters). The Sensor must

be placed within the area you are watering. For best

operation, place the Sensor in direct sight of the Timer/Receiver. The Sensor can be placed out of direct sight of the Timer/Receiver, but the range may be diminished somewhat.

To insert the Sensor, first dig a pilot hole about the same size as the probe. The hole must be deep enough to bury the entire sensor probe. Remove any large rocks or other debris from the extracted soil. Place the Sensor into the hole so that the entire probe is under ground level. The face of the Sensor unit should be turned toward the Timer/Receiver. Return the soil to the hole and pack firmly into place. It is important that the entire front surface of the probe be in contact with the soil.

Selecting the Desired Moisture Level

Individual grass and plant species have varying moisture requirements. The AquaSentry® Moisture Sensor has three moisture settings plus OFF. Melnor® recommends initially setting the knob to the medium setting (two droplets). After a week, you should reassess the moisture in the area you are watering. If the soil is too wet, adjust the unit to the dryer setting (one droplet). If the

soil is too dry, select the wetter setting (three droplets). Continue to monitor your particular watering requirements based on weather conditions and overall plant health.

Attach the Receiver to the Timer

Newer timers will require you to attach the included adapter rail onto the timer first. Slide the rounded end of the adapter rail into the matching slot on the top of the timer. Slide the receiver onto the rail along the top of your timer. The receiver does not need to slide fully on to work properly. You may need to leave a gap to allow for operation of the faucet.

Connect the Receiver cable to the socket located on the bottom of your timer. Note the orientation of the three (3) pins to be certain the cable is attached correctly.

For a diagram showing the connection to your specific timer, go to the instructions tab at www.melnor.com

Checking the Connection

After installing the receiver, press any button once to wake the timer. If the AquaSentry® system is working properly, an antenna symbol (along with the word “AUTO” on some models) should appear as shown within 35 seconds indicating communication between the AquaSentry® and AquaTimer™. If the symbol displays steadily, your AquaSentry® is working properly and monitoring the soil’s moisture level.

If the antenna symbol is flashing, one of the following has occurred:

a. The batteries in the moisture sensor are not installed properly or they are too weak.

b.The Moisture Sensor is out of range.

c.Sensor still set to “Off”.

If the antenna symbol fails to appear, the connection between the Receiver and the AquaTimer™ is faulty.

Check all of the above. Wait for 5 minutes or until the AquaTimer™ display turns off. Then wake the AquaTimer™ and watch for the antenna symbol. The antenna symbol should appear within 35 seconds. Over time, if the antenna symbol begins to flash, the batteries in the Sensor are weak and need to be replaced.

Sensor

Receiver


Adapter

Melnor, Inc. • Winchester, Virginia 22603, USA

877-283-0697 • www.melnor.com

Melnor is a registered trademark of Melnor, Inc.

3300_INS_EN_WEB_02

Page 1
Image 1
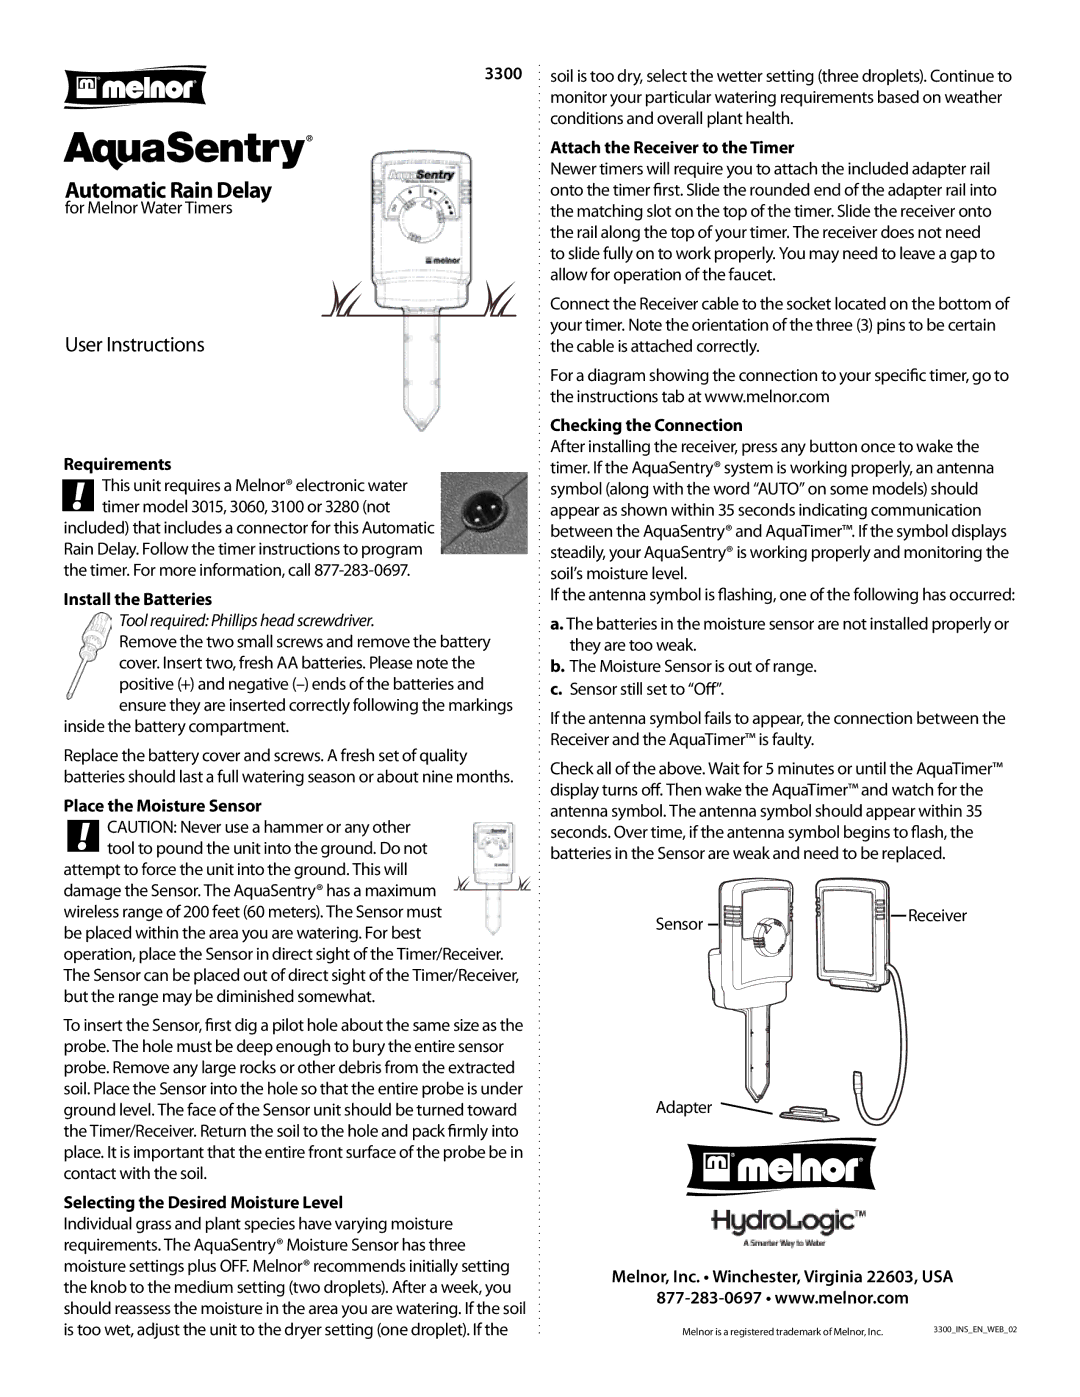
Melnor Industries 3300 manual Requirements, Install the Batteries, Place the Moisture Sensor, Checking the Connection

3300 specifications

Melnor Industries is well-known in the garden and landscaping industry, and their Melnor 3300 series is no exception. This innovative line of products primarily consists of garden watering solutions, offering both functionality and ease of use for the gardening enthusiast.

One of the main features of the Melnor 3300 is its adjustable spray patterns. The product typically includes a range of settings that allow users to customize water flow for various tasks, from gentle mists for delicate seedlings to strong jets for cleaning outdoor surfaces or watering established plants. This versatility ensures that all watering needs are met, no matter the task at hand.

Another key technology featured in the Melnor 3300 is its ergonomic design. The handle is designed for comfort, allowing users to operate the spray with ease for extended periods without causing fatigue. This thoughtful design encourages more effective and enjoyable gardening practices, making watering less of a chore and more of a pleasurable activity.

The Melnor 3300 often incorporates a durable construction, crafted from high-quality materials that resist wear and tear from regular use. This durability ensures that the product can withstand various weather conditions, making it a reliable option for year-round gardening activities. Furthermore, the materials used are generally lightweight yet sturdy, allowing for easy maneuverability.

One standout characteristic of the Melnor 3300 series is its built-in pressure adjustment feature. This allows users to control the pressure of the water flow, enabling a tailored experience that can adapt to different watering scenarios. Whether it’s for a gentle shower on delicate flowers or a strong stream to soak larger areas, controlling the pressure is essential for optimizing water usage and ensuring healthy plant growth.

In terms of maintenance, the Melnor 3300 is designed for easy cleaning and storage. Many units are equipped with features that minimize clogging and allow for quick disassembly when necessary. This focus on user convenience enhances the overall gardening experience, ensuring that even novice gardeners can easily manage their watering tasks.

Overall, the Melnor 3300 series combines functionality, user-friendly technologies, and robust construction, making it a valuable asset for any garden enthusiast. With a commitment to quality and performance, Melnor Industries continues to provide innovative solutions that inspire gardening creativity and efficiency in every garden setting.