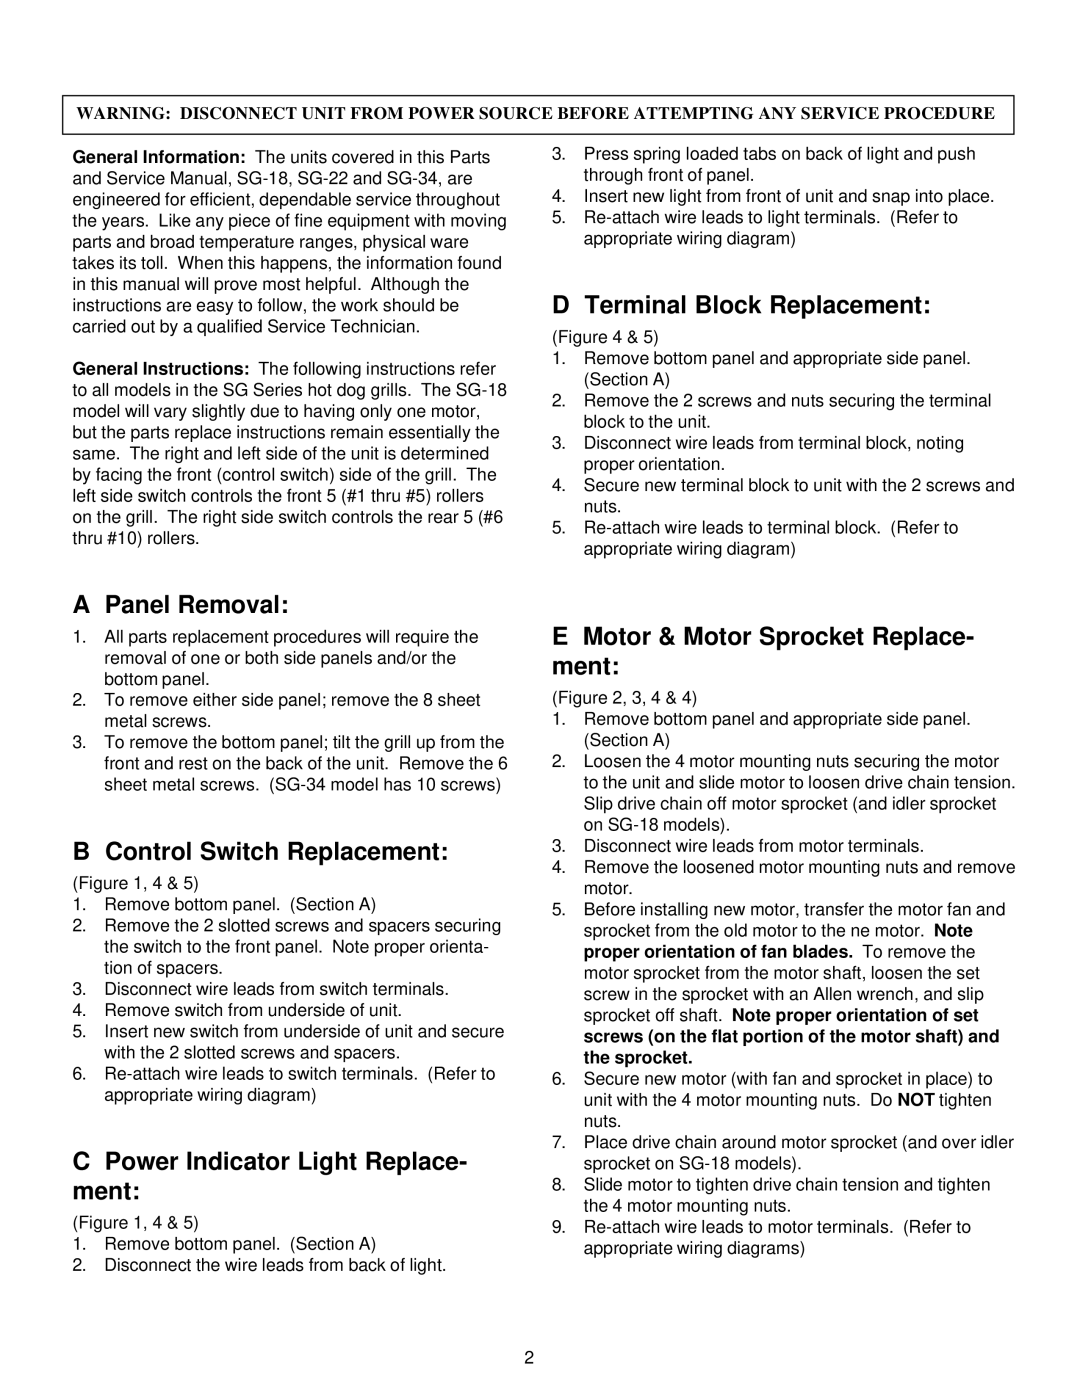
SG-22 specifications
The Merco Savory SG-22 is an innovative cooking and holding solution that is revolutionizing the foodservice industry. Designed with the commercial kitchen in mind, the SG-22 combines advanced technology with user-friendly features to enhance food quality and operational efficiency.One of the standout features of the SG-22 is its precise temperature control. This unit utilizes advanced thermal technology to maintain consistent cooking temperatures, ensuring that food is cooked evenly and retains optimal flavor and texture. The digital temperature display allows for accurate monitoring, providing chefs the confidence to deliver perfectly cooked dishes every time.
The SG-22 incorporates patented airflow technology that promotes uniform heat distribution throughout the cooking chamber. This innovation not only enhances cooking efficiency but also minimizes the risk of overcooking or undercooking. As a result, the SG-22 is ideal for a wide range of applications, from roasting meats to baking pastries, making it a versatile addition to any kitchen.
Another noteworthy characteristic of the Merco Savory SG-22 is its robust construction. Built with high-quality materials, the unit is designed to withstand the demands of a busy kitchen environment while ensuring longevity. The stainless-steel exterior is easy to clean and maintain, making it a practical choice for foodservice operators.
The SG-22 is equipped with user-friendly controls that simplify operation. The intuitive interface allows chefs to easily program cooking times and temperatures, streamlining the cooking process. Additionally, the unit features a built-in timer and an automatic shut-off function to enhance safety and energy efficiency.
For those interested in food safety, the Merco Savory SG-22 is designed to adhere to the highest industry standards. The unit is capable of holding food at safe temperatures without drying it out, ensuring that meals remain fresh and delicious. Its holding capabilities make it an essential tool in maintaining food quality during peak service hours.
In summary, the Merco Savory SG-22 is a high-performance cooking and holding unit that boasts precise temperature control, patented airflow technology, durable construction, and user-friendly operation. These features make it an invaluable asset for chefs looking to optimize their culinary creations while ensuring safety and efficiency in the kitchen. Whether for casual dining or high-volume service, the SG-22 is designed to meet the diverse needs of the modern foodservice landscape.
