Getting to Know the XTC-100/150
Batteries
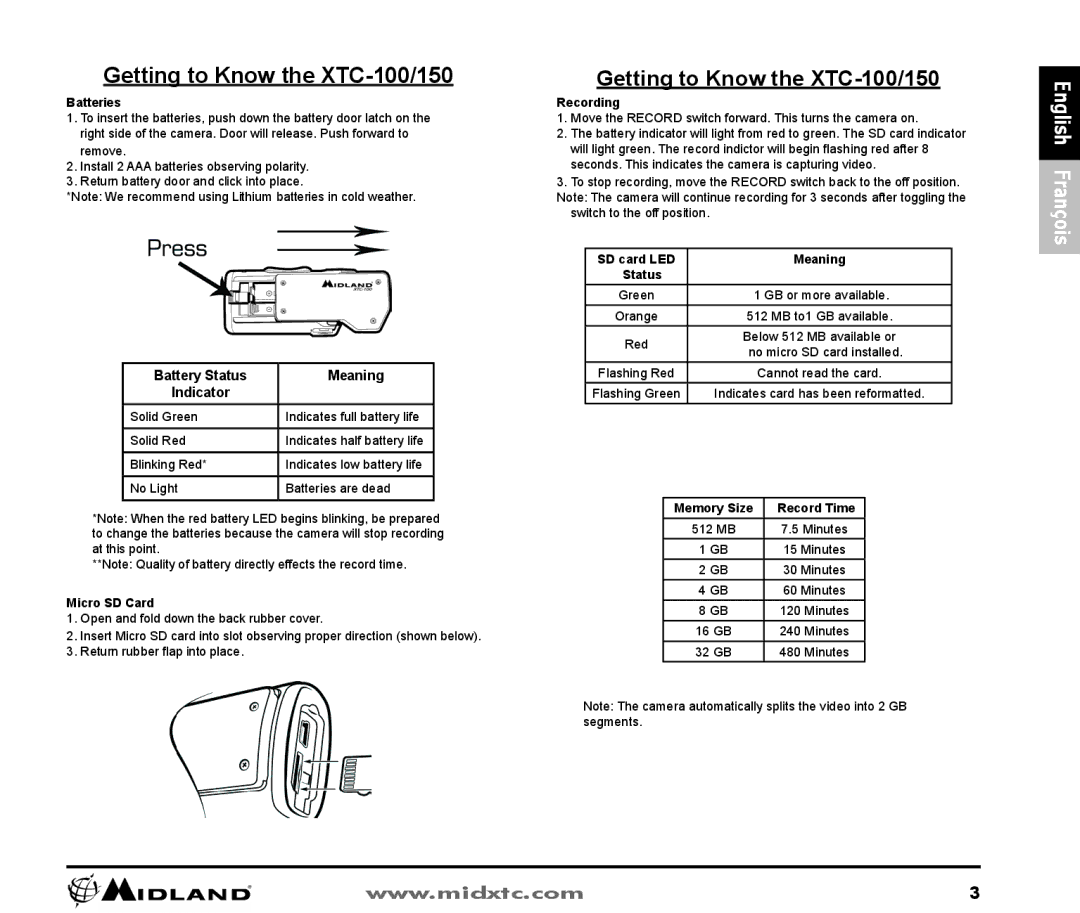
1.To insert the batteries, push down the battery door latch on the right side of the camera. Door will release. Push forward to remove.
2.Install 2 AAA batteries observing polarity.
3.Return battery door and click into place.
*Note: We recommend using Lithium batteries in cold weather.
Battery Status | Meaning |
Indicator |
|
Solid Green | Indicates full battery life |
Solid Red | Indicates half battery life |
Blinking Red* | Indicates low battery life |
No Light | Batteries are dead |
*Note: When the red battery LED begins blinking, be prepared to change the batteries because the camera will stop recording at this point.
**Note: Quality of battery directly effects the record time.
Micro SD Card
1.Open and fold down the back rubber cover.
2.Insert Micro SD card into slot observing proper direction (shown below).
3.Return rubber flap into place.
Getting to Know the
Recording
1.Move the RECORD switch forward. This turns the camera on.
2.The battery indicator will light from red to green. The SD card indicator will light green. The record indictor will begin flashing red after 8 seconds. This indicates the camera is capturing video.
3.To stop recording, move the RECORD switch back to the off position. Note: The camera will continue recording for 3 seconds after toggling the
switch to the off position.
SD card LED |
|
| Meaning | ||
Status |
|
|
|
| |
Green |
| 1 GB or more available. | |||
Orange |
| 512 MB to1 GB available. | |||
Red |
| Below 512 MB available or | |||
| no micro SD card installed. | ||||
|
|
| |||
Flashing Red |
| Cannot read the card. | |||
Flashing Green | Indicates card has been reformatted. | ||||
|
|
|
| ||
| Memory Size | Record Time |
| ||
|
| 512 MB |
| 7.5 Minutes |
|
|
| 1 GB |
| 15 Minutes |
|
|
| 2 GB |
| 30 Minutes |
|
|
| 4 GB |
| 60 Minutes |
|
|
| 8 GB |
| 120 Minutes |
|
|
| 16 GB |
| 240 Minutes |
|
|
| 32 GB |
| 480 Minutes |
|
Note: The camera automatically splits the video into 2 GB segments.
English François
www.midxtc.com | 3 |