XTC-200 specifications
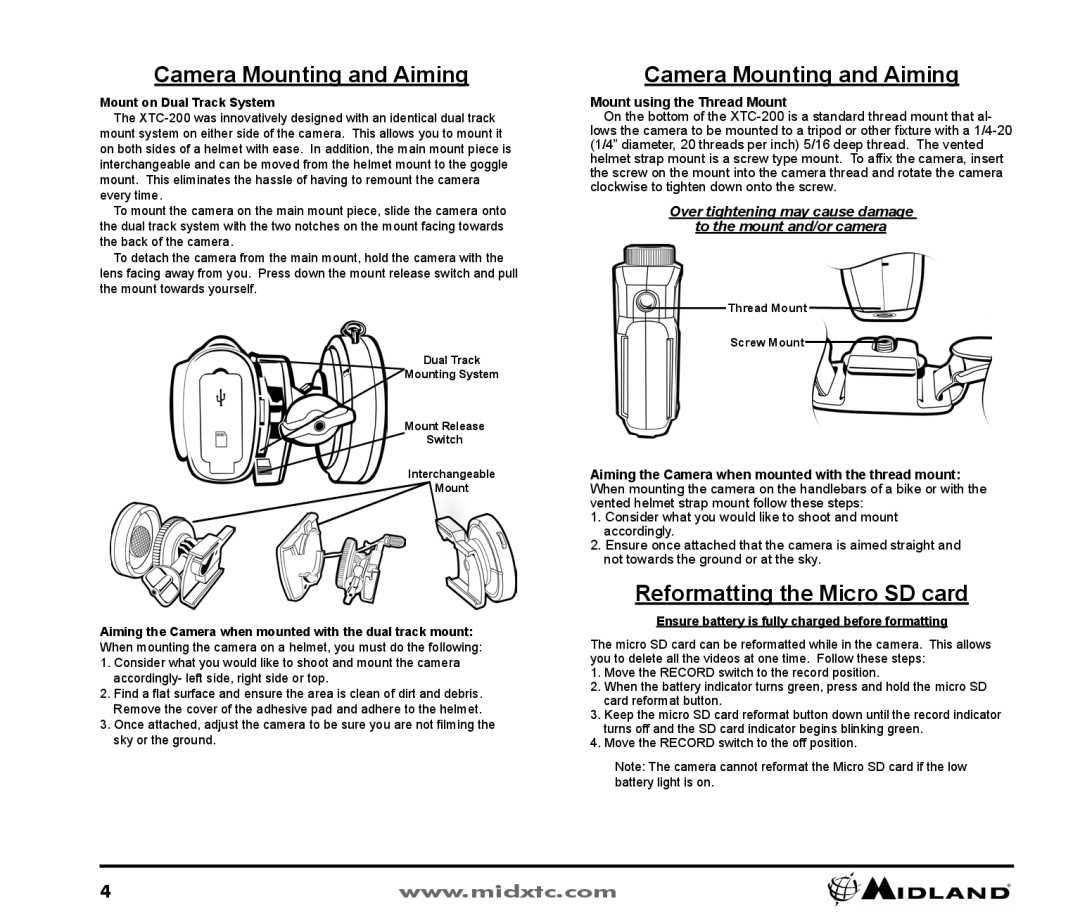
The Midland Radio XTC-200 is a compact and rugged camcorder that offers excellent performance for adventurous shooting. Designed for outdoor enthusiasts and active individuals, this device captures high-quality video and photos in various environments, making it an ideal companion for sports, travel, and everyday filming activities.One of the standout features of the XTC-200 is its high-definition video recording capability. The camcorder supports 1080p resolution, allowing users to capture stunningly clear videos that showcase every detail of their experiences. The 16-megapixel photo resolution further enhances its versatility, enabling users to take sharp and vibrant still images, ensuring lasting memories of their adventures.
The XTC-200 incorporates advanced image stabilization technology. This feature helps reduce the impact of shaky hands during shooting, making it easier to obtain smooth and steady footage, even in high-action situations. Whether on a bike ride or while engaging in extreme sports, users can rely on this technology to maintain video quality.
Durability is another key characteristic of the Midland XTC-200. The camcorder is designed to withstand harsh environments, featuring a waterproof casing that allows it to be submerged in water up to a certain depth. This enables users to take underwater shots or use the device in rainy conditions without worrying about damage.
The user interface of the XTC-200 is intuitive, featuring a simple button layout and a bright LCD screen that makes navigating settings and reviewing footage easy. The camcorder supports various shooting modes, including loop recording and time-lapse, allowing users to get creative and experiment with different filming techniques.
Connectivity is also a strong point of this camcorder. It includes built-in Wi-Fi, enabling seamless sharing of photos and videos to smartphones and tablets. Users can control the camera remotely via a dedicated app, providing additional flexibility and convenience.
In conclusion, the Midland Radio XTC-200 stands out as a versatile and reliable camcorder perfect for outdoor activities and adventures. With its high-definition recording capabilities, robust design, advanced stabilization technology, and user-friendly features, it caters to both casual users and dedicated content creators alike, enabling them to capture and share their experiences effortlessly.

