F1471VI specifications
The Miele F1471VI is a top-of-the-line integrated freezer that embodies advanced technology and robust features, making it a preferred choice for home chefs and appliance enthusiasts. This model is designed to seamlessly fit into kitchen cabinetry, offering a sleek and modern aesthetic while providing substantial storage capability and innovative functionalities.One of the standout features of the F1471VI is its generous storage capacity, which allows for the efficient organization of frozen foods. With multiple storage compartments, including adjustable shelves and drawers, users can easily categorize and access their frozen items. The unit boasts a total net capacity of around 243 liters, making it suitable for families or anyone who prefers to stock up on groceries.
The Miele F1471VI incorporates Miele’s Unobtrusive Technology, ensuring a whisper-quiet operation that makes it an excellent choice for open-plan living spaces. This model operates at a low noise level, which is especially important for users who value serenity in their home environment.
Another significant characteristic is the NoFrost technology, which eliminates the need for manual defrosting. This feature keeps the interior frost-free, thereby enhancing energy efficiency and preventing the buildup of ice. As a result, the F1471VI maximizes storage space while minimizing maintenance efforts.
Energy efficiency is a priority for Miele, and the F1471VI shines in this category as well. Rated with an impressive energy efficiency class, users can be assured that they will save on electricity bills without compromising on performance. This model also includes a SuperFreeze function, which quickly lowers the temperature inside the freezer for preserving the quality of food items when first stored.
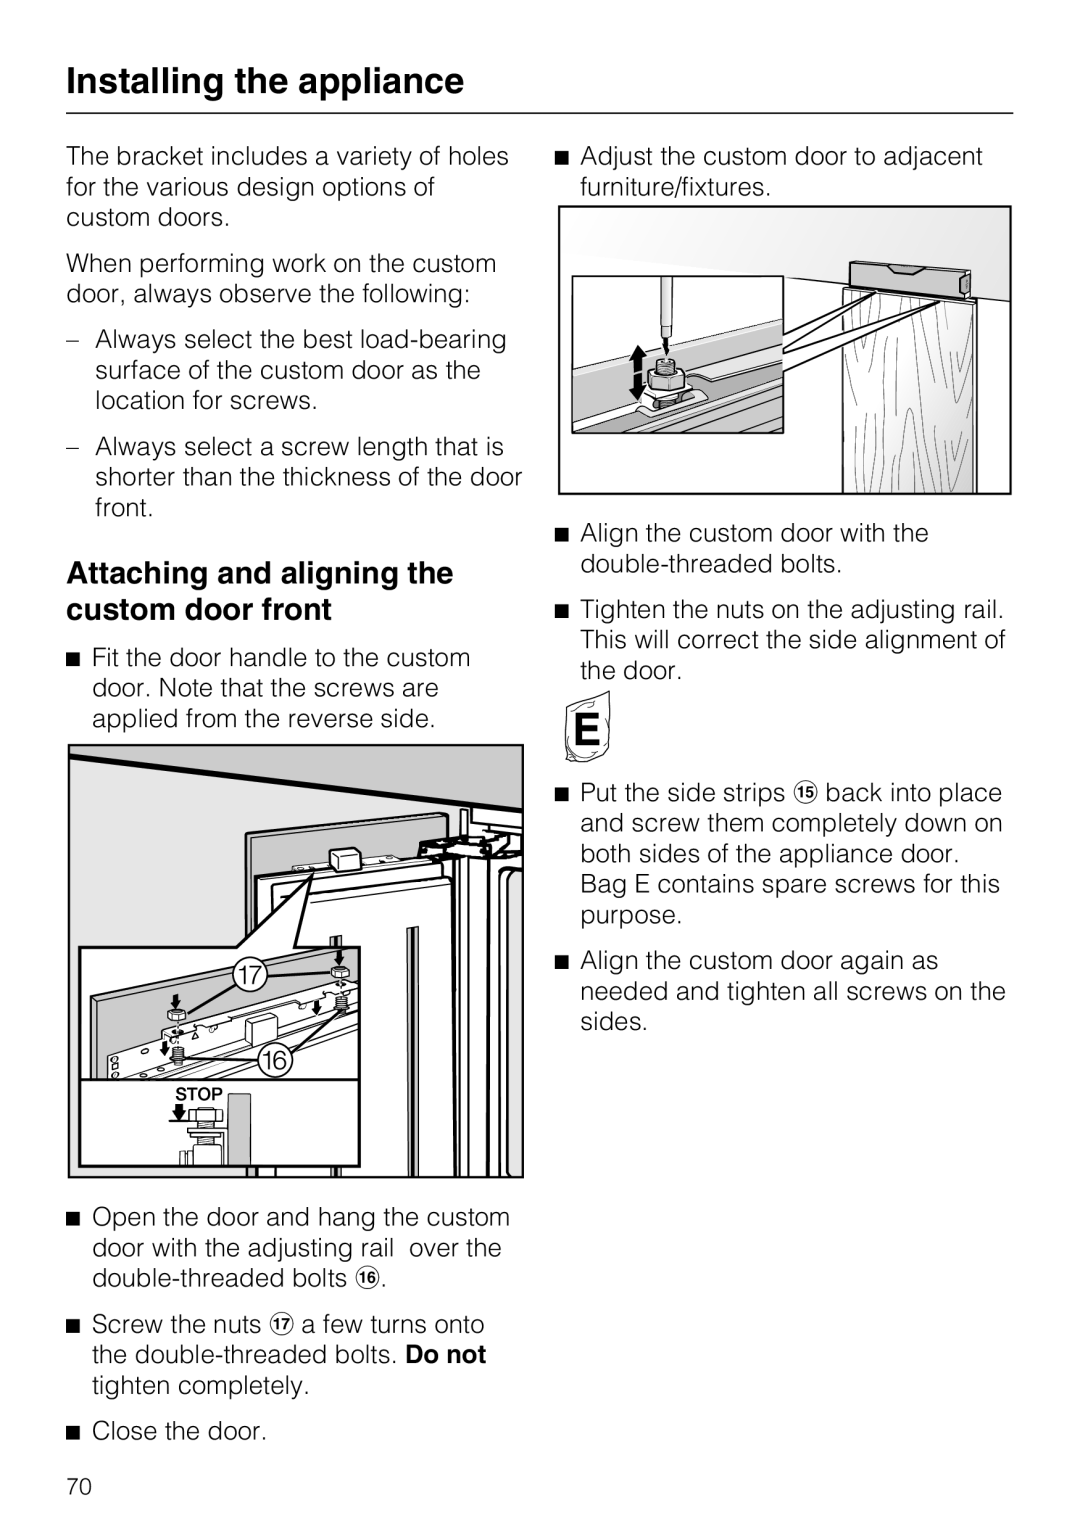
The F1471VI is equipped with a first-rate control system that utilizes an intuitive interface, allowing easy temperature adjustments and monitoring. The visual display can alert users to any fluctuations in temperature, ensuring that the contents remain in optimal storage conditions. Furthermore, the model is designed for easy installation and comes with a variety of connectivity features, making it compatible with smart home systems.
In summary, the Miele F1471VI is a blend of innovation, efficiency, and user-friendly design. Its key features, including ample storage, NoFrost technology, and high energy efficiency, make it a remarkable addition to any modern kitchen. This integrated freezer not only enhances food preservation but also complements the overall aesthetic of your culinary space.

