F 1411 Vi specifications
The Miele F 1411 Vi is a standout integrated freezer designed to offer users a seamless and efficient freezing experience. This model embodies Miele's commitment to quality and innovation, making it a brilliant choice for modern kitchens.One of the key features of the Miele F 1411 Vi is its generous storage capacity. With several adjustable shelves, it provides ample space for all your frozen goods, ensuring that you can store everything from bulk purchases to smaller items with ease. The unit's organization is enhanced by its user-friendly layout, which simplifies access and visibility of contents.
Another important characteristic is the No-Frost technology that Miele employs in the F 1411 Vi. This technology prevents the buildup of frost, meaning that there is no need for manual defrosting, saving valuable time and effort for users. Not only does this feature enhance convenience, but it also ensures optimal preservation conditions for food, maintaining quality and texture over time.
Miele's PerfectFresh technology is another signature feature present in the F 1411 Vi. It creates ideal storage conditions by keeping temperatures consistently low, which helps in maintaining the freshness of food items for an extended period. This is particularly beneficial for preserving the nutritional value of perishables.
Energy efficiency is also at the forefront of Miele's design, and the F 1411 Vi is no exception. It boasts an impressive energy rating, which not only helps reduce electricity bills but also aligns with environmentally friendly practices. This model runs quietly, minimizing noise disturbance, making it suitable for any household setting.
The F 1411 Vi is designed with an intelligent user interface that includes features like a digital temperature display, providing precise control over freezing conditions. Moreover, the model includes safety features such as a door alarm that alerts users if the door remains open for too long, further preserving food safety.
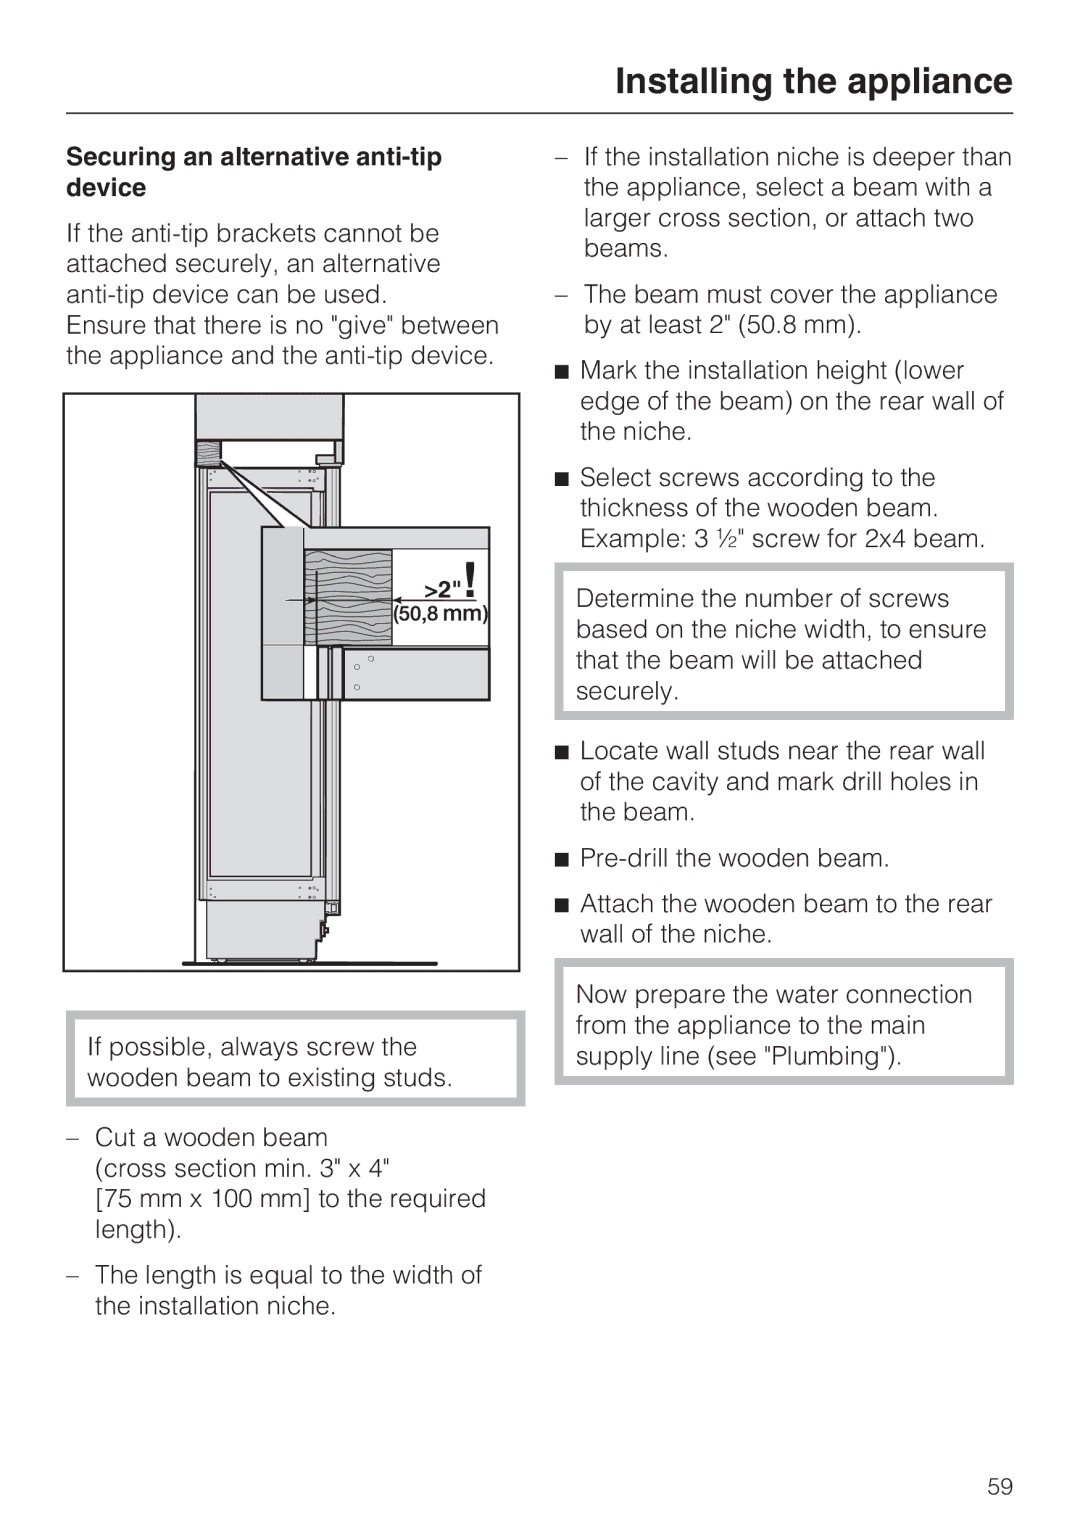
In terms of installation, the integrated design of the Miele F 1411 Vi allows for a sleek appearance that blends seamlessly into kitchen cabinetry. This aesthetic consideration, combined with its functionality, makes it a popular choice among homeowners looking for style and effectiveness.
In summary, the Miele F 1411 Vi offers a remarkable combination of space, technology, and efficiency. Its No-Frost technology, PerfectFresh features, energy efficiency, and integrated design make it an excellent addition to any kitchen. With Miele's reputation for quality, users can trust that the F 1411 Vi will meet their freezing needs while enhancing their culinary experience.

