
HS08 specifications
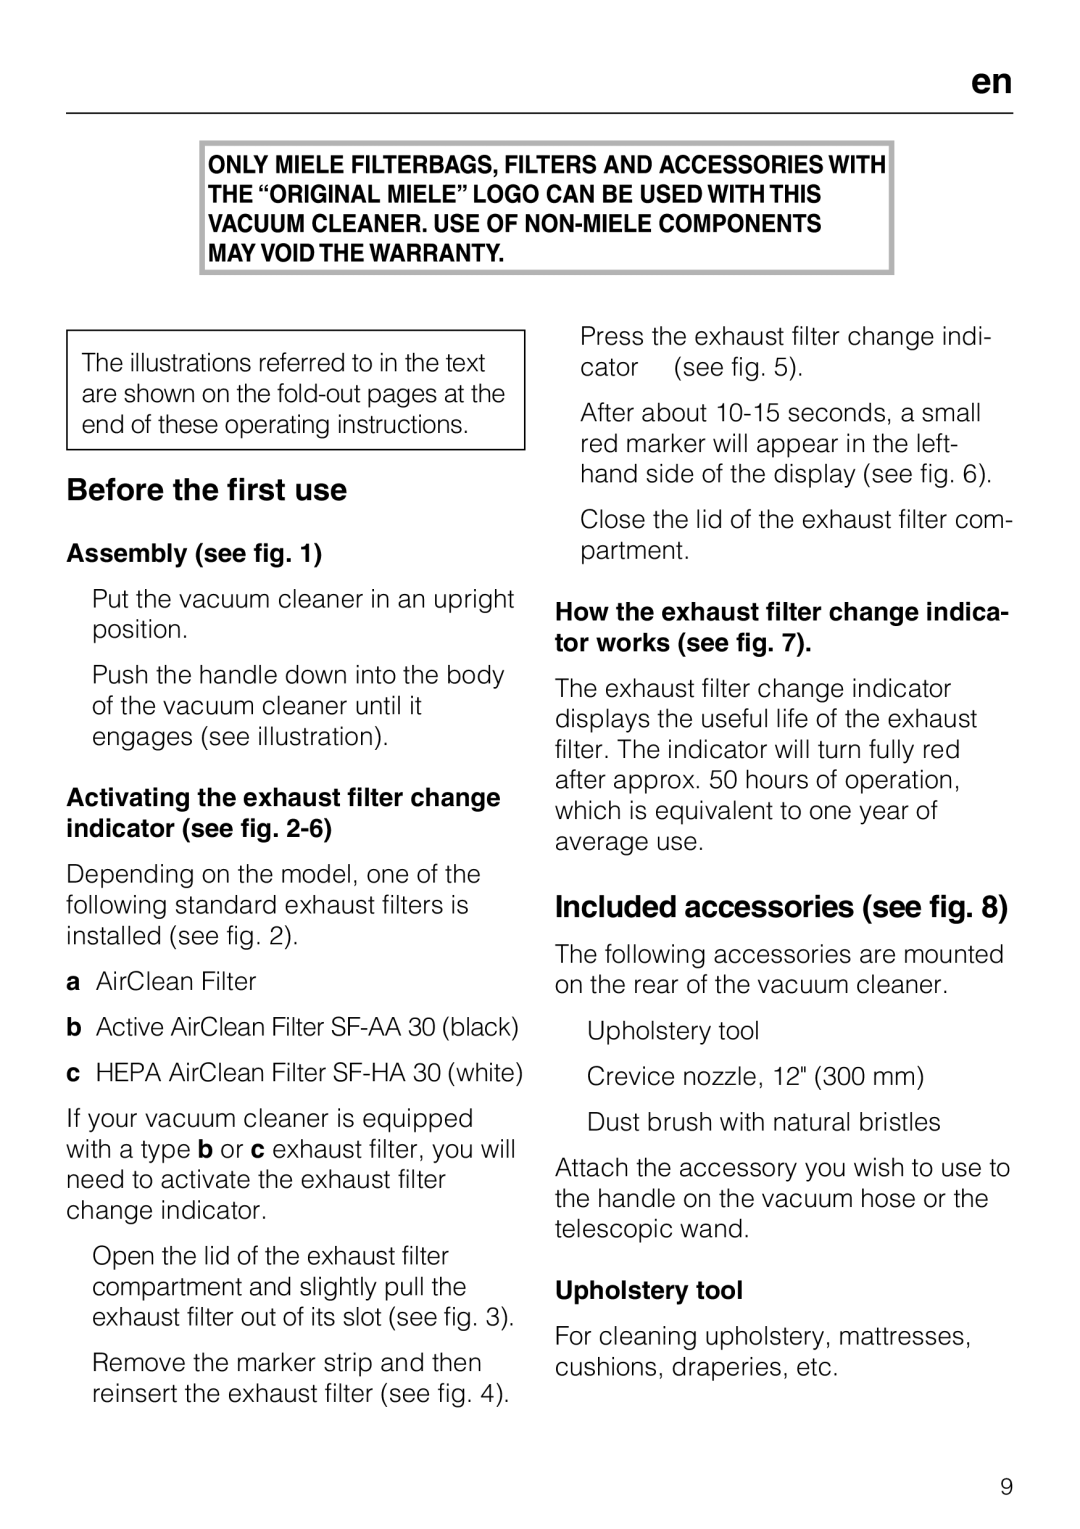
The Miele M-NR09753 090, HS08 is a premium vacuum cleaner that epitomizes the renowned quality and engineering excellence of Miele products. Designed for exceptional performance and convenience, this model is perfect for anyone seeking a sophisticated cleaning solution that blends innovation with practicality.One of the standout features of the Miele HS08 is its powerful yet energy-efficient motor. It includes Miele’s innovative Vortex technology, which enhances suction power while minimizing energy consumption. This means users can experience thorough cleaning results without incurring high energy costs. The vacuum also boasts a high-performance filtration system, incorporating a HEPA AirClean filter. This filter captures 99.99% of dust particles, making it an excellent choice for allergy sufferers and contributing to a healthier home environment.
The ergonomic design of the Miele HS08 ensures comfortable handling, featuring an adjustable telescopic wand that can be tailored to the user’s height. Its lightweight structure enhances maneuverability, allowing easy navigation around furniture and tight spaces. Additionally, the vacuum is equipped with large, smooth-running wheels for effortless movement across various floor types, from hardwood to carpets.
Another remarkable characteristic of the Miele M-NR09753 090 is its active floorhead, which automatically adjusts to different flooring surfaces. This intelligent feature optimizes cleaning efficiency, eliminating the need for manual adjustments. The vacuum also offers multiple suction power settings, catering to the needs of various surfaces and debris types.
Miele has integrated robust materials into the construction of the HS08, ensuring durability and long-lasting use. The vacuum is designed to withstand the rigors of daily cleaning, with a focus on easy maintenance and operation. The dust bag capacity is generous, allowing for extended cleaning sessions without constant replacements.
In conclusion, the Miele M-NR09753 090, HS08 combines innovative technology, user-friendly features, and high-quality construction. Its powerful motor, advanced filtration system, and versatile cleaning capabilities make it an ideal choice for those who prioritize cleanliness and efficiency in their homes. Whether dealing with pet hair, dust, or everyday dirt, this vacuum promises to deliver outstanding results with every use.