TOOL ASSEMBLY
WARNING!
To reduce the risk of injury, always unplug tool before attaching or removing accessories or making adjustments. Use only specifically recommended accessories. Others may be hazardous.
Installing Collets
MILWAUKEE Die Grinders feature a special collet and collet nut. The collet must be attached to the collet nut before installing the collet asembly to the tool. Be sure that the collet size matches the size of the mounted wheel mandrel you will use, otherwise the collet may break.
1.To assemble, place collet on an even surface, take nut and place over collet (Fig. 1).
Fig. 1
2.Position nut squarely over collet (Fig. 2).
Fig. 2
3.Snap nut and collet together by firmly applying downward pressure onto assembly with the palm of hand (Fig. 3).
Fig. 3
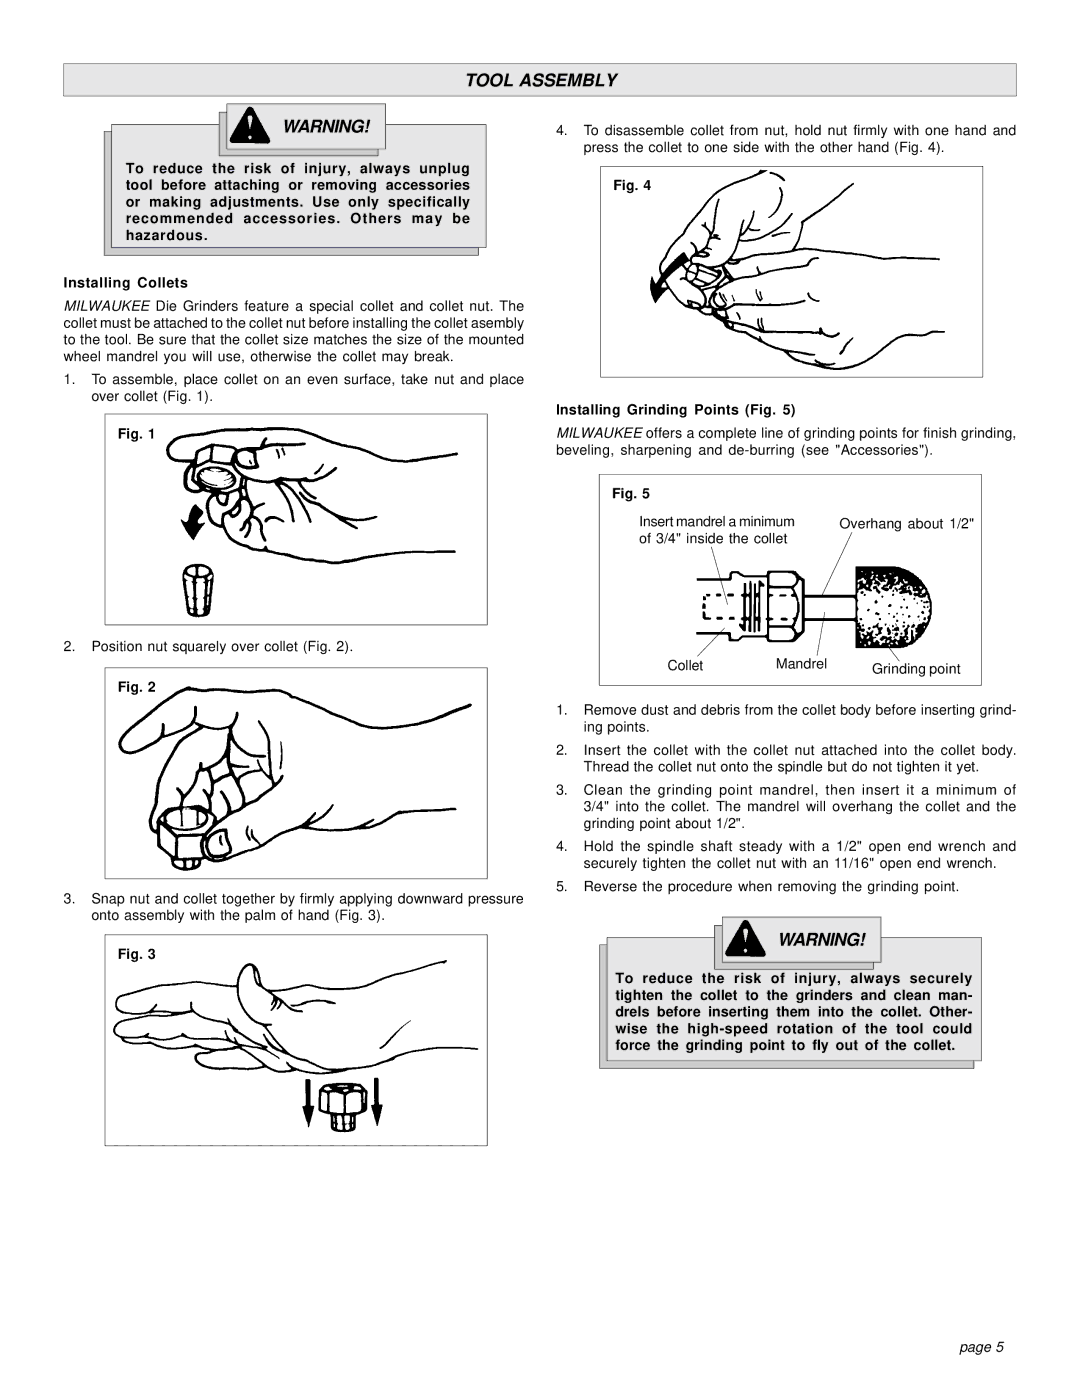
4.To disassemble collet from nut, hold nut firmly with one hand and press the collet to one side with the other hand (Fig. 4).
Fig. 4
Installing Grinding Points (Fig. 5)
MILWAUKEE offers a complete line of grinding points for finish grinding, beveling, sharpening and
Fig. 5 |
|
Insert mandrel a minimum | Overhang about 1/2" |
of 3/4" inside the collet |
|
Collet | Mandrel | Grinding point |
1.Remove dust and debris from the collet body before inserting grind- ing points.
2.Insert the collet with the collet nut attached into the collet body. Thread the collet nut onto the spindle but do not tighten it yet.
3.Clean the grinding point mandrel, then insert it a minimum of 3/4" into the collet. The mandrel will overhang the collet and the grinding point about 1/2".
4.Hold the spindle shaft steady with a 1/2" open end wrench and securely tighten the collet nut with an 11/16" open end wrench.
5.Reverse the procedure when removing the grinding point.
WARNING!
To reduce the risk of injury, always securely tighten the collet to the grinders and clean man- drels before inserting them into the collet. Other- wise the
page 5