GAMMA MODE-USER1

Adjusting projected images (continued)

To adjust the tone of white (COLOR TEMP.):

You can select a preset color temperature (white tone) using the menu. (See page 24 for menu setting.)

1.

Display the IMAGE menu.

2.

Select COLOR TEMP. by pressing the or button.

3.

Select your desired color temperature by pressing the or button.

To cancel the menu:

4. Press the MENU button.

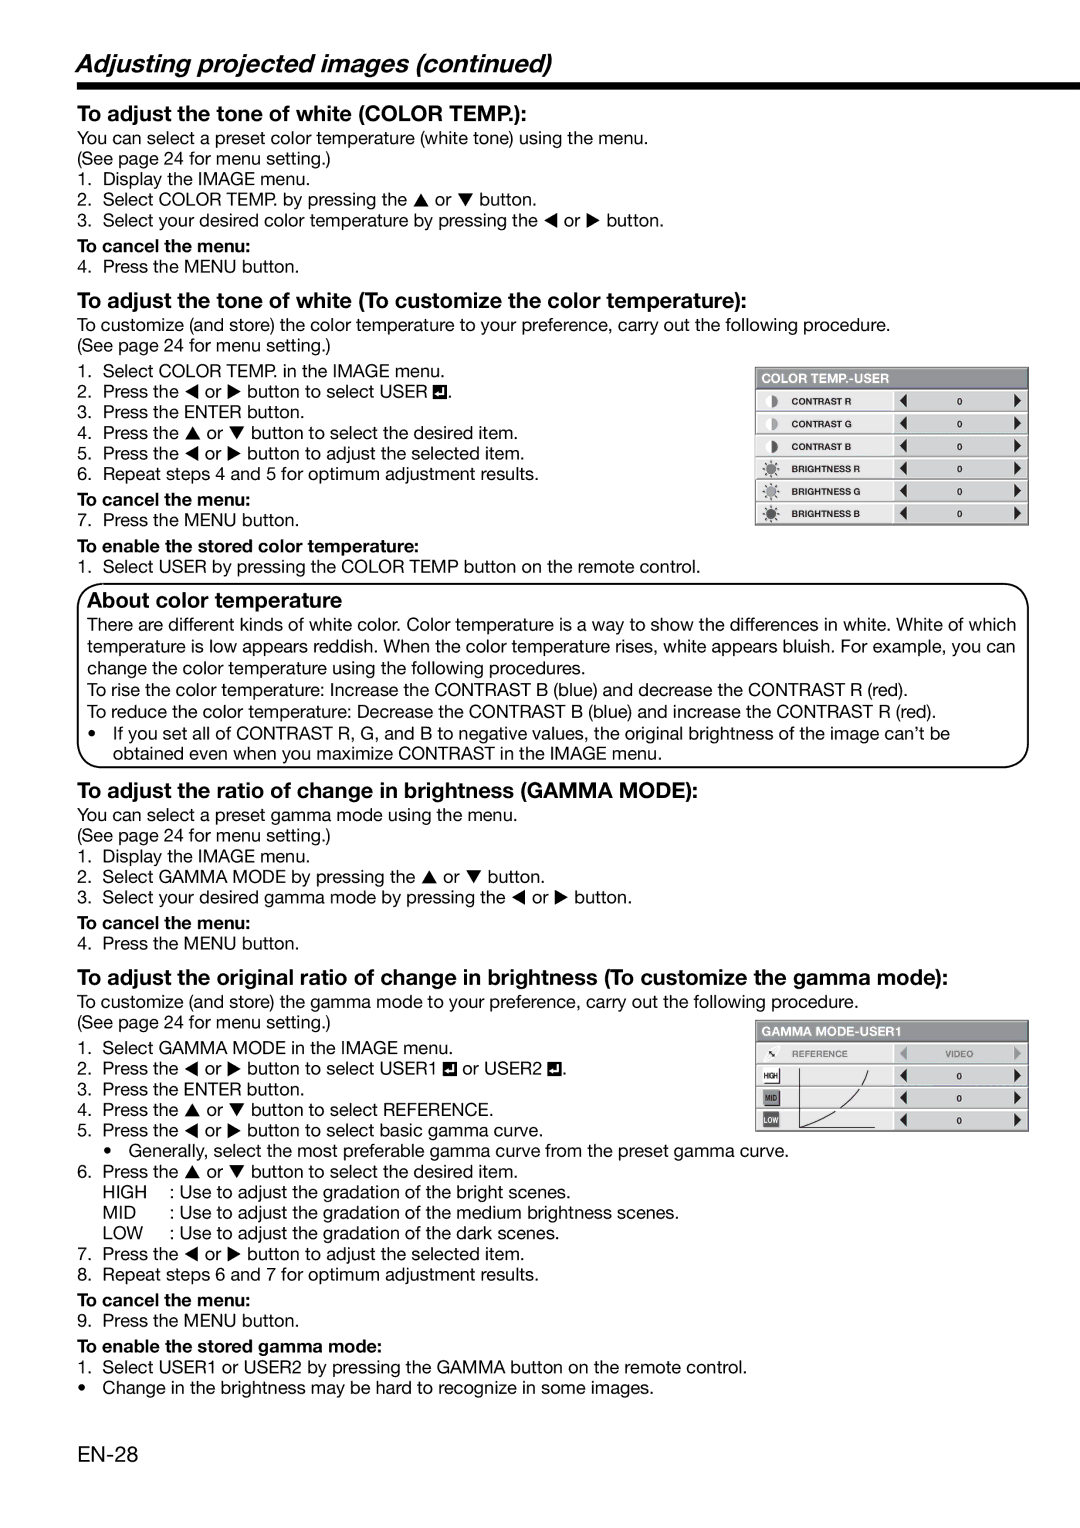
To adjust the tone of white (To customize the color temperature):

To customize (and store) the color temperature to your preference, carry out the following procedure. (See page 24 for menu setting.)

1.

Select COLOR TEMP. in the IMAGE menu.

2.

Press the

or

button to select USER


.


3.

Press the ENTER button.

4.

Press the

or

button to select the desired item.

5.

Press the

or

button to adjust the selected item.

6.

Repeat steps 4 and 5 for optimum adjustment results.

To cancel the menu:

7. Press the MENU button.

To enable the stored color temperature:

1. Select USER by pressing the COLOR TEMP button on the remote control.

About color temperature

COLOR TEMP.-USER

CONTRAST R

0


CONTRAST G

0


CONTRAST B

0


BRIGHTNESS R

0


BRIGHTNESS G

0


BRIGHTNESS B

0


There are different kinds of white color. Color temperature is a way to show the differences in white. White of which temperature is low appears reddish. When the color temperature rises, white appears bluish. For example, you can change the color temperature using the following procedures.

To rise the color temperature: Increase the CONTRAST B (blue) and decrease the CONTRAST R (red).

To reduce the color temperature: Decrease the CONTRAST B (blue) and increase the CONTRAST R (red).

If you set all of CONTRAST R, G, and B to negative values, the original brightness of the image can’t be obtained even when you maximize CONTRAST in the IMAGE menu.

To adjust the ratio of change in brightness (GAMMA MODE):

You can select a preset gamma mode using the menu. (See page 24 for menu setting.)

1.

Display the IMAGE menu.

2.

Select GAMMA MODE by pressing the or button.

3.

Select your desired gamma mode by pressing the or button.

To cancel the menu:

4. Press the MENU button.

To adjust the original ratio of change in brightness (To customize the gamma mode):

To customize (and store) the gamma mode to your preference, carry out the following procedure. (See page 24 for menu setting.)

1.

Select GAMMA MODE in the IMAGE menu.


REFERENCE

VIDEO


2.

Press the

or

button to select USER1


or USER2


.


HIGH


0


3.

Press the ENTER button.


MID


0


4.

Press the

or

button to select REFERENCE.


LOW


0


5.

Press the

or

button to select basic gamma curve.


• Generally, select the most preferable gamma curve from the preset gamma curve.


6.

Press the

or

button to select the desired item.


HIGH

: Use to adjust the gradation of the bright scenes.


MID

: Use to adjust the gradation of the medium brightness scenes.


LOW

: Use to adjust the gradation of the dark scenes.


7.

Press the

or

button to adjust the selected item.


8.

Repeat steps 6 and 7 for optimum adjustment results.


To cancel the menu:

9. Press the MENU button.

To enable the stored gamma mode:

1.Select USER1 or USER2 by pressing the GAMMA button on the remote control.

• Change in the brightness may be hard to recognize in some images.

EN-28

Page 28
Image 28
Mitsubishi Electronics HD1000 Adjusting projected images, To adjust the tone of white Color Temp, About color temperature

HD1000 specifications

The Mitsubishi Electronics HD1000 is a powerful and versatile projector designed to meet the needs of professionals and educators alike. Known for its remarkable image quality and advanced features, the HD1000 has become a popular choice in various settings, including conference rooms, classrooms, and home theaters.

One of the standout features of the HD1000 is its high-definition resolution. With a native resolution of 1920x1080 pixels, this projector delivers stunning images with exceptional clarity and detail. This makes it ideal for displaying presentations, videos, and other visual content, ensuring that every detail can be seen by the audience.

The brightness of the HD1000 is another notable characteristic, boasting a luminous output of up to 3000 ANSI lumens. This high brightness level allows it to perform well even in well-lit environments, making it suitable for daylight use in larger rooms. Additionally, the contrast ratio of 10,000:1 enhances the overall visual experience, providing rich colors and deep blacks that contribute to an immersive viewing experience.

Mitsubishi has incorporated advanced technological features in the HD1000 to enhance its functionality. The projector supports 3D content, allowing users to present dynamic visuals that engage and captivate audiences. The seamless integration of 3D technology is ideal for educational institutions where interactive and engaging content is crucial for effective learning.

Another prominent feature is the projector's connectivity options. The HD1000 includes multiple input ports, such as HDMI, VGA, and composite video, ensuring compatibility with various devices, including laptops, Blu-ray players, and gaming consoles. This flexibility makes it easy to switch between different sources without the hassle of complicated setups.

Furthermore, the HD1000 is designed with energy efficiency in mind. It employs eco-friendly technologies that reduce power consumption when not in active use, extending the lifespan of the lamp and minimizing operational costs. This is an essential feature for businesses and schools looking to reduce their environmental footprint while ensuring reliability and performance.

In terms of user experience, the HD1000 features an intuitive interface and remote control, allowing for effortless operation and adjustments. Its compact and lightweight design ensures portability, making it easy to transport and set up in various locations.

In summary, the Mitsubishi Electronics HD1000 is a versatile and feature-rich projector that excels in delivering high-definition visuals. With its impressive brightness, advanced connectivity, and energy-efficient design, it serves as an excellent choice for any professional setting or educational institution.