Setup Procedure

1. Determine the installation location

CAUTION: DO NOT ATTEMPT TO INSTALL THE LCD MONITOR BY YOURSELF.

Installing your LCD display must be done by a qualified technician. Contact your dealer for more information.

CAUTION: MOVING OR INSTALLING THE LCD MONITOR MUST BE DONE BY TWO OR MORE PEOPLE.

Failure to follow this caution may result in injury if the LCD monitor falls.

CAUTION: Do not mount or operate the display upside down, face up, or face down.

CAUTION: This LCD has a temperature sensor and cooling fan. If the LCD becomes too hot, the cooling fan will turn on automatically. If the LCD becomes overheated and the cooling fan is running, the “Caution” menu will appear. If the “Caution” menu appears, discontinue use and allow the unit to cool. When the LCD monitor is used in an enclosure or with protection on LCD surface, please check the inside temperature of monitor by “HEAT STATUS” (See page 28). The temperature is too hot than normal condition, please set “cooling fan” to ON on SCREEN SAVER function (See page 24).

IMPORTANT: Lay the protective sheet, which was wrapped around the LCD monitor when it was packaged, beneath the LCD monitor so as not to scratch the panel.

2. Install the remote control batteries

The remote control is powered by 1.5V AA batteries. To install or replace batteries:

1.Press and slide to open the cover.

2.Align the batteries according to the (+) and (–) indications inside the case.

3.Replace the cover.

3. Connect external equipment (See pages 13-17)

To protect the connected equipment, turn off the main power before making connections.

Refer to your equipment user manual.

4. Connect the supplied power cord

The power outlet socket should be installed as near to the equipment as possible, and should be easily accessible.

Fully insert the prongs into the power outlet socket. Loose connection may cause noise.

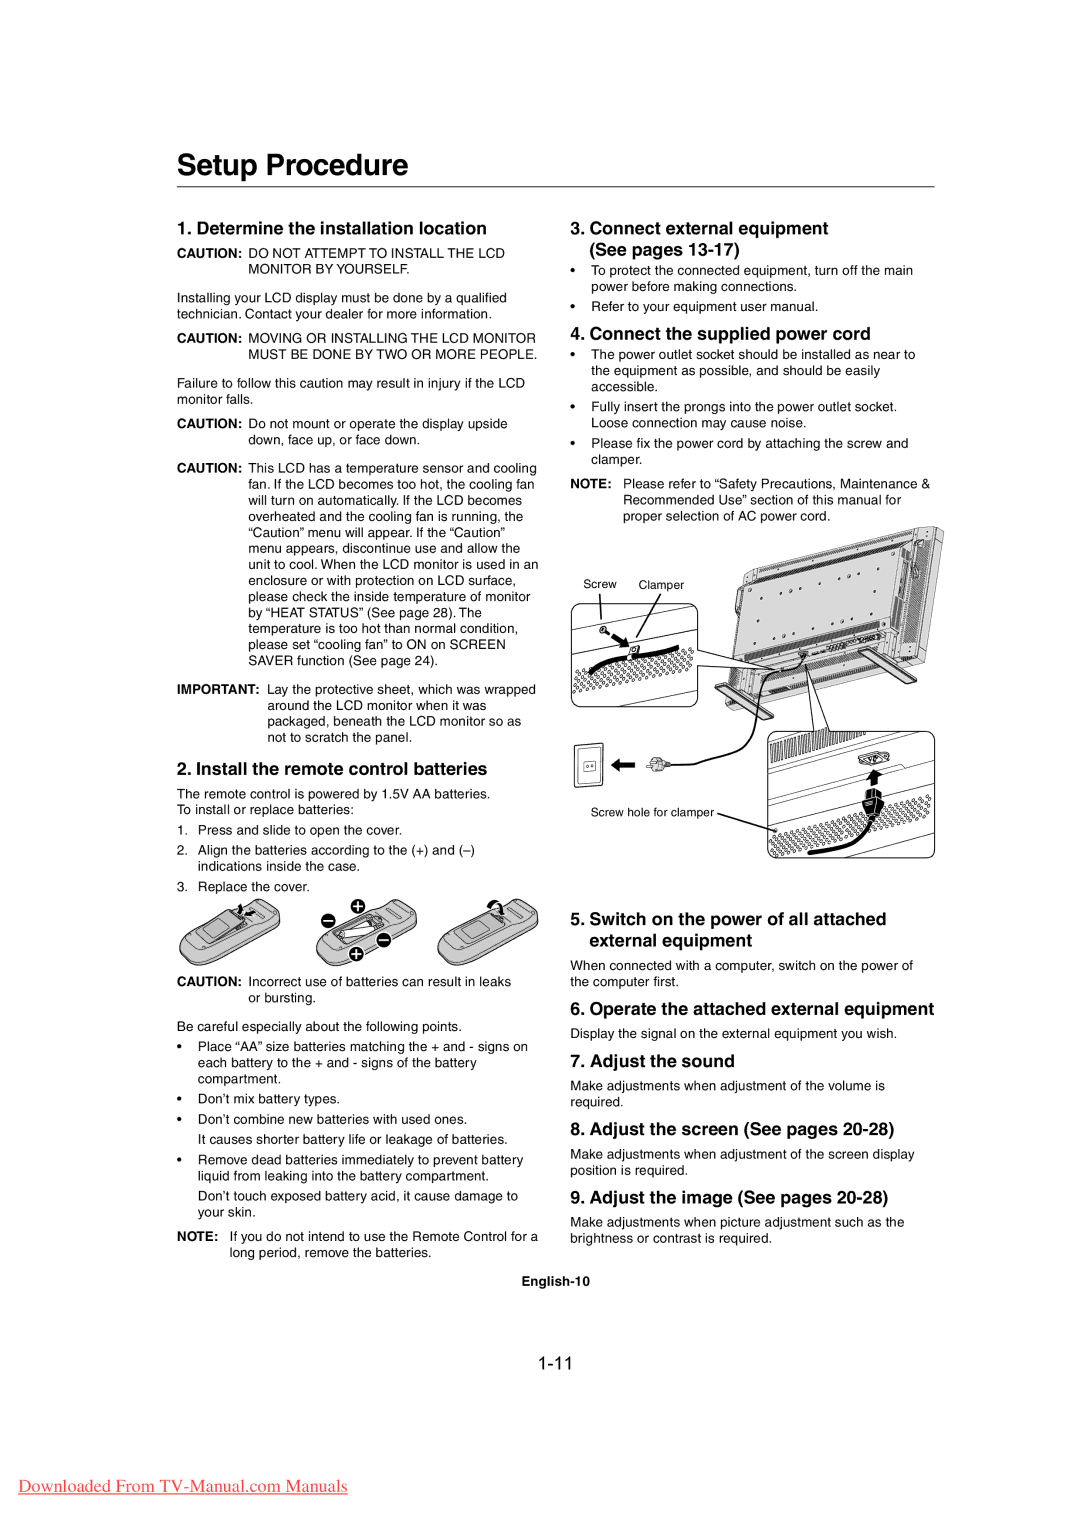
Please fix the power cord by attaching the screw and clamper.

NOTE: Please refer to “Safety Precautions, Maintenance & Recommended Use” section of this manual for proper selection of AC power cord.

Screw Clamper

Screw hole for clamper

CAUTION: Incorrect use of batteries can result in leaks or bursting.

Be careful especially about the following points.

Place “AA” size batteries matching the + and - signs on each battery to the + and - signs of the battery compartment.

Don’t mix battery types.

Don’t combine new batteries with used ones.

It causes shorter battery life or leakage of batteries.

Remove dead batteries immediately to prevent battery liquid from leaking into the battery compartment.

Don’t touch exposed battery acid, it cause damage to your skin.

NOTE: If you do not intend to use the Remote Control for a long period, remove the batteries.

5.Switch on the power of all attached external equipment

When connected with a computer, switch on the power of the computer first.

6. Operate the attached external equipment

Display the signal on the external equipment you wish.

7. Adjust the sound

Make adjustments when adjustment of the volume is required.

8. Adjust the screen (See pages 20-28)

Make adjustments when adjustment of the screen display position is required.

9. Adjust the image (See pages 20-28)

Make adjustments when picture adjustment such as the brightness or contrast is required.

English-10

1-11

Downloaded From TV-Manual.com Manuals

Page 11
Image 11
Mitsubishi Electronics MDT461S, MDT402S user manual Setup Procedure

MDT461S, MDT402S specifications

Mitsubishi Electronics has long been known for its commitment to innovation and performance, and the MDT402S and MDT461S display models exemplify these ideals. These models stand out in the market for their unique combination of advanced features, powerful technology, and user-friendly characteristics, making them ideal for diverse applications ranging from business presentations to high-end entertainment.

The MDT402S is a 40-inch display, while the MDT461S boasts a slightly larger 46-inch screen. Both models feature a slim and sleek design that allows them to seamlessly fit into any environment, whether it be a corporate boardroom, retail space, or educational facility. Their thin bezels maximize the viewing area, ensuring a stunning visual experience without distractions.

One of the key features of the MDT402S and MDT461S is their high-definition resolution, which delivers crystal-clear images with vibrant colors. The displays utilize advanced LCD technology to enhance brightness and contrast levels, allowing for excellent visibility even in brightly lit environments. This makes them perfect for displaying presentations, videos, and detailed graphics with accuracy and clarity.

In addition to superior picture quality, these models incorporate Mitsubishi's cutting-edge image processing technologies, which improve motion handling and reduce blurriness in fast-moving images. This is particularly beneficial in dynamic environments where real-time content is key.

Connectivity is another strong point for the MDT402S and MDT461S. Both models offer multiple input options, including HDMI, VGA, and composite, ensuring compatibility with a wide array of devices. This versatility allows users to effortlessly connect laptops, media players, and other peripherals without hassle.

For users seeking energy efficiency, Mitsubishi's displays come with eco-friendly features that comply with energy standards, helping organizations minimize their carbon footprint while cutting down on long-term operating costs.

Furthermore, the MDT402S and MDT461S are designed for continuous operation, making them reliable choices for environments that demand round-the-clock performance. Their durability and low maintenance requirements also reduce downtime, thereby enhancing productivity.

In summary, the Mitsubishi Electronics MDT402S and MDT461S displays offer a powerful combination of high-quality visuals, advanced technologies, and flexible connectivity options. Their commitment to design and functionality makes them an excellent investment for any professional setting, ensuring that users achieve their communication goals effectively and efficiently.