SD105U specifications
The Mitsubishi Electronics SD105U is a cutting-edge projector designed to cater to a variety of presentations and display needs, blending portability with advanced features that enhance user experience. This model stands out in several areas, such as brightness output, resolution, and connectivity options, making it suitable for business, educational institutions, and even home use.At the heart of the SD105U is its high brightness output of 3,000 ANSI lumens, which ensures that presentations remain vivid and clear even in well-lit rooms. This feature is critical for auditoriums or conference rooms where ambient light can often wash out visuals. Coupled with a contrast ratio of 2,000:1, the projector produces deep blacks and vibrant colors, contributing to sharp images and detailed presentations.
The SD105U supports a native resolution of XGA (1024x768), making it ideal for displaying high-quality images, graphics, and text. This resolution is well-suited for PowerPoint presentations and academic lectures, providing clarity that captures and retains audience attention. Additionally, the projector features a range of aspect ratios, including 16:9 for widescreen displays, allowing for versatility depending on the content being projected.
One of the key technologies incorporated into the SD105U is the 3LCD system, which employs three separate LCD panels for red, green, and blue light. This design not only enhances color reproduction but also minimizes the risk of color breakup, leading to smoother and more realistic visuals. As a result, users can expect impressive color accuracy and lifelike images.
In terms of connectivity, the SD105U is equipped with multiple input options, including HDMI, VGA, and USB ports. This range of connectivity allows for seamless integration with various devices, whether it's laptops, media players, or even smartphones, ensuring that users can easily share their content. Additionally, the projector supports digital and analog signals, enhancing its compatibility with older equipment.
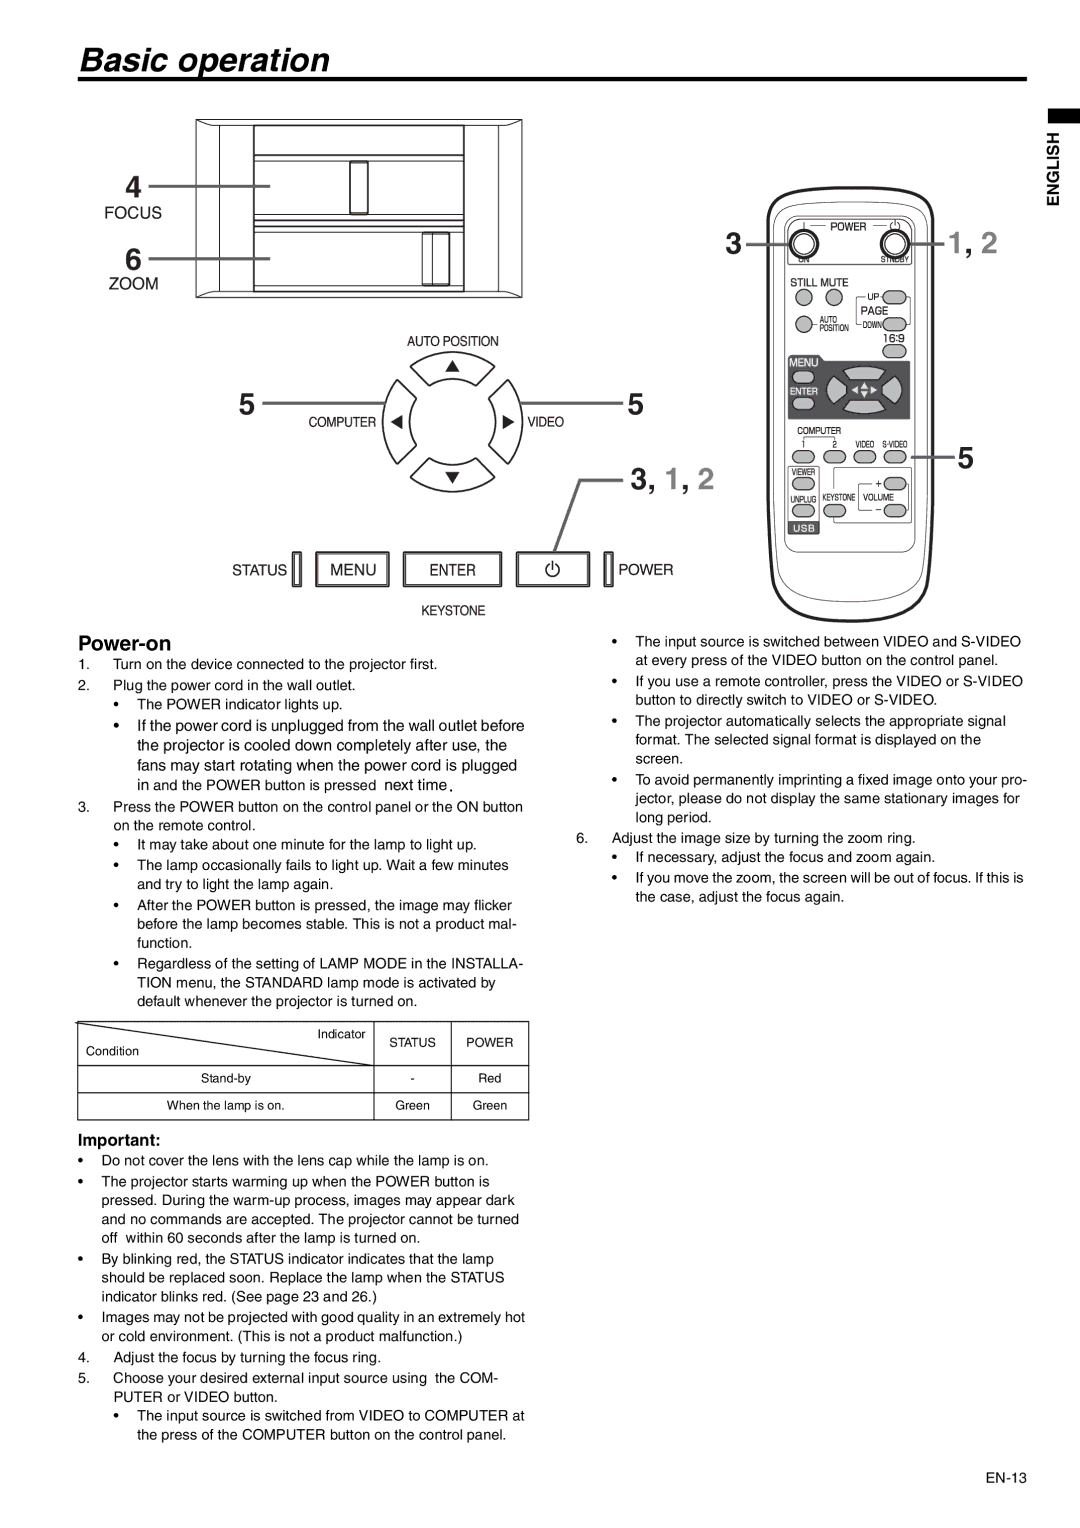
The SD105U is also designed with user convenience in mind. Features like a lightweight chassis and robust carry handle make it portable, perfect for professionals on the go. It also includes a quick-start option, allowing users to power up the device rapidly and get started without delays, crucial for time-sensitive presentations.
Moreover, its lamp life spans up to 5,000 hours in economy mode, reducing the need for frequent replacements and lowering overall maintenance costs. This longevity is a significant benefit for institutions and businesses looking to minimize downtime and expenses.
In summary, the Mitsubishi Electronics SD105U is a versatile projector that combines high brightness, excellent image quality, and practicality, making it an ideal solution for various applications. Whether used in business, education, or entertainment, its advanced technologies and features ensure that users can deliver impactful presentations that leave a lasting impression.

