
MH35LPTS specifications
The Mr. Heater MH35LPTS is a powerful and versatile portable propane heater designed for both indoor and outdoor use. It is particularly favored by those who require a reliable heating source in various settings, including garages, workshops, camping sites, and during emergencies. With its blend of functionality and ease of use, the MH35LPTS has become a popular choice among consumers looking for efficient heating solutions.One of the key features of the MH35LPTS is its impressive heating capacity, producing up to 35,000 BTUs per hour. This makes it capable of warming spaces of up to 800 square feet, ensuring that users can maintain a comfortable environment even in colder conditions. Operating on a standard 20 lb. propane tank, the heater is not only efficient but also cost-effective, as propane tends to be a more affordable fuel option compared to electric heating systems.
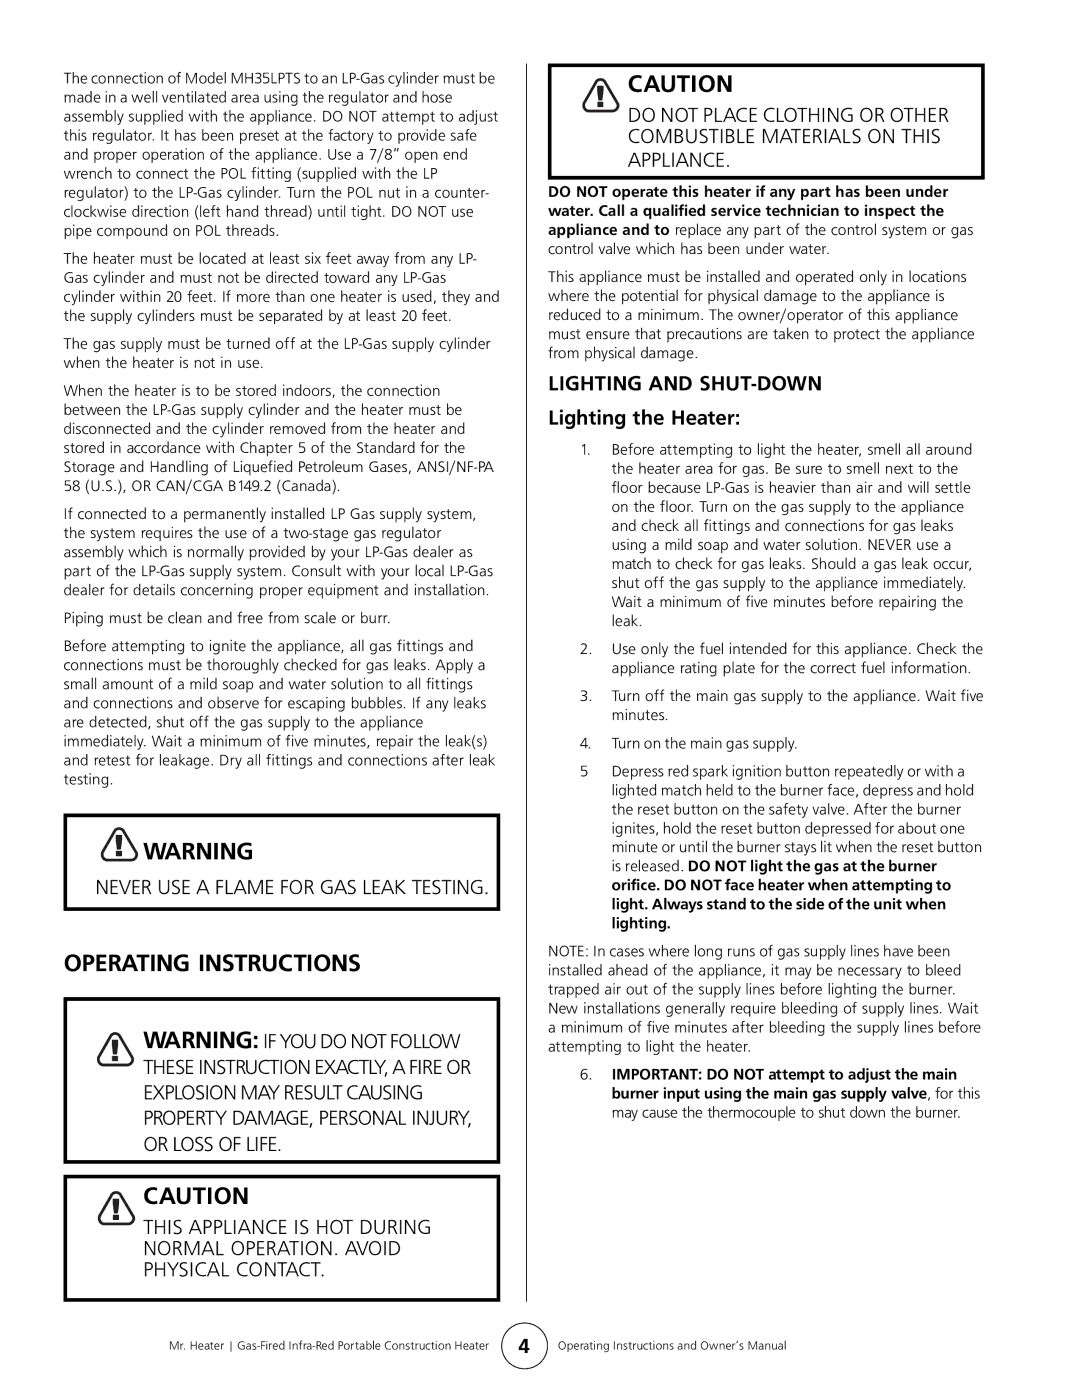
The Mr. Heater MH35LPTS incorporates advanced safety features, including an automatic low oxygen shut-off system (ODS) and a tip-over safety shut-off valve. These safety mechanisms ensure that the heater will turn off automatically if oxygen levels drop too low or if the unit is accidentally knocked over, providing peace of mind for users, especially when using the heater indoors.
Another significant characteristic of the MH35LPTS is its ease of portability. With a lightweight design and a built-in carry handle, the heater can be easily moved from one location to another, making it ideal for various applications. Whether you need warmth for a construction site or comfort during a camping trip, this heater can be transported with minimal effort.
The heater also features an adjustable heat setting, allowing users to customize the temperature according to their preferences. The straightforward control mechanism ensures that even those who are not familiar with heating equipment can easily operate it.
In summary, the Mr. Heater MH35LPTS is an excellent choice for anyone in need of a reliable and efficient heating solution. With its robust heating capacity, essential safety features, portable design, and user-friendly controls, this propane heater effectively meets the demands of both indoor and outdoor use. Whether for work or leisure, the MH35LPTS stands out as a dependable option for generating warmth when it is needed the most.