The extension cord is fastened with a cable tie to the rear of the auger housing for shipping purposes. Cut the cable tie and remove it before operating the snow thrower.
CAUTION: Prior to operating your snow thrower, refer to Auger Control Test on page 11. Read and follow all instructions carefully, and perform all adjustments to verify your snow thrower is operating safely and properly.
Shear Pin Storage (optional)
An area for convenient shear pin storage is located at the rear of the dash panel.
Drift Cutters (If Equipped)
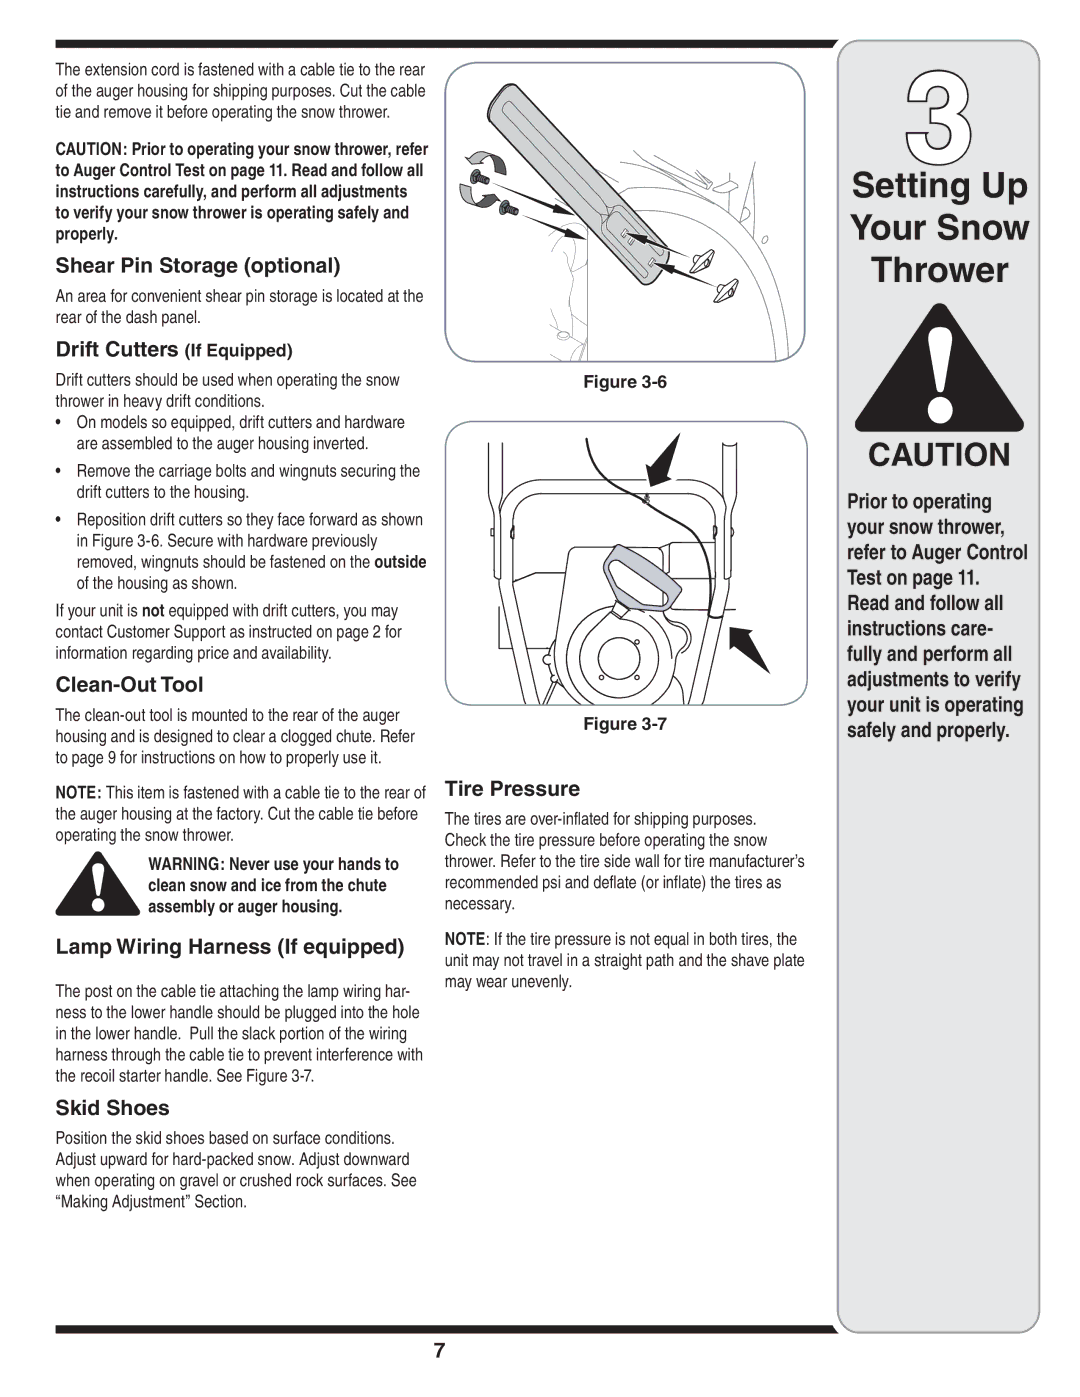
Drift cutters should be used when operating the snow thrower in heavy drift conditions.
•On models so equipped, drift cutters and hardware are assembled to the auger housing inverted.
•Remove the carriage bolts and wingnuts securing the drift cutters to the housing.
•Reposition drift cutters so they face forward as shown in Figure
If your unit is not equipped with drift cutters, you may contact Customer Support as instructed on page 2 for information regarding price and availability.
Clean-Out Tool
The
NOTE: This item is fastened with a cable tie to the rear of the auger housing at the factory. Cut the cable tie before operating the snow thrower.
WARNING: Never use your hands to clean snow and ice from the chute assembly or auger housing.
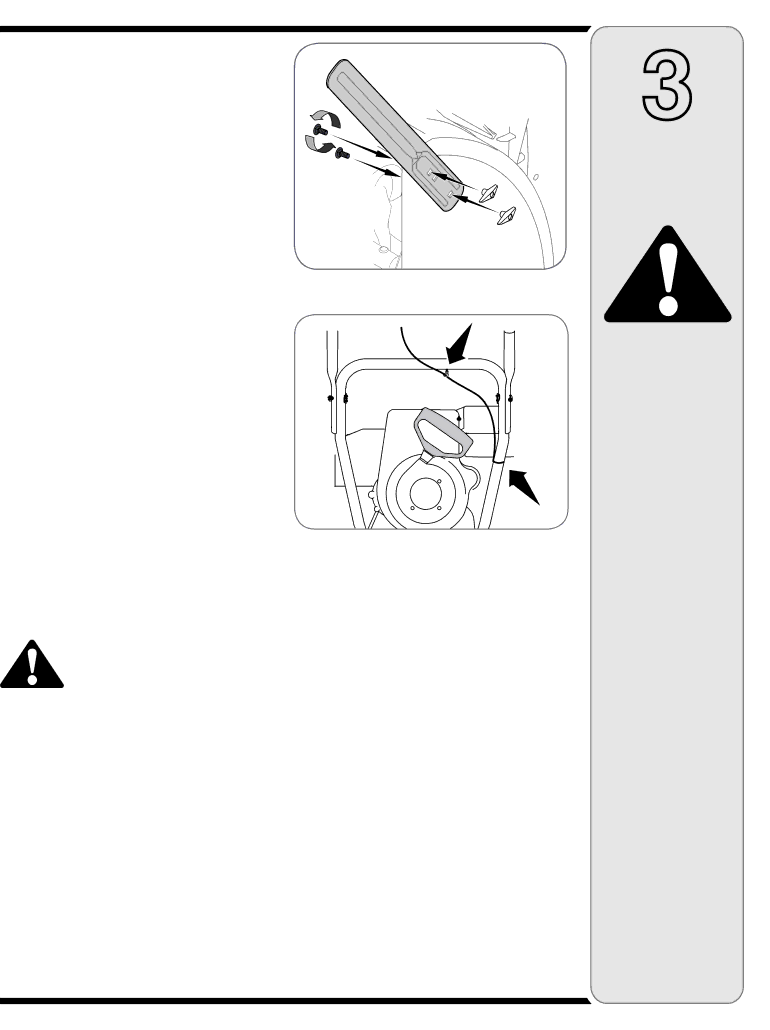
Lamp Wiring Harness (If equipped)
The post on the cable tie attaching the lamp wiring har- ness to the lower handle should be plugged into the hole in the lower handle. Pull the slack portion of the wiring harness through the cable tie to prevent interference with the recoil starter handle. See Figure
Skid Shoes
Position the skid shoes based on surface conditions. Adjust upward for
Figure
Figure
Tire Pressure
The tires are
NOTE: If the tire pressure is not equal in both tires, the unit may not travel in a straight path and the shave plate may wear unevenly.
3
Setting Up
Your Snow
Thrower
CAUTION
Prior to operating your snow thrower, refer to Auger Control Test on page 11. Read and follow all instructions care- fully and perform all adjustments to verify your unit is operating safely and properly.
7