
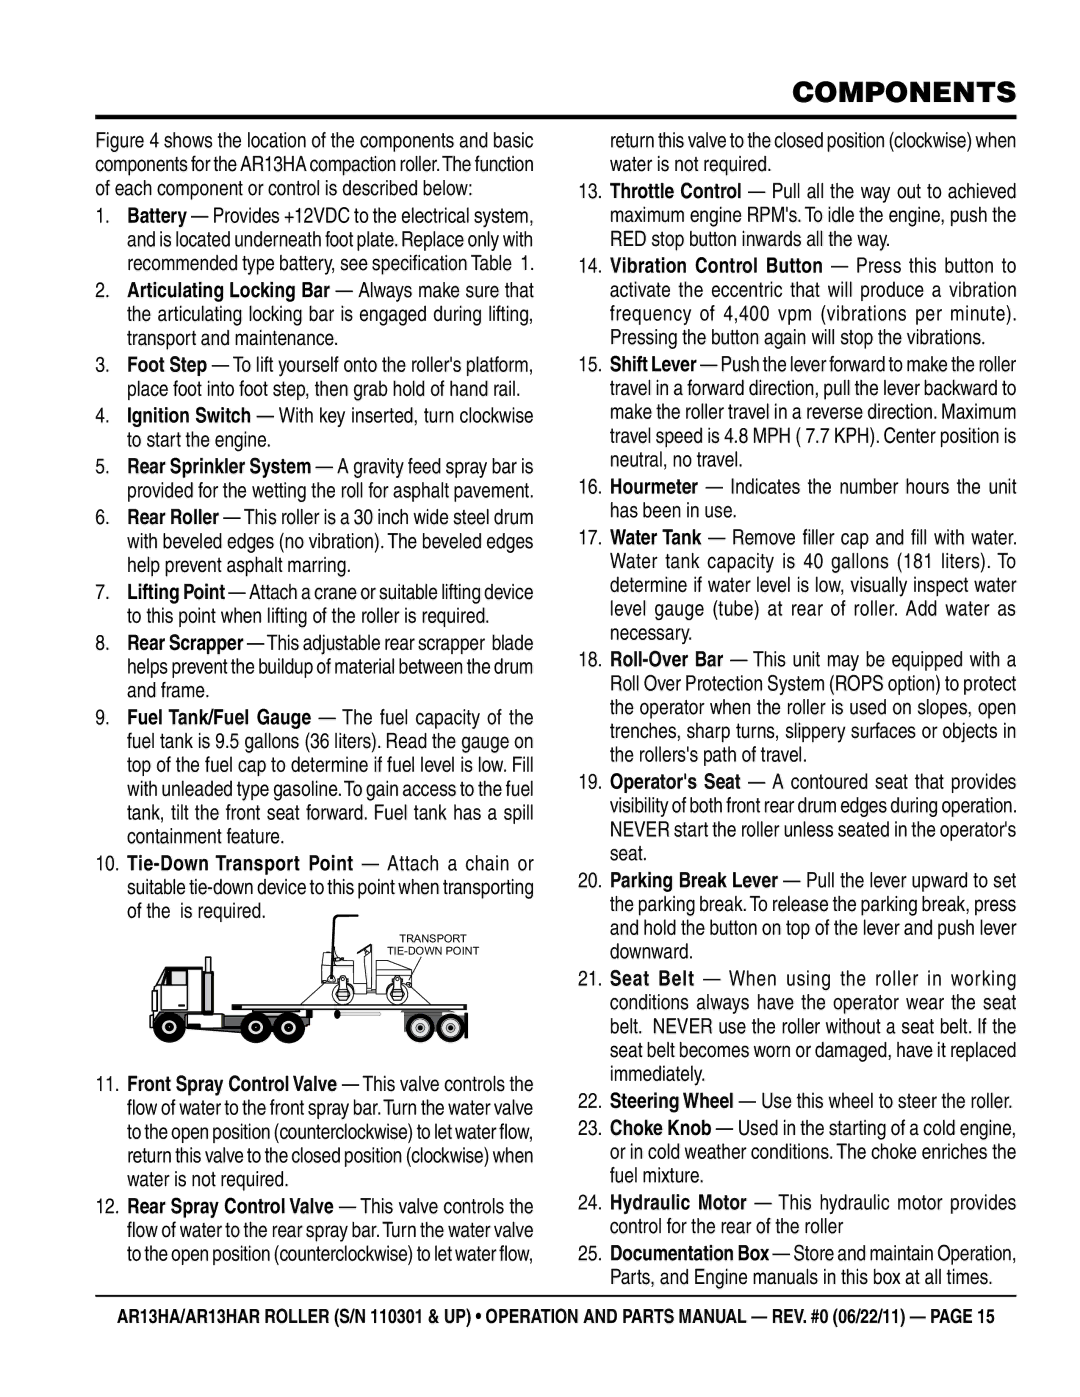
AR13HA, AR13HAR specifications
The Multiquip AR13HAR and AR13HA are advanced, rugged, and efficient walk-behind rollers designed for various construction and road maintenance applications. These compact rollers are specifically engineered to handle asphalt and soil compaction tasks, making them ideal for both professional contractors and do-it-yourself enthusiasts seeking high-quality performance in compact spaces.One of the standout features of the Multiquip AR13HAR and AR13HA is their excellent maneuverability. With their tight turning radius, these rollers can easily navigate confined areas, allowing for effective compaction even in challenging sites. This makes them particularly useful for patching, trench work, and other localized applications.
The AR13HAR model is equipped with a reliable water-cooled engine that delivers robust power, ensuring consistent performance throughout the compaction process. The hydraulic system offers smooth operation, allowing operators to adjust the roller's speed and direction with ease. The self-propelled functionality further enhances user experience, catering to various operator preferences.
In terms of compaction capability, both models are fitted with high-frequency vibrating plates that facilitate superior compaction results. The AR13HAR and AR13HA can achieve impressive compaction depths, making them suitable for a wide range of material types. Users can expect consistent and uniform compaction across the working surface, which is essential for building durable pavements and bases.
Another important aspect is their durability. Multiquip has crafted the AR13HAR and AR13HA with robust materials, ensuring that they can withstand the rigors of construction sites. The rollers feature reinforced frames and sturdy drums designed to endure harsh conditions, contributing to a longer lifespan with less maintenance required.
Safety is also a priority in the design of these rollers. They come equipped with essential features like an emergency stop switch and operator protection measures to ensure a secure working environment. Additionally, the ergonomic controls are intuitively positioned, promoting operator comfort and reducing fatigue during extended use.
Overall, the Multiquip AR13HAR and AR13HA represent a perfect fusion of power, agility, and safety in compact roller technology. Their impressive features and robust design make them a reliable choice for professionals looking to enhance efficiency and productivity in their compaction projects. Whether it's a small repair task or a larger construction job, the Multiquip AR13 series can deliver results that meet and exceed expectations.