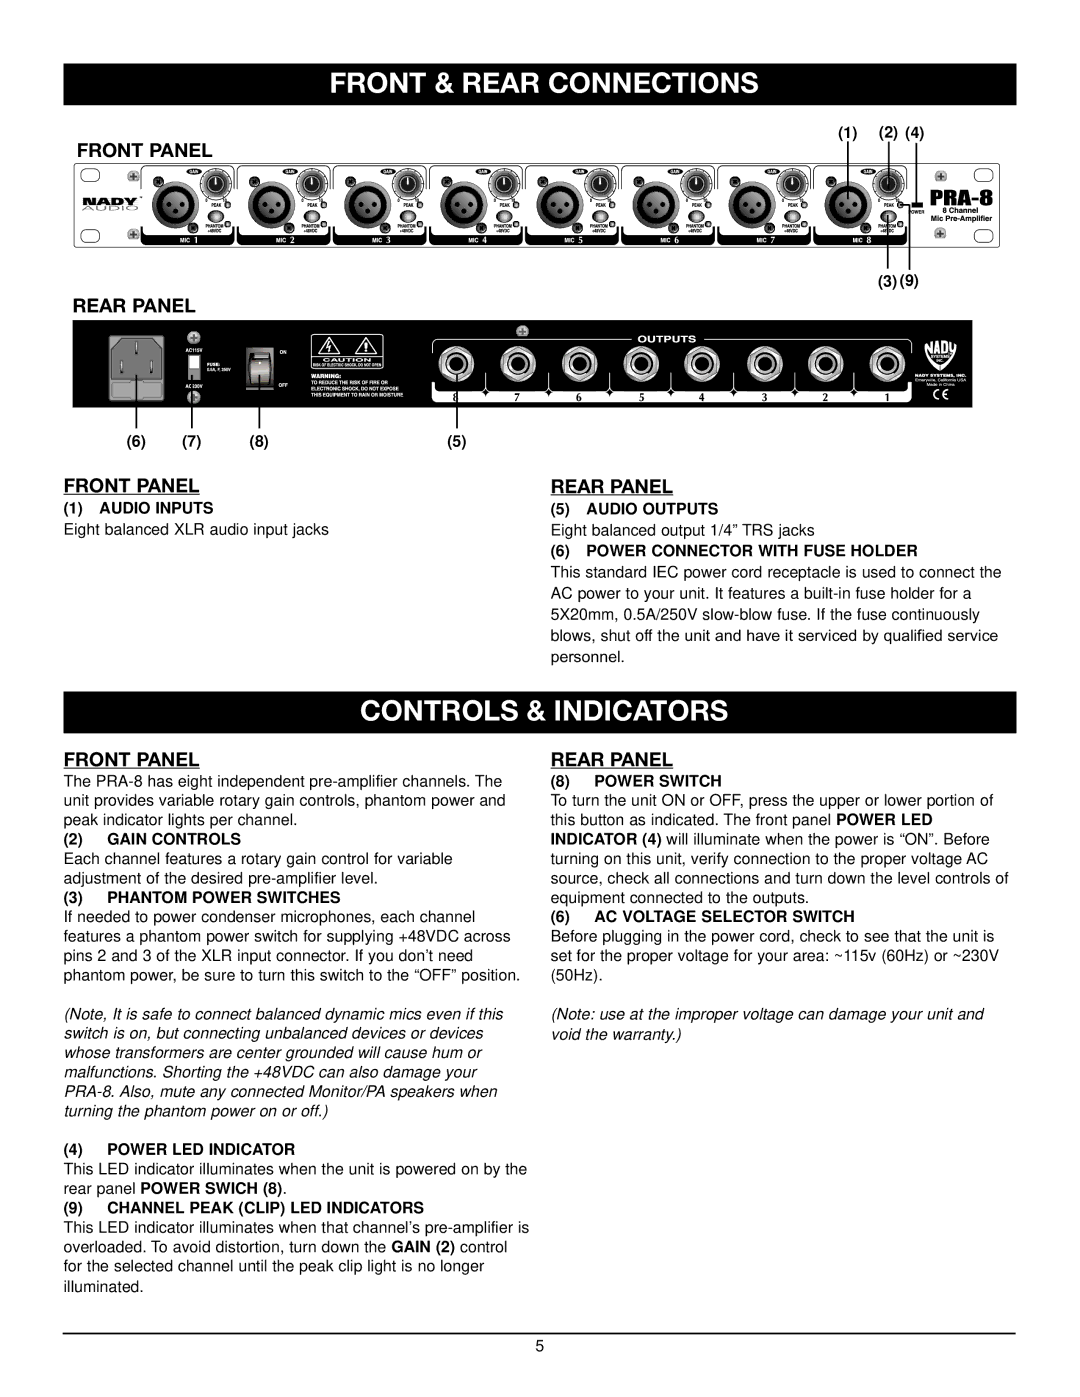
PRA-8 specifications
The Nady Systems PRA-8 is a professional wireless microphone system known for its reliability and versatility, making it a popular choice for performers, presenters, and event organizers. This system is particularly valued for its robust performance in various environments, whether it’s a small venue or a large stadium.One of the main features of the PRA-8 is its UHF (Ultra High Frequency) operation, which assures a stable signal transmission and a superior sound quality. The UHF range is known for its lesser susceptibility to interference compared to VHF systems, allowing users to enjoy clear audio without dropouts. The PRA-8 is equipped with a diverse range of frequencies, enabling users to choose the least congested channels for optimal performance.
The PRA-8 features a true diversity receiver, which includes two separate receivers that operate simultaneously. This technology significantly reduces the chances of dropout while enhancing the overall sound quality. The diversity system switches between receivers automatically, picking the strongest signal available and ensuring a seamless audio experience.
Another notable characteristic of the PRA-8 is its easy setup and operation. The system comes with a compact receiver that is user-friendly, allowing for quick adjustments and monitoring of audio levels. The intuitive interface ensures that users can easily manage their audio settings without extensive technical knowledge.
The microphone options available with the PRA-8 system are also commendable. It supports handheld microphones and lavalier options, catering to a variety of performance styles. The handheld microphone features a high-impedance dynamic capsule, providing excellent sound fidelity, while the lavalier microphone is discreet and ideal for presentations, interviews, or theatrical performances.
Furthermore, the PRA-8 features a compact design that facilitates portability and ease of use. The system is lightweight, making it suitable for both permanent installations and mobile applications. Battery life is another advantage, with extended use from standard batteries, reducing the need for frequent replacements.
In conclusion, the Nady Systems PRA-8 wireless microphone system combines advanced technology with practical features, offering a reliable solution for audio professionals. Its UHF operation, true diversity reception, easy setup, and versatile microphone options make it an exceptional choice for both live performances and public speaking events.

