
UHF 10 specifications
Nady Systems has long been recognized for its innovative audio solutions, and their UHF 10 wireless microphone system exemplifies the brand’s commitment to quality and performance. Designed for a variety of applications, the UHF 10 system is ideal for live performances, presentations, and studio recordings, ensuring that users enjoy crystal-clear audio without the limitations of traditional wired microphones.One of the standout features of the Nady UHF 10 is its use of ultra-high frequency (UHF) technology. This allows for a wide frequency spectrum, enabling users to select from up to 16 different frequencies within a 540 to 570 MHz range. This flexibility not only enhances the system's ability to minimize interference from other wireless devices but also provides a reliable signal over long distances. The UHF 10 is renowned for its impressive range, which can reach up to 250 feet, making it suitable for events of various sizes.
The Nady UHF 10 is equipped with a true diversity receiver, meaning it features two antennas that work to eliminate dropouts and ensure a consistent signal. The ability to switch between the two receivers in real-time provides users with uninterrupted audio, crucial for performances where every word matters. Additionally, the system has a rear-panel balanced XLR output and a 1/4" unbalanced output, allowing for easy integration with different audio equipment.
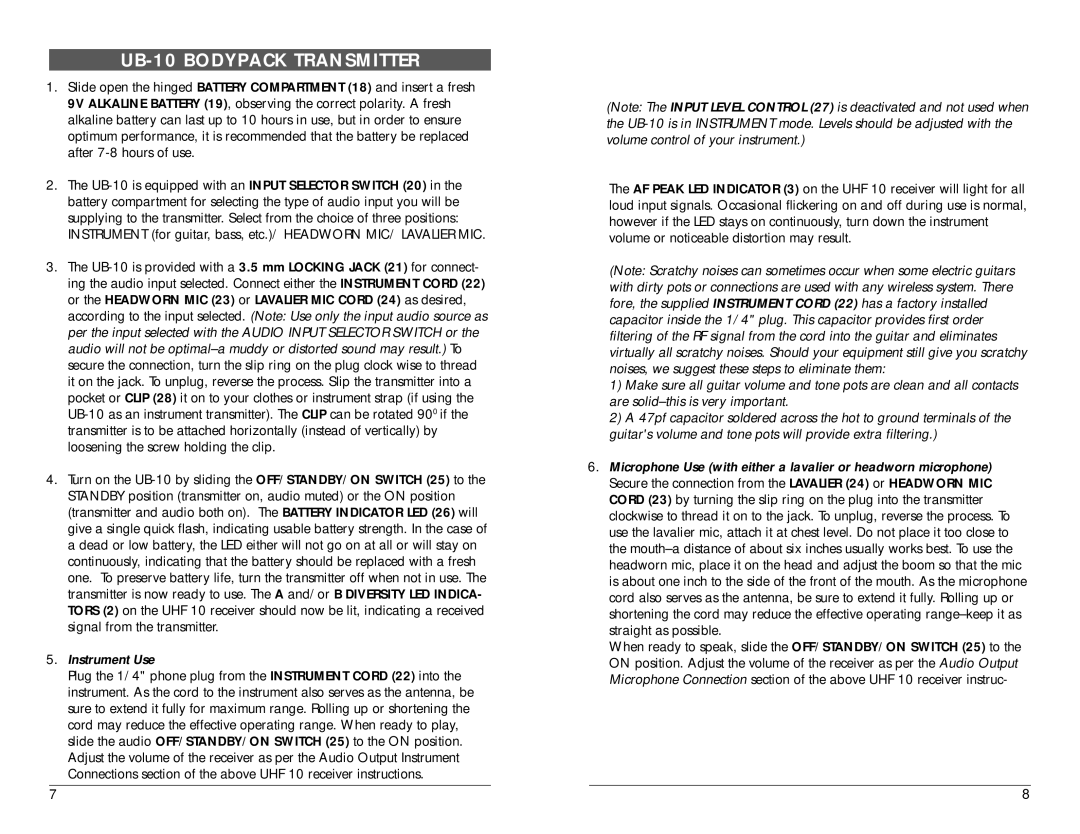
Another significant characteristic of the UHF 10 system is its lightweight and ergonomic design. The transmitter is comfortable to hold during extended use, and the microphone head is constructed to capture vocal nuances accurately, enhancing the overall performance quality. The system includes both handheld and bodypack transmitters, providing versatility for various microphone needs—from speeches to music performances.
Durability is also a key aspect of the UHF 10, designed to withstand the rigors of active use. The components are built to last, ensuring that the system can handle the demands of frequent transport and setup. Additionally, the rechargeable batteries provide convenience and sustainability, making it easy for users to keep their equipment powered throughout the day.
In summary, Nady Systems' UHF 10 is a comprehensive wireless microphone solution equipped with advanced UHF technology, true diversity reception, and a user-friendly design. Whether for stage performances, events, or studio recordings, the UHF 10 offers reliability and high-quality audio that professionals have come to trust.