Quick Start - continued
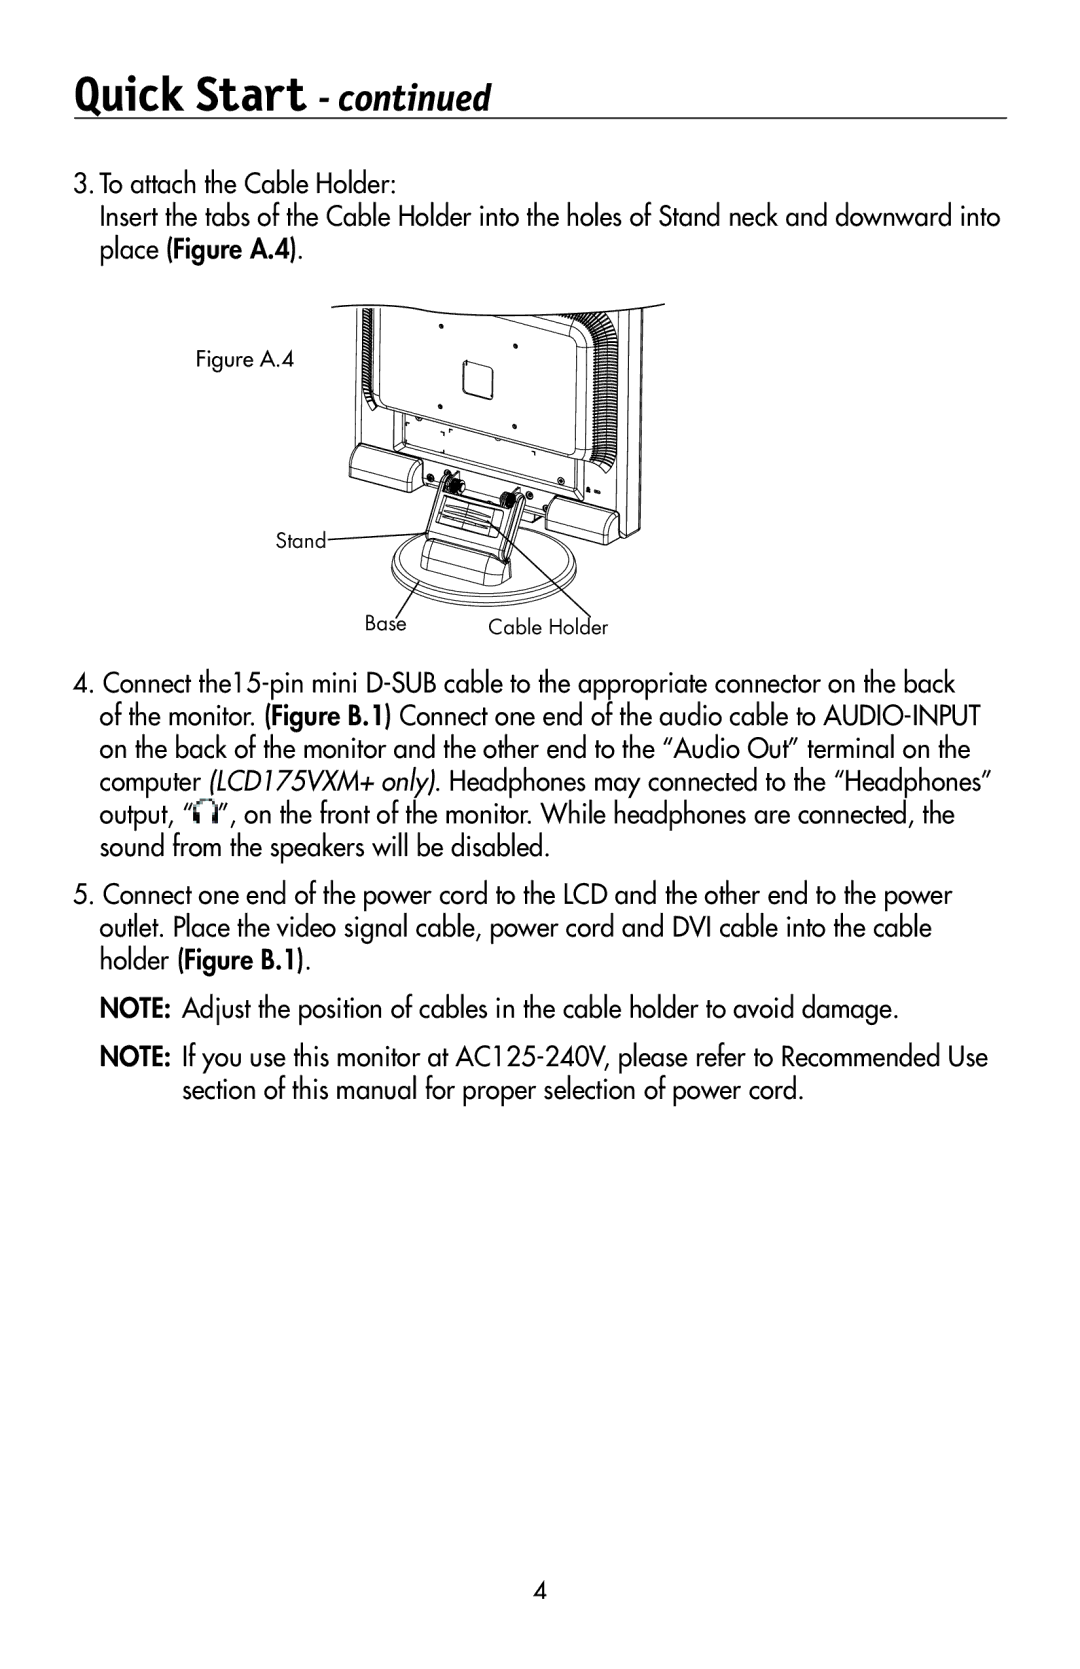
3.To attach the Cable Holder:
Insert the tabs of the Cable Holder into the holes of Stand neck and downward into place (Figure A.4).
Figure A.4
Stand![]()
Base | Cable Holder |
4.Connect ![]() ”, on the front of the monitor. While headphones are connected, the sound from the speakers will be disabled.
”, on the front of the monitor. While headphones are connected, the sound from the speakers will be disabled.
5.Connect one end of the power cord to the LCD and the other end to the power outlet. Place the video signal cable, power cord and DVI cable into the cable holder (Figure B.1).
NOTE: Adjust the position of cables in the cable holder to avoid damage.
NOTE: If you use this monitor at