Contents
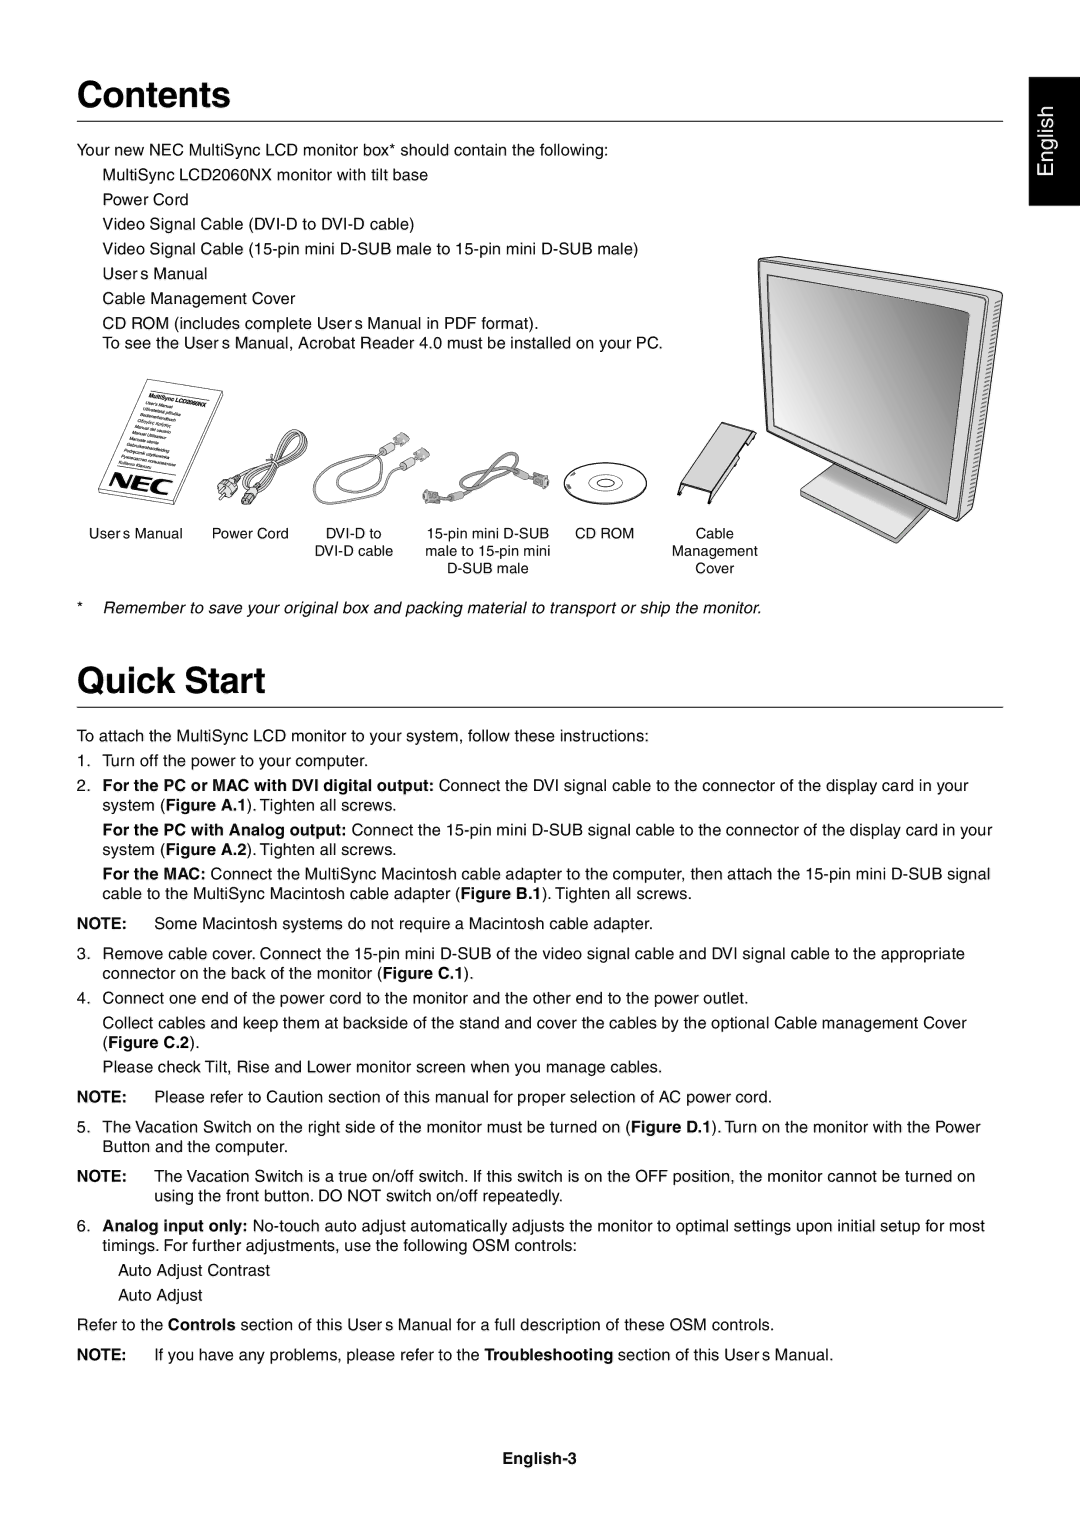
Your new NEC MultiSync LCD monitor box* should contain the following:
•MultiSync LCD2060NX monitor with tilt base
•Power Cord
•Video Signal Cable
•Video Signal Cable
•User’s Manual
•Cable Management Cover
•CD ROM (includes complete User’s Manual in PDF format).
To see the User’s Manual, Acrobat Reader 4.0 must be installed on your PC.
English
User’s Manual Power Cord | Cable | ||
| male to | Management | |
|
| Cover |
*Remember to save your original box and packing material to transport or ship the monitor.
Quick Start
To attach the MultiSync LCD monitor to your system, follow these instructions:
1.Turn off the power to your computer.
2.For the PC or MAC with DVI digital output: Connect the DVI signal cable to the connector of the display card in your system (Figure A.1). Tighten all screws.
For the PC with Analog output: Connect the
For the MAC: Connect the MultiSync Macintosh cable adapter to the computer, then attach the
NOTE: Some Macintosh systems do not require a Macintosh cable adapter.
3.Remove cable cover. Connect the
4.Connect one end of the power cord to the monitor and the other end to the power outlet.
Collect cables and keep them at backside of the stand and cover the cables by the optional Cable management Cover (Figure C.2).
Please check Tilt, Rise and Lower monitor screen when you manage cables.
NOTE: Please refer to Caution section of this manual for proper selection of AC power cord.
5.The Vacation Switch on the right side of the monitor must be turned on (Figure D.1). Turn on the monitor with the Power Button and the computer.
NOTE: The Vacation Switch is a true on/off switch. If this switch is on the OFF position, the monitor cannot be turned on using the front button. DO NOT switch on/off repeatedly.
6.Analog input only:
•Auto Adjust Contrast
•Auto Adjust
Refer to the Controls section of this User’s Manual for a full description of these OSM controls.
NOTE: If you have any problems, please refer to the Troubleshooting section of this User’s Manual.
