OSD (On-Screen-Display) Controls

Channel Search

When powering on for the first time, you will be prompted to scan and memorize all available channels from your RF input signal. To start this process, press OPTION button to display the TV OSD menu.

NOTE: Digital channels are indicated with a “–” followed by a number.

NOTE: When Channel Lock function is “On”, the Channel Search cannot be used. If Channel Lock is “On”, set it to “Off” before proceeding.

Auto Scan

Depending upon the RF input signal, you will need to scan for either off air (antenna) or cable channels.

Off Air Scan

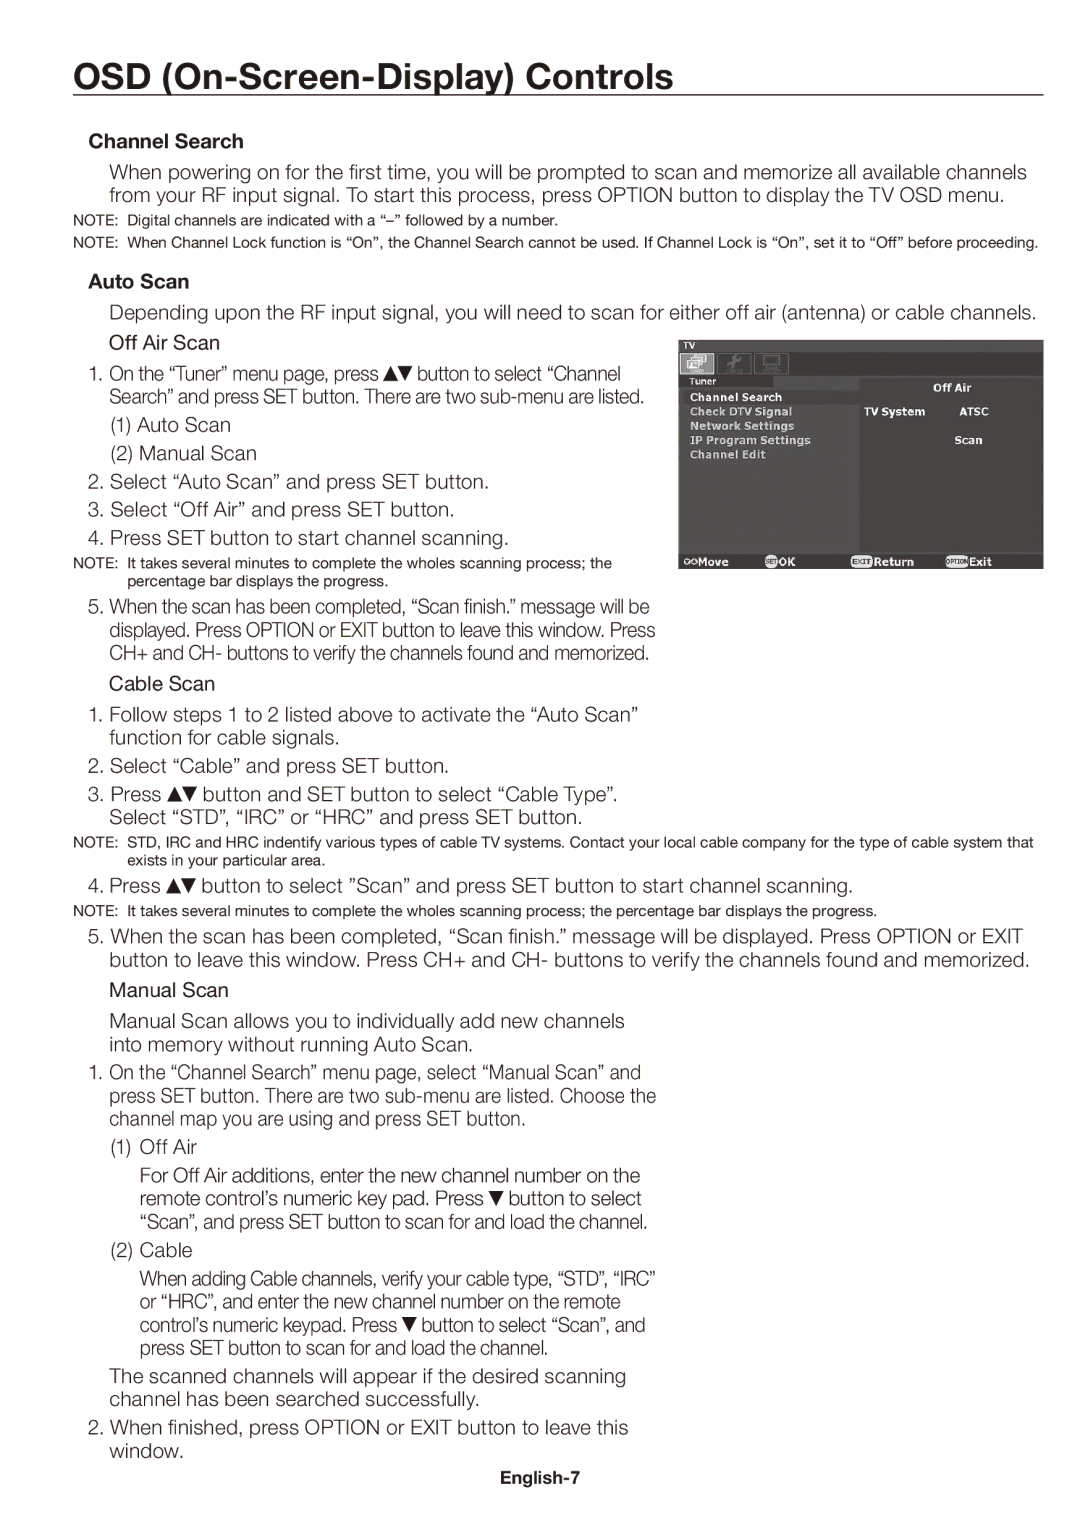
1.On the “Tuner” menu page, press button to select “Channel Search” and press SET button. There are two sub-menu are listed.

(1)Auto Scan

(2)Manual Scan

2.Select “Auto Scan” and press SET button.

3.Select “Off Air” and press SET button.

4.Press SET button to start channel scanning.

NOTE: It takes several minutes to complete the wholes scanning process; the percentage bar displays the progress.

5.When the scan has been completed, “Scan finish.” message will be displayed. Press OPTION or EXIT button to leave this window. Press CH+ and CH- buttons to verify the channels found and memorized. Cable Scan

1.Follow steps 1 to 2 listed above to activate the “Auto Scan” function for cable signals.

2.Select “Cable” and press SET button.

3.Press button and SET button to select “Cable Type”.

Select “STD”, “IRC” or “HRC” and press SET button.

NOTE: STD, IRC and HRC indentify various types of cable TV systems. Contact your local cable company for the type of cable system that exists in your particular area.

4. Press button to select ”Scan” and press SET button to start channel scanning.

NOTE: It takes several minutes to complete the wholes scanning process; the percentage bar displays the progress.

5.When the scan has been completed, “Scan finish.” message will be displayed. Press OPTION or EXIT button to leave this window. Press CH+ and CH- buttons to verify the channels found and memorized. Manual Scan

Manual Scan allows you to individually add new channels into memory without running Auto Scan.

1.On the “Channel Search” menu page, select “Manual Scan” and press SET button. There are two sub-menu are listed. Choose the channel map you are using and press SET button.

(1)Off Air

For Off Air additions, enter the new channel number on the remote control’s numeric key pad. Press button to select “Scan”, and press SET button to scan for and load the channel.

(2)Cable

When adding Cable channels, verify your cable type, “STD”, “IRC” or “HRC”, and enter the new channel number on the remote control’s numeric keypad. Press button to select “Scan”, and press SET button to scan for and load the channel.

The scanned channels will appear if the desired scanning channel has been searched successfully.

2.When finished, press OPTION or EXIT button to leave this window.

English-7

Page 8
Image 8
NEC SB-03TM user manual OSD On-Screen-Display Controls, Channel Search, Auto Scan

SB-03TM specifications

The NEC SB-03TM is an innovative digital signage solution designed for various commercial applications, merging advanced technology with user-friendly features. This model is particularly notable for its sleek design and reliable performance, making it a favored choice among businesses seeking to enhance their digital advertising capabilities.

One of the main features of the NEC SB-03TM is its high-resolution display. With a 1920 x 1080 Full HD resolution, the screen delivers vibrant visuals and sharp text, which is crucial for catching the attention of passersby. This clarity ensures that advertisements and information can be read from a distance, improving the effectiveness of any campaign.

The SB-03TM is equipped with NEC's advanced LED backlighting technology which not only enhances brightness but also extends the display's lifespan. This technology allows the screen to maintain consistent illumination, providing a more uniform viewing experience. Furthermore, this model supports a wide viewing angle, ensuring that content remains visible from various positions, which is ideal for busy environments.

Another significant characteristic of the NEC SB-03TM is its integrated media player, enabling users to easily stream content without the need for additional hardware. This feature simplifies content management and reduces installation complexity. The media player supports a variety of file formats, making it versatile for different content types, including videos, images, and dynamic graphics.

The SB-03TM also boasts robust connectivity options, with HDMI and DisplayPort inputs, providing flexibility in how it can be integrated into existing setups. This connectivity allows for easy sourcing of content from various devices, enhancing the display's usability in different scenarios.

To further enhance operational efficiency, the NEC SB-03TM includes features such as automatic brightness adjustment based on ambient light. This not only helps in reducing energy consumption but also ensures optimal visibility under various lighting conditions.

Additionally, the model is designed with a focus on durability and reliability, making it suitable for continuous operation in high-traffic environments. Its cooling system is engineered to prevent overheating, ensuring consistent performance over long periods.

In summary, the NEC SB-03TM stands out in the realm of digital signage with its high-resolution display, advanced LED technology, integrated media player, and robust connectivity options. These features make it an ideal solution for businesses looking to effectively engage their audience and broadcast dynamic content.