How To Use And Care For
Your 18-Qt. NESCO Roaster Oven
BEFORE USING FOR THE FIRST TIME
1.Unpack your NESCO Roaster Oven completely. Remove the Cookwell and remove all packing materials and information labels. Place the Roaster Oven in a
2.Wash the Cover, Cookwell and Rack in warm, sudsy water. Rinse and dry. See “Care and Cleaning” section for complete cleaning instructions.
To Operate Your Roaster Oven
1.Place the Cookwell into the Heatwell. Always use the
Cookwell for food. NEVER PLACE FOOD OR WATER DIRECTLY IN THE HEATWELL.
2.Preheating is recommended. To preheat, place the Cookwell into the Heatwell and cover. Be sure the temperature control is turned to the lowest setting, and plug the cord into the 120 volt AC outlet. Set the temperature control to desired temperature. Preheat 20 minutes or until red signal light goes off. Carefully, using hot pads, add food to the Cookwell.
3.The Rack may be used for baking or
4.Replace the Cover. Always cook with the Cover in place.
5.If the Roaster Oven has not been preheated, turn the temperature control to Off. Plug the cord into a 120 volt AC outlet. Set the temperature control to the desired temperature. Fill the Cookwell with food as desired.
6.Cook the food for the desired amount of time. When finished, turn the temperature control to lowest setting and unplug the cord from the 120 volt AC outlet. Allow the Roaster Oven to cool, and clean as recommended .
NOTE: COOKWELL, BODY, COVER AND ACCUMULATED STEAM WILL BE HOT. USE CAUTION, AND HOT PADS, TO LIFT COVER OR REMOVE COOKWELL FROM HEATWELL.
Care And Cleaning
1. | After the NESCO Roaster Oven has cooled, remove Cover, |
| Rack (if used) and Cookwell. Wash Rack and Cookwell |
| in warm sudsy water or place in the dishwasher. |
| CAUTION: Do not put Cover in the dishwasher. |
2. | PORCELAIN ENAMEL COOKWELL has a strong finish and |
| provides easy cleaning and years of use. It will not stain and |
| stays attractive, even when used often. However, it will chip if |
| subjected to sharp blows or is mistreated. Water spots or |
| mineral deposits (characterized by a white film on surface) |
| may be removed with household vinegar or |
| cleansers. |
3. | |
| order to maintain the |
| plastic or wooden utensils is recommended. Avoid cutting |
| food in the Cookwell. Use of a |
| surface is optional. Avoid storing items in the Cookwell which |
| may scratch the surface. When roasting or baking at high |
| temperatures, you may notice an irregular band of |
| discoloration around the sidewalls of the Cookwell. This |
| discoloration is characteristic of the super tough |
| coating used on the interior of the Cookwell and in no way |
| affects the performance or durability of the finish. With |
| continued use, the discoloration will become less noticeable. |
4. | |
| cleaning pad and a |
| Scrub® or Bon Ami®. Do not use abrasive cleansers or steel |
| wool as the finish may scratch. HINT: To easily remove |
| |
| Cookwell with hot water. Cover and heat at 350°F for 30 |
| minutes. Turn off and allow to cool completely. Wash |
| Cookwell as directed above. |
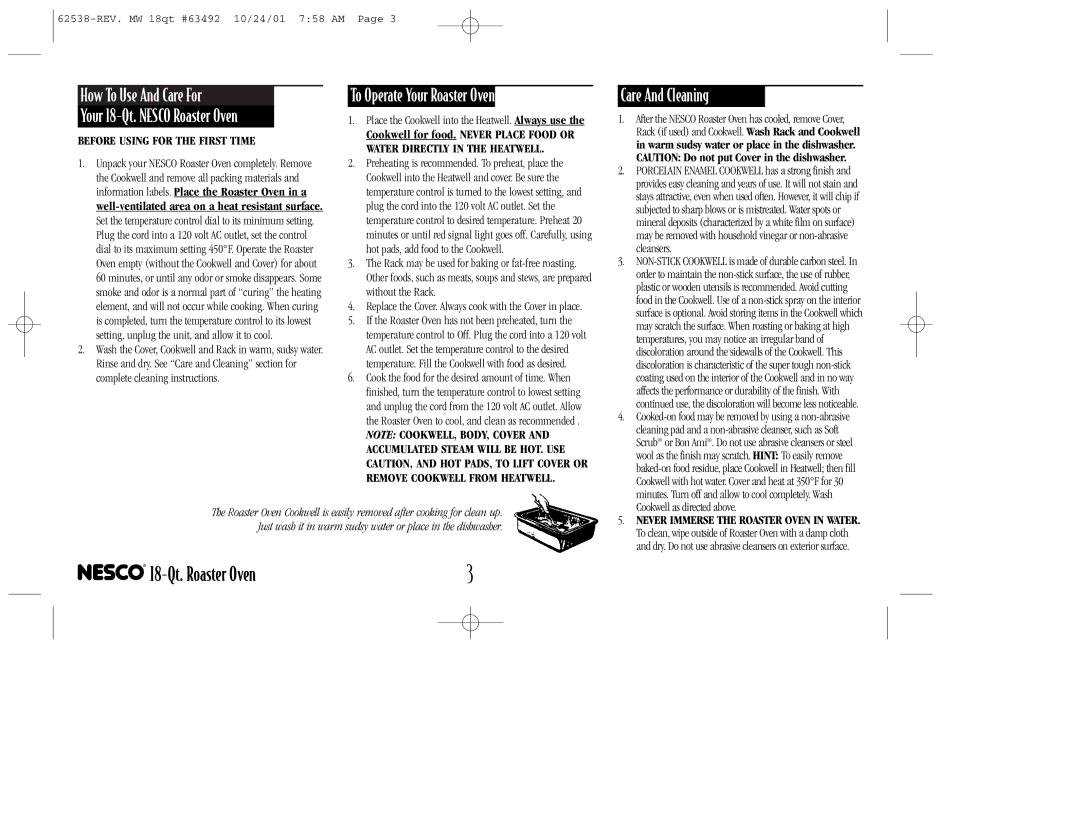
The Roaster Oven Cookwell is easily removed after cooking for clean up.
Just wash it in warm sudsy water or place in the dishwasher.
| 3 |
5. NEVER IMMERSE THE ROASTER OVEN IN WATER. |
To clean, wipe outside of Roaster Oven with a damp cloth |
and dry. Do not use abrasive cleansers on exterior surface. |
