Quick Start 
G54/N150 WiFi USB Micro Adapter
Model WNA1000Mv2
Package Contents
2.Click the Setup button ![]()
![]() .
.
The Software Update Check screen displays.
3.Install the setup software. You have two options:
•Connected to the Internet. If you are connected to the Internet, click the Check for Updates button. After the software checks for updates, the Update Check Complete screen displays. Click the Continue button. The Welcome screen displays.
•Not connected to the Internet. If you are not connected to the Internet, click the Install from CD button. The Welcome screen displays.
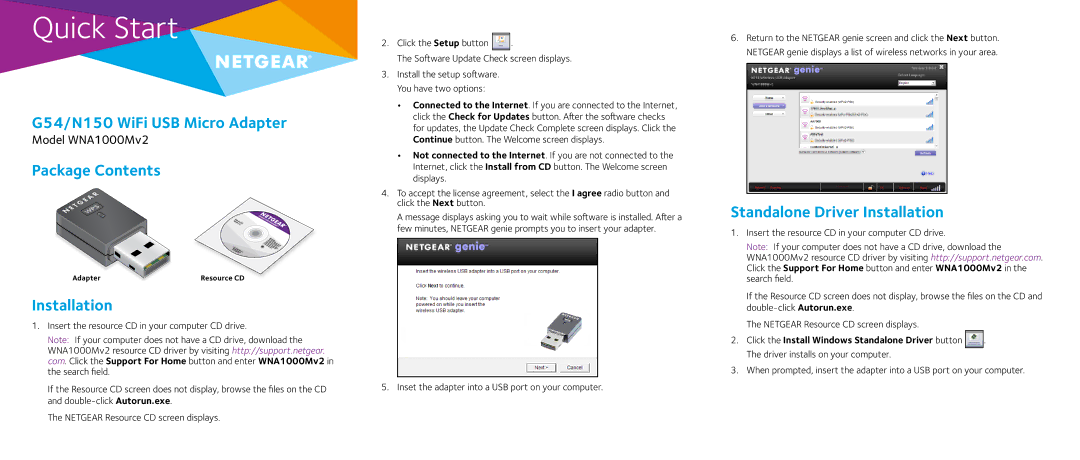
4.To accept the license agreement, select the I agree radio button and click the Next button.
A message displays asking you to wait while software is installed. After a few minutes, NETGEAR genie prompts you to insert your adapter.
6.Return to the NETGEAR genie screen and click the Next button. NETGEAR genie displays a list of wireless networks in your area.
Standalone Driver Installation
1. Insert the resource CD in your computer CD drive. |
Note: If your computer does not have a CD drive, download the |
WNA1000Mv2 resource CD driver by visiting http://support.netgear.com. |
Click the Support For Home button and enter WNA1000Mv2 in the |
Adapter | Resource CD |
Installation
1.Insert the resource CD in your computer CD drive.
Note: If your computer does not have a CD drive, download the WNA1000Mv2 resource CD driver by visiting http://support.netgear. com. Click the Support For Home button and enter WNA1000Mv2 in the search field.
If the Resource CD screen does not display, browse the files on the CD | 5. Inset the adapter into a USB port on your computer. |
and |
|
The NETGEAR Resource CD screen displays. |
|
| search field. |
| |
| If the Resource CD screen does not display, browse the files | on the CD and | |
|
| ||
| The NETGEAR Resource CD screen displays. |
| |
2. | Click the Install Windows Standalone Driver button |
| . |
| The driver installs on your computer. |
| |
3. | When prompted, insert the adapter into a USB port on your computer. | ||