ReadyNAS RAIDiator 4.2 Desktop IG.fm Page 2 Monday, July 25, 2011 12:17 PM
Note: If you have a diskless unit, you must install at least one disk before following these instructions. For a list of supported disks, see the Hardware Compatibility List at http://readynas.com/hard_disk_hcl. For information about installing disks, see the hardware manual for your unit.
To set up your unit:
1.Place the unit in a location that provides adequate ventilation.
2.Connect the power adapter to the back of the unit and plug the other end into a wall outlet or power strip.
3.Use an Ethernet cable to connect an Ethernet port on the ReadyNAS to your network.
4.If necessary, press the Power button to turn the unit on.
It takes about a minute to start up. The IP address is retrieved using DHCP.
5.Install and run the RAIDar utility on a computer that is connected to the same local area network (LAN) as your ReadyNAS unit.
RAIDar is located on the Resource CD that came with your unit. It includes versions for the Windows, Mac, and Linux operating systems. It is also available at http://readynas.com/start.
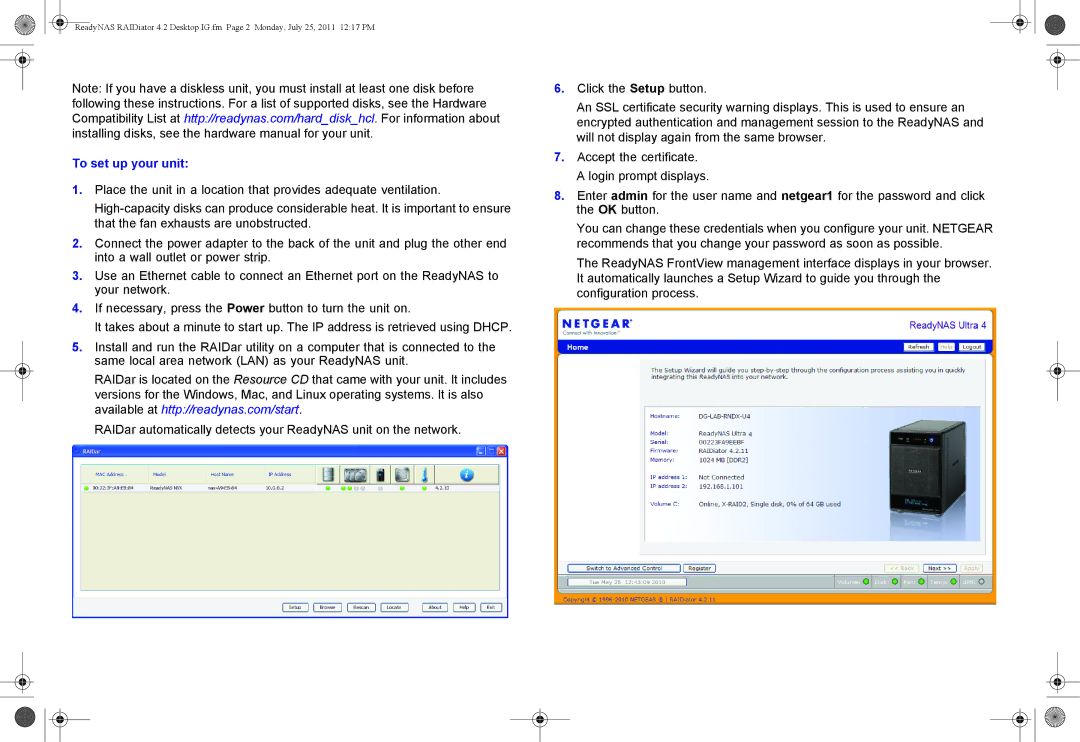
RAIDar automatically detects your ReadyNAS unit on the network.
6.Click the Setup button.
An SSL certificate security warning displays. This is used to ensure an encrypted authentication and management session to the ReadyNAS and will not display again from the same browser.
7.Accept the certificate. A login prompt displays.
8.Enter admin for the user name and netgear1 for the password and click the OK button.
You can change these credentials when you configure your unit. NETGEAR recommends that you change your password as soon as possible.
The ReadyNAS FrontView management interface displays in your browser. It automatically launches a Setup Wizard to guide you through the configuration process.
