Windows 2000, Me/98 Basic Installation
1.First, install the WG511 software.
a.Power on your notebook, let the operating system boot up completely, and log in as needed.
b.Insert the Resource CD for the WG511 into your
Note: If this page does not automatically appear, double- click on
INDEX.HTM on
the CD to load this page.
c.Click the INSTALL button. Read the instructions, click the Install Software link. When the browser warning message appears, click Open to start the Install Shield.
d.Follow the InstallShield Wizard steps, and click Finish when done to restart your computer.
2.Next, install the WG511 Wireless PC Card.
a.Hold the PC Card with the Netgear logo facing up and insert it into a CardBus slot. After a short delay, the Found New Hardware Wizard displays.
Note: If Windows 2000 displays a Digital Signature Not Found warning, click Yes to continue the installation.
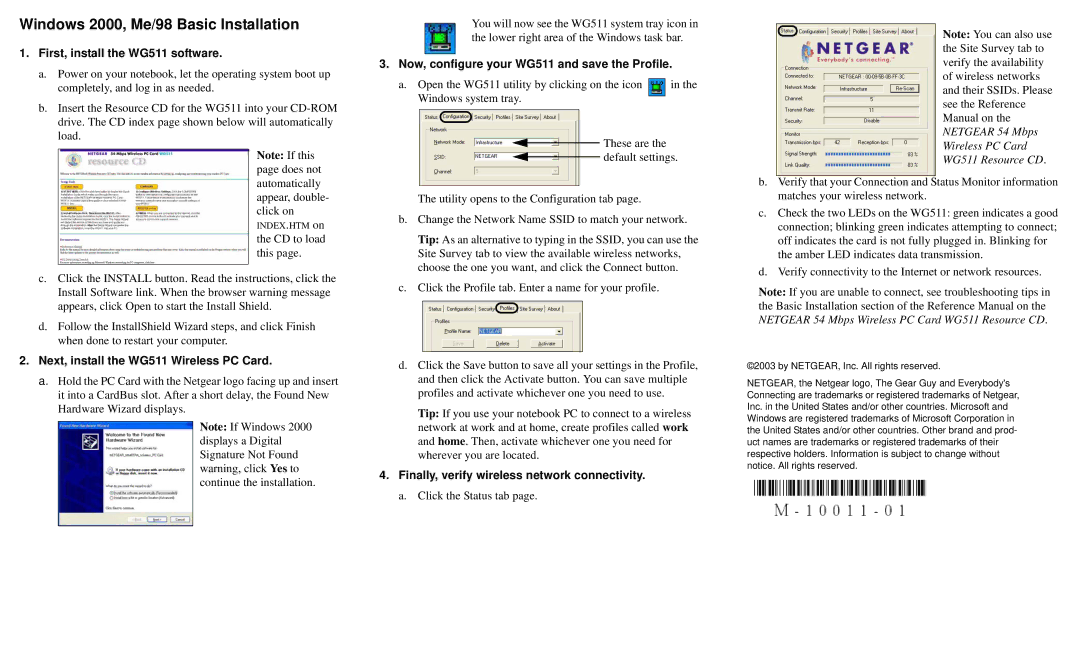
You will now see the WG511 system tray icon in the lower right area of the Windows task bar.
3. Now, configure your WG511 and save the Profile.
a. Open the WG511 utility by clicking on the icon |
| in the |
Windows system tray. |
|
|
|
|
These are the default settings.
The utility opens to the Configuration tab page.
b.Change the Network Name SSID to match your network.
Tip: As an alternative to typing in the SSID, you can use the Site Survey tab to view the available wireless networks, choose the one you want, and click the Connect button.
c.Click the Profile tab. Enter a name for your profile.
d.Click the Save button to save all your settings in the Profile, and then click the Activate button. You can save multiple profiles and activate whichever one you need to use.
Tip: If you use your notebook PC to connect to a wireless network at work and at home, create profiles called work and home. Then, activate whichever one you need for wherever you are located.
4.Finally, verify wireless network connectivity.
a.Click the Status tab page.
Note: You can also use the Site Survey tab to verify the availability of wireless networks and their SSIDs. Please see the Reference Manual on the NETGEAR 54 Mbps Wireless PC Card WG511 Resource CD.
b.Verify that your Connection and Status Monitor information matches your wireless network.
c.Check the two LEDs on the WG511: green indicates a good connection; blinking green indicates attempting to connect; off indicates the card is not fully plugged in. Blinking for the amber LED indicates data transmission.
d.Verify connectivity to the Internet or network resources.
Note: If you are unable to connect, see troubleshooting tips in the Basic Installation section of the Reference Manual on the NETGEAR 54 Mbps Wireless PC Card WG511 Resource CD.
©2003 by NETGEAR, Inc. All rights reserved.
NETGEAR, the Netgear logo, The Gear Guy and Everybody's Connecting are trademarks or registered trademarks of Netgear, Inc. in the United States and/or other countries. Microsoft and Windows are registered trademarks of Microsoft Corporation in the United States and/or other countries. Other brand and prod- uct names are trademarks or registered trademarks of their respective holders. Information is subject to change without notice. All rights reserved.
