)NSTALLATION 'UIDE

WNDAP330 ProSafe 802.11n Dual Band Wireless Access Point

Start Here

Follow these instructions to set up your wireless access point. Before proceeding with the WNDAP330 installation, familiarize yourself with the contents of the Resource CD. Please refer to the Reference Manual on your Resource CD for instructions on advanced configuration options.

Estimated Completion Time: 30 minutes.

Tip: Before mounting the WNDAP330 in a high location, first set up and test the WNDAP330 to verify wireless network connectivity.

First, Verify the Package Contents

Unpack the box and verify the contents:

WNDAP330 ProSafe 802.11n Dual Band Wireless Access Point

Straight through Category 5 Ethernet cable

Power adapter and cord (12V, 1.5A)

Three dual-band antennas: 2 dipole (long); 1 patch (square)

Installation Guide

Resource CD which includes a link to the Reference Manual

Warranty/Support Information Card

Then, Set Up the WNDAP330

1.Connect the wireless access point to your computer.

a.Prepare a PC with an Ethernet adapter. If this PC is already part of your network, record its TCP/IP configuration settings. Configure the PC with a static IP address of 192.168.0.210 and 255.255.255.0 as the subnet mask.

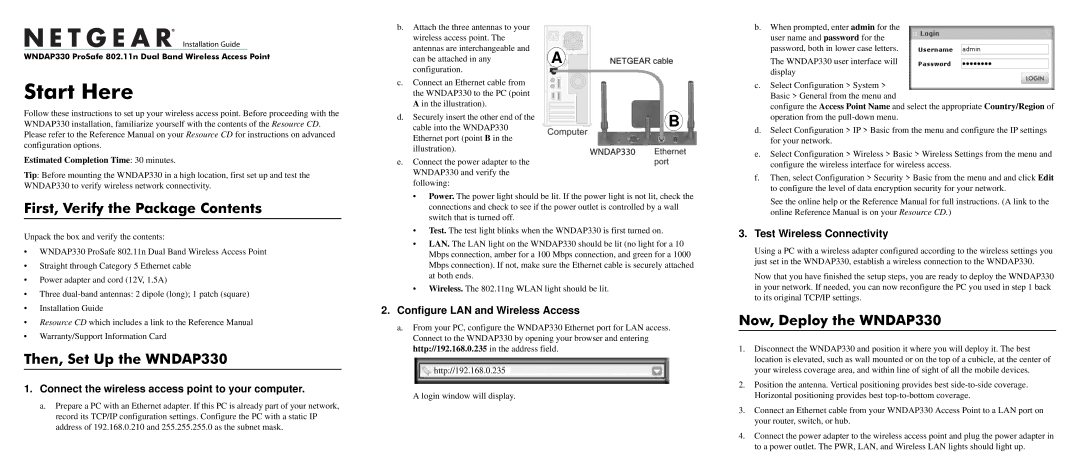
b. Attach the three antennas to your


wireless access point. The


antennas are interchangeable and

A

can be attached in any

configuration.


c.Connect an Ethernet cable from the WNDAP330 to the PC (point A in the illustration).

d. Securely insert the other end of the

B

cable into the WNDAP330

Ethernet port (point B in the


illustration).


e.Connect the power adapter to the WNDAP330 and verify the following:

Power. The power light should be lit. If the power light is not lit, check the connections and check to see if the power outlet is controlled by a wall switch that is turned off.

Test. The test light blinks when the WNDAP330 is first turned on.

LAN. The LAN light on the WNDAP330 should be lit (no light for a 10 Mbps connection, amber for a 100 Mbps connection, and green for a 1000 Mbps connection). If not, make sure the Ethernet cable is securely attached at both ends.

Wireless. The 802.11ng WLAN light should be lit.

2.Configure LAN and Wireless Access

a.From your PC, configure the WNDAP330 Ethernet port for LAN access. Connect to the WNDAP330 by opening your browser and entering http://192.168.0.235 in the address field.

http://192.168.0.235

A login window will display.

b.When prompted, enter admin for the user name and password for the password, both in lower case letters.

The WNDAP330 user interface will display

c.Select Configuration > System > Basic > General from the menu and

configure the Access Point Name and select the appropriate Country/Region of operation from the pull-down menu.

d.Select Configuration > IP > Basic from the menu and configure the IP settings for your network.

e.Select Configuration > Wireless > Basic > Wireless Settings from the menu and configure the wireless interface for wireless access.

f.Then, select Configuration > Security > Basic from the menu and and click Edit to configure the level of data encryption security for your network.

See the online help or the Reference Manual for full instructions. (A link to the online Reference Manual is on your Resource CD.)

3. Test Wireless Connectivity

Using a PC with a wireless adapter configured according to the wireless settings you just set in the WNDAP330, establish a wireless connection to the WNDAP330.

Now that you have finished the setup steps, you are ready to deploy the WNDAP330 in your network. If needed, you can now reconfigure the PC you used in step 1 back to its original TCP/IP settings.

Now, Deploy the WNDAP330

1.Disconnect the WNDAP330 and position it where you will deploy it. The best location is elevated, such as wall mounted or on the top of a cubicle, at the center of your wireless coverage area, and within line of sight of all the mobile devices.

2.Position the antenna. Vertical positioning provides best side-to-side coverage. Horizontal positioning provides best top-to-bottom coverage.

3.Connect an Ethernet cable from your WNDAP330 Access Point to a LAN port on your router, switch, or hub.

4.Connect the power adapter to the wireless access point and plug the power adapter in to a power outlet. The PWR, LAN, and Wireless LAN lights should light up.

Page 1
Image 1
NETGEAR WNDAP330-100NAS warranty First, Verify the Package Contents, Then, Set Up the WNDAP330, Now, Deploy the WNDAP330

WNDAP330, WNDAP330-100NAS specifications

The NETGEAR WNDAP330, also known by its model number WNDAP330-100NAS, is a versatile indoor access point designed to meet the demanding needs of small to medium-sized businesses. This device is renowned for its dual-band operation, which enables it to support both 2.4 GHz and 5 GHz frequency bands. This dual-band capability allows for enhanced performance and capacity, accommodating multiple users and devices with ease while minimizing interference.

One of the standout features of the WNDAP330 is its support for IEEE 802.11n technology. This standard significantly boosts wireless speeds, allowing for data rates of up to 450 Mbps on the 5 GHz band and 300 Mbps on the 2.4 GHz band. The result is fast and reliable wireless connectivity, ideal for bandwidth-intensive applications such as video streaming, large file transfers, and VoIP communications.

The WNDAP330 is equipped with advanced security features that ensure the safety of data transmission. It supports multiple security protocols including WPA/WPA2, and WPA-Enterprise for enhanced protection. The inclusion of 802.1X authentication facilitates secure network access, making it suitable for business environments where data sensitivity is paramount.

Moreover, the device boasts PoE (Power over Ethernet) support, allowing for simpler installation by enabling power and data to be transmitted over a single cable. This functionality is particularly useful in locations where it is challenging to provide direct electrical outlets near the access point.

Another significant characteristic of the WNDAP330 is its multi-SSID and VLAN support, which enables network administrators to create multiple virtual networks offering different access levels for guests and employees. This feature is crucial for maintaining optimal security and management of network resources.

In terms of management capabilities, the WNDAP330 offers a user-friendly web interface for configuration and monitoring, along with SNMP support for network management systems. The device also supports clustering, which allows multiple access points to be managed efficiently as a single entity, streamlining network management tasks.

In conclusion, the NETGEAR WNDAP330 WNDAP330-100NAS is an advanced indoor access point that combines high-speed dual-band performance, robust security features, and flexible management options. With these characteristics, it seamlessly supports the evolving demands of modern wireless networking in professional environments.