3347-02 specifications
The Netopia 3347-02 is a versatile DSL router appreciated for its robust feature set and reliable performance, making it a popular choice for both residential and small business environments. This device combines Internet connectivity with a host of networking capabilities, ensuring smooth data transmission and seamless user experience.One of the standout features of the Netopia 3347-02 is its DSL modem functionality. It supports various DSL standards, including ADSL and ADSL2+, allowing users to enjoy high-speed Internet access over traditional telephone lines. This is particularly beneficial for areas where cable or fiber-optic connections are either limited or unavailable. With a maximum download speed of up to 24 Mbps and upload speeds of up to 1 Mbps, the router provides sufficient bandwidth for streaming, gaming, and browsing, catering to multiple devices simultaneously.
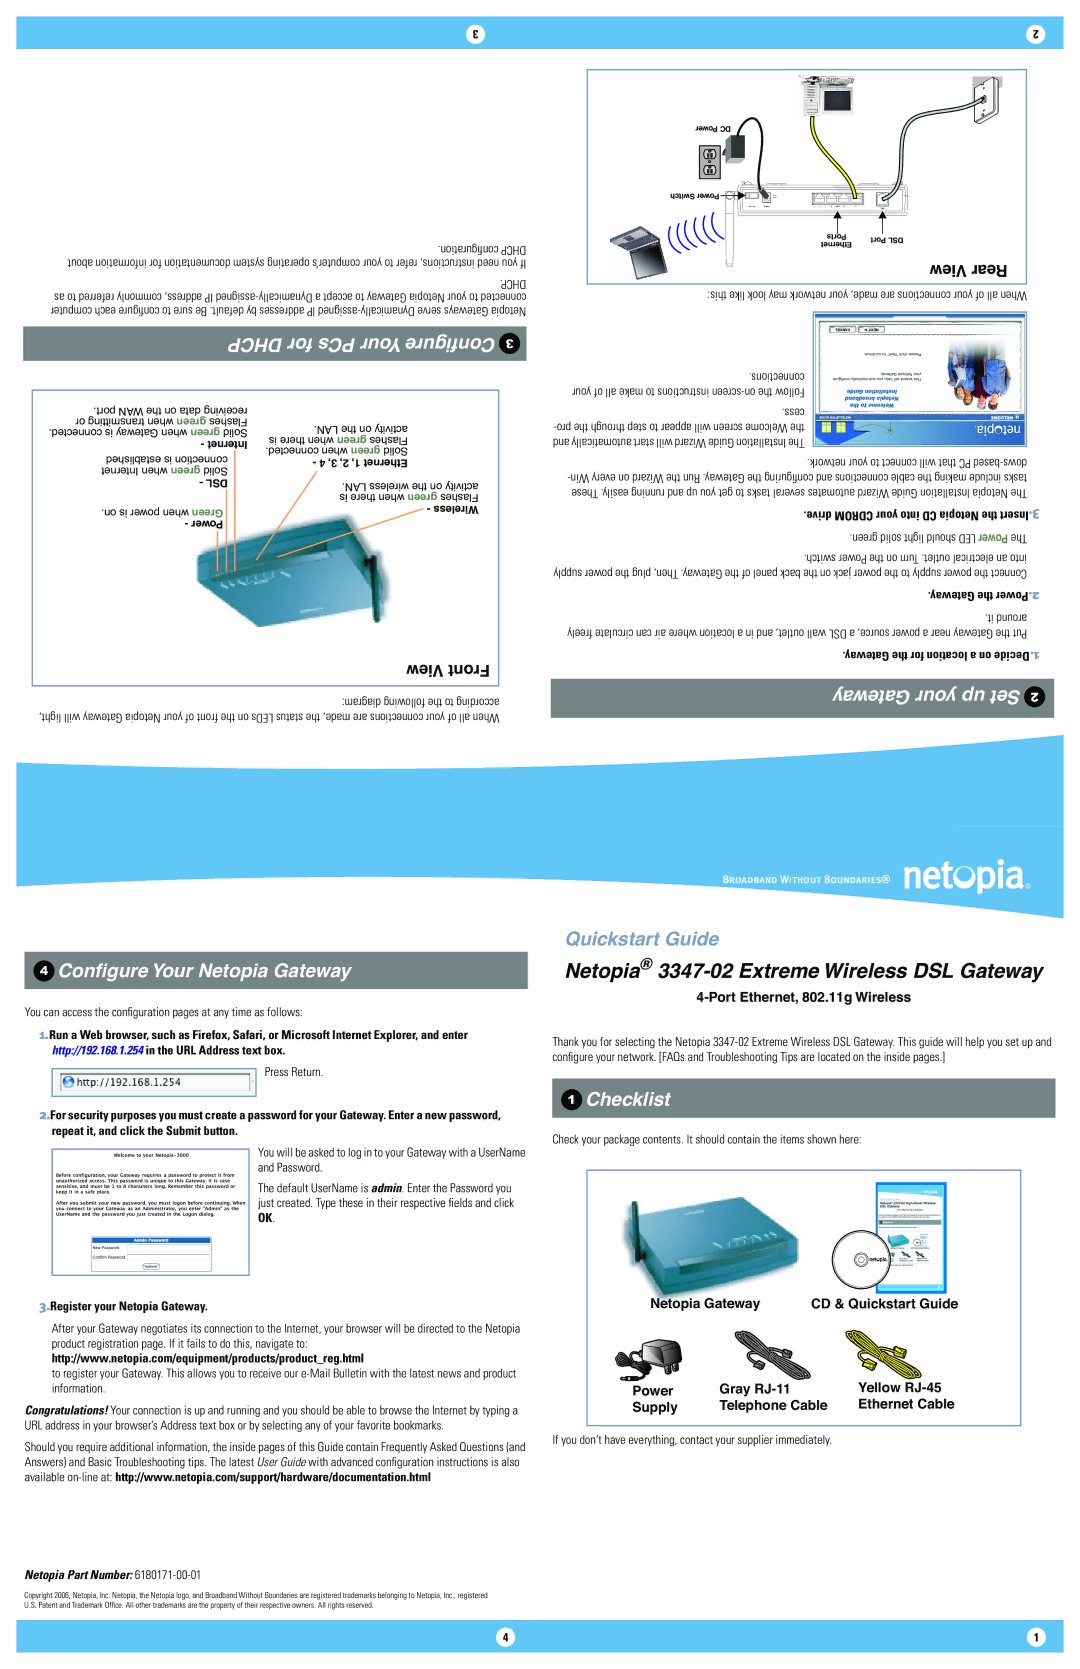
In terms of networking, the Netopia 3347-02 is equipped with 4 Ethernet ports, allowing users to create a wired network for devices that require stable connectivity. Additionally, it features built-in wireless capabilities, supporting 802.11g Wi-Fi standards. This enables users to connect wirelessly to laptops, smartphones, and tablets, offering convenience and mobility within the home or office space.
The device also includes essential security features, such as firewall protection and Network Address Translation (NAT). This safeguards the network from unauthorized access and cyber threats, ensuring a safer online experience. The router supports wireless security protocols, including WEP and WPA, further enhancing the protection of personal data.
Another important characteristic of the Netopia 3347-02 is its user-friendly interface, which simplifies the setup and management process. Users can easily configure network settings, access parental controls, and monitor connected devices through a web-based interface, making it accessible even for those with limited technical knowledge.
In conclusion, the Netopia 3347-02 is a reliable DSL router that combines essential networking features with robust security measures. Its compatibility with DSL standards, multiple connectivity options, and user-friendly interface make it an ideal choice for users seeking efficient and secure Internet access. Whether for everyday browsing or more demanding tasks, the Netopia 3347-02 is equipped to handle the needs of various users.