Instant Wireless® Series
Chapter 5: Hardware Installation
Important for Windows 98SE, Me, and 2000 users: You must run the Setup Wizard to install the software before installing the hardware.
Important for Windows XP users: You must install the Adapter’s hardware before installing the software.
Connecting the Adapter
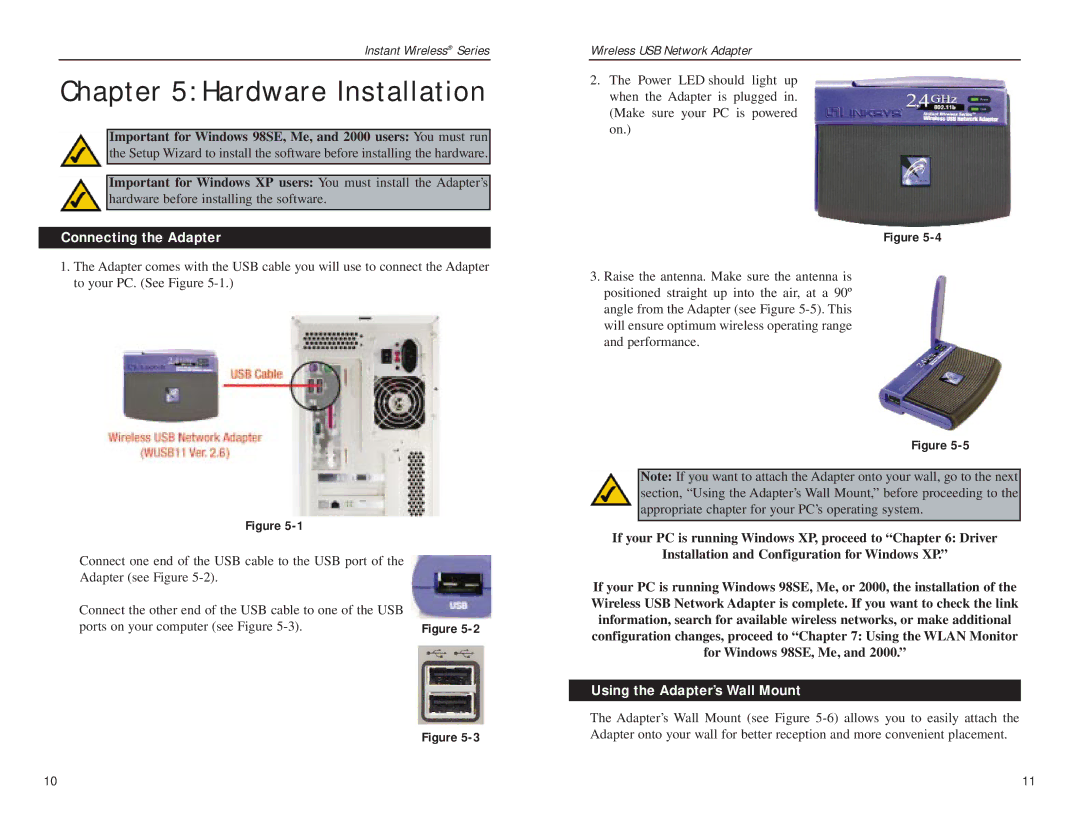
1.The Adapter comes with the USB cable you will use to connect the Adapter to your PC. (See Figure
Figure |
|
Connect one end of the USB cable to the USB port of the |
|
Adapter (see Figure |
|
Connect the other end of the USB cable to one of the USB |
|
ports on your computer (see Figure | Figure |
Figure
Wireless USB Network Adapter
2.The Power LED should light up when the Adapter is plugged in. (Make sure your PC is powered on.)
Figure
3.Raise the antenna. Make sure the antenna is positioned straight up into the air, at a 90º angle from the Adapter (see Figure
Figure
Note: If you want to attach the Adapter onto your wall, go to the next section, “Using the Adapter’s Wall Mount,” before proceeding to the appropriate chapter for your PC’s operating system.
If your PC is running Windows XP, proceed to “Chapter 6: Driver
Installation and Configuration for Windows XP.”
If your PC is running Windows 98SE, Me, or 2000, the installation of the Wireless USB Network Adapter is complete. If you want to check the link information, search for available wireless networks, or make additional configuration changes, proceed to “Chapter 7: Using the WLAN Monitor for Windows 98SE, Me, and 2000.”
Using the Adapter’s Wall Mount
The Adapter’s Wall Mount (see Figure
10 | 11 |