■Change the Xpress-on™ covers
Note: Before removing the cover, always switch off the power and disconnect the charger and any other device. Avoid touching electronic components while changing the covers. Always store and use the device with the covers attached.
Remove the back cover and the battery
See "Remove the back cover" on page 5 and "Remove the battery" on page 5 for instructions on removing the back cover and the battery.
S e t u p y o u r p h o n e
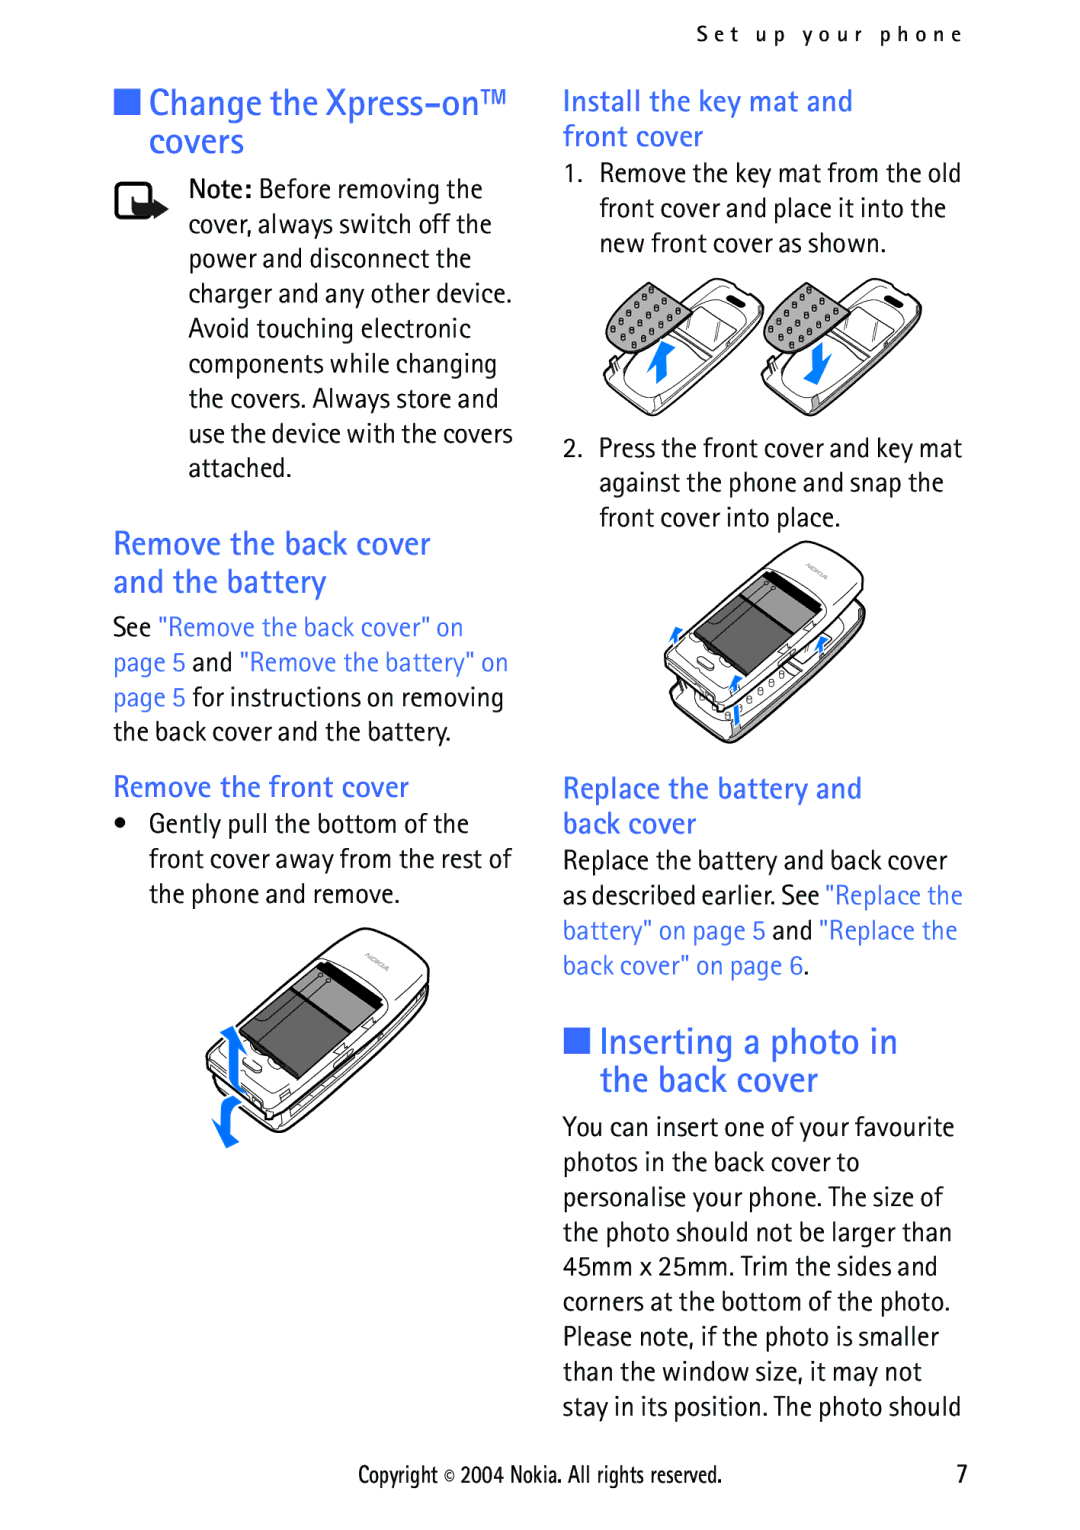
Install the key mat and front cover
1.Remove the key mat from the old front cover and place it into the new front cover as shown.
2.Press the front cover and key mat against the phone and snap the front cover into place.
Remove the front cover
•Gently pull the bottom of the front cover away from the rest of the phone and remove.
Replace the battery and back cover
Replace the battery and back cover as described earlier. See "Replace the battery" on page 5 and "Replace the back cover" on page 6.
■Inserting a photo in the back cover
You can insert one of your favourite photos in the back cover to personalise your phone. The size of the photo should not be larger than 45mm x 25mm. Trim the sides and corners at the bottom of the photo. Please note, if the photo is smaller than the window size, it may not stay in its position. The photo should
Copyright © 2004 Nokia. All rights reserved. | 7 |