6.5 Advanced settings

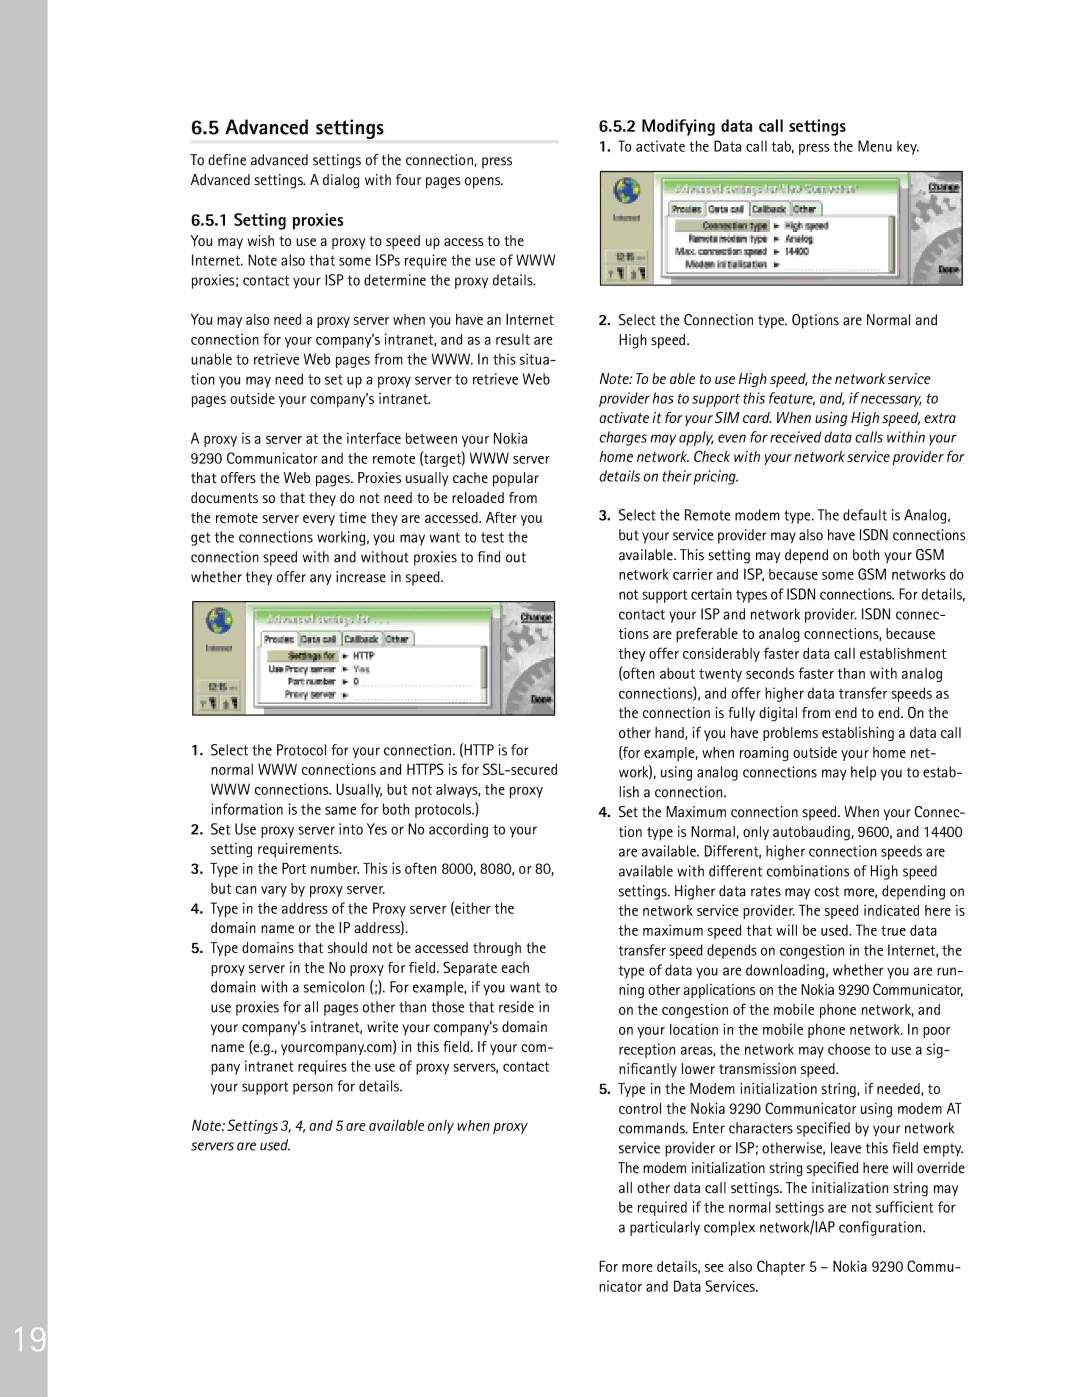
To define advanced settings of the connection, press Advanced settings. A dialog with four pages opens.

6.5.1 Setting proxies

You may wish to use a proxy to speed up access to the Internet. Note also that some ISPs require the use of WWW proxies; contact your ISP to determine the proxy details.

You may also need a proxy server when you have an Internet connection for your company’s intranet, and as a result are unable to retrieve Web pages from the WWW. In this situa- tion you may need to set up a proxy server to retrieve Web pages outside your company’s intranet.

A proxy is a server at the interface between your Nokia 9290 Communicator and the remote (target) WWW server that offers the Web pages. Proxies usually cache popular documents so that they do not need to be reloaded from the remote server every time they are accessed. After you get the connections working, you may want to test the connection speed with and without proxies to find out whether they offer any increase in speed.

1.Select the Protocol for your connection. (HTTP is for normal WWW connections and HTTPS is for SSL-secured WWW connections. Usually, but not always, the proxy information is the same for both protocols.)

2.Set Use proxy server into Yes or No according to your setting requirements.

3.Type in the Port number. This is often 8000, 8080, or 80, but can vary by proxy server.

4.Type in the address of the Proxy server (either the domain name or the IP address).

5.Type domains that should not be accessed through the proxy server in the No proxy for field. Separate each domain with a semicolon (;). For example, if you want to use proxies for all pages other than those that reside in your company’s intranet, write your company’s domain name (e.g., yourcompany.com) in this field. If your com- pany intranet requires the use of proxy servers, contact your support person for details.

Note: Settings 3, 4, and 5 are available only when proxy servers are used.

6.5.2 Modifying data call settings

1.To activate the Data call tab, press the Menu key.

2.Select the Connection type. Options are Normal and High speed.

Note: To be able to use High speed, the network service provider has to support this feature, and, if necessary, to activate it for your SIM card. When using High speed, extra charges may apply, even for received data calls within your home network. Check with your network service provider for details on their pricing.

3.Select the Remote modem type. The default is Analog, but your service provider may also have ISDN connections available. This setting may depend on both your GSM network carrier and ISP, because some GSM networks do not support certain types of ISDN connections. For details, contact your ISP and network provider. ISDN connec- tions are preferable to analog connections, because they offer considerably faster data call establishment (often about twenty seconds faster than with analog connections), and offer higher data transfer speeds as the connection is fully digital from end to end. On the other hand, if you have problems establishing a data call (for example, when roaming outside your home net- work), using analog connections may help you to estab- lish a connection.

4.Set the Maximum connection speed. When your Connec- tion type is Normal, only autobauding, 9600, and 14400 are available. Different, higher connection speeds are available with different combinations of High speed settings. Higher data rates may cost more, depending on the network service provider. The speed indicated here is the maximum speed that will be used. The true data transfer speed depends on congestion in the Internet, the type of data you are downloading, whether you are run- ning other applications on the Nokia 9290 Communicator, on the congestion of the mobile phone network, and on your location in the mobile phone network. In poor reception areas, the network may choose to use a sig- nificantly lower transmission speed.

5.Type in the Modem initialization string, if needed, to control the Nokia 9290 Communicator using modem AT commands. Enter characters specified by your network service provider or ISP; otherwise, leave this field empty. The modem initialization string specified here will override all other data call settings. The initialization string may be required if the normal settings are not sufficient for a particularly complex network/IAP configuration.

For more details, see also Chapter 5 – Nokia 9290 Commu- nicator and Data Services.

19

Page 22
Image 22
Nokia 9290 manual Advanced settings, Setting proxies, Modifying data call settings

9290 specifications

The Nokia 9290, launched in the early 2000s, is a remarkable device that marked a significant step in mobile technology. This smartphone is recognized for blending the features of a traditional mobile phone and a PDA (Personal Digital Assistant), making it an essential tool for professionals on the go.

One of the standout features of the Nokia 9290 is its unique design. It boasts a clamshell form factor that was ahead of its time, allowing users to protect the screen and keypad when not in use. Upon opening the device, users are greeted with a spacious and vibrant color display, which was a rarity for mobile devices of its era. The screen size at 800 x 600 pixels offered clear visibility of texts and images, improving user experience.

The Nokia 9290 supports a range of productivity tools, including a built-in calendar, task manager, and contacts application. It enables users to manage their schedules and keep track of important contacts seamlessly. This functionality is complemented by the ability to send and receive emails, a significant feature for business users of that time. The device utilizes the Symbian operating system, known for its multitasking capabilities, allowing users to switch between applications effortlessly.

Connectivity is another major aspect of the Nokia 9290. It supports GPRS, enabling users to enjoy mobile internet access, which was a groundbreaking feature back in the day. The device also included Bluetooth technology for wireless data transfer with compatible devices, though its wireless capabilities were limited compared to modern standards.

In terms of storage, the Nokia 9290 came with an internal memory of 4MB, expandable via the use of a Multimedia Card (MMC). This expansion capability allowed users to store documents, files, and multimedia, making it a versatile option for its time.

The Nokia 9290's battery life is commendable, providing extended use between charges. With a talk time of up to 6 hours and a standby time of up to 200 hours, users could rely on its stamina during long workdays.

Overall, the Nokia 9290 encapsulated the essence of early mobile computing, marrying phone functionality with the utility of PDA features. Its combination of design, features, and connectivity options made it a standout device that paved the way for future smartphones and remains a nostalgic piece of technology history.