7.1 Introduction

For reading and sending e-mail via the Nokia 9290 Commu- nicator remote e-mail client, you need to have an Internet Access Point (IAP) configured to your Nokia 9290 Commu- nicator. For further information on how to configure IAPs, please refer to Chapter 6 – Nokia 9290 Communicator and Internet Service.

You also need to have an e-mail account that supports SMTP protocol for sending e-mail, and POP3 or IMAP4rev1 protocol for receiving e-mail. You can also have multiple e-mail accounts in the Nokia 9290 Communicator.

Note: The necessary settings for mail configuration are provided by your e-mail service provider. Depending on your service provider, you may not need to fill in all of the settings. If your mail settings are incomplete or incorrect, please contact your service provider. An e-mail service provider can be your company or a commercial ISP, for example.

Important information that must be filled in when defining a new e-mail account includes:

Host name to receive mail (IMAP4 or POP3 e-mail server)

Host name to send mail (SMTP server)

Mailbox type (which protocol to use, either POP3 or IMAP4)

Username (case sensitive)

Password (case sensitive, displayed using asterisks (*))

Dial-in access point for the mail service

Use of secure connection (i.e., require SSL/TLS encryption to be used)

7.2 Mail settings

In order to connect to your electronic mailbox service, you need to define your remote mailbox on your Nokia 9290 Communicator. This can be made from the Messaging application main view under Menu (see figure below) or from that shortcut (Internet Start up) in the Desk application.

To define a new remote mailbox:

1.Press the Menu key in the main view of the Messaging center and first select Tools, then Accounts. A list of accounts opens.

2.Press Create new to create an e-mail account. You’ll get the following dialog:

3.Select Email and press OK. A dialog with four pages opens.

4.Define the settings on the General, Servers, Retrieve, and Advanced pages below.

5.You must fill in at least:

Username used to log in the POP3/IMAP4 e-mail server

Password for the POP3/IMAP4 e-mail server

Your e-mail address (e.g., for replies to messages you have sent)

Outgoing e-mail server (host name for SMTP server)

Incoming e-mail server (host name for IMAP4 or POP3 server)

6.Press Delete to discard any changes.

7.Press Close to accept the changes you have made.

7.3 General page

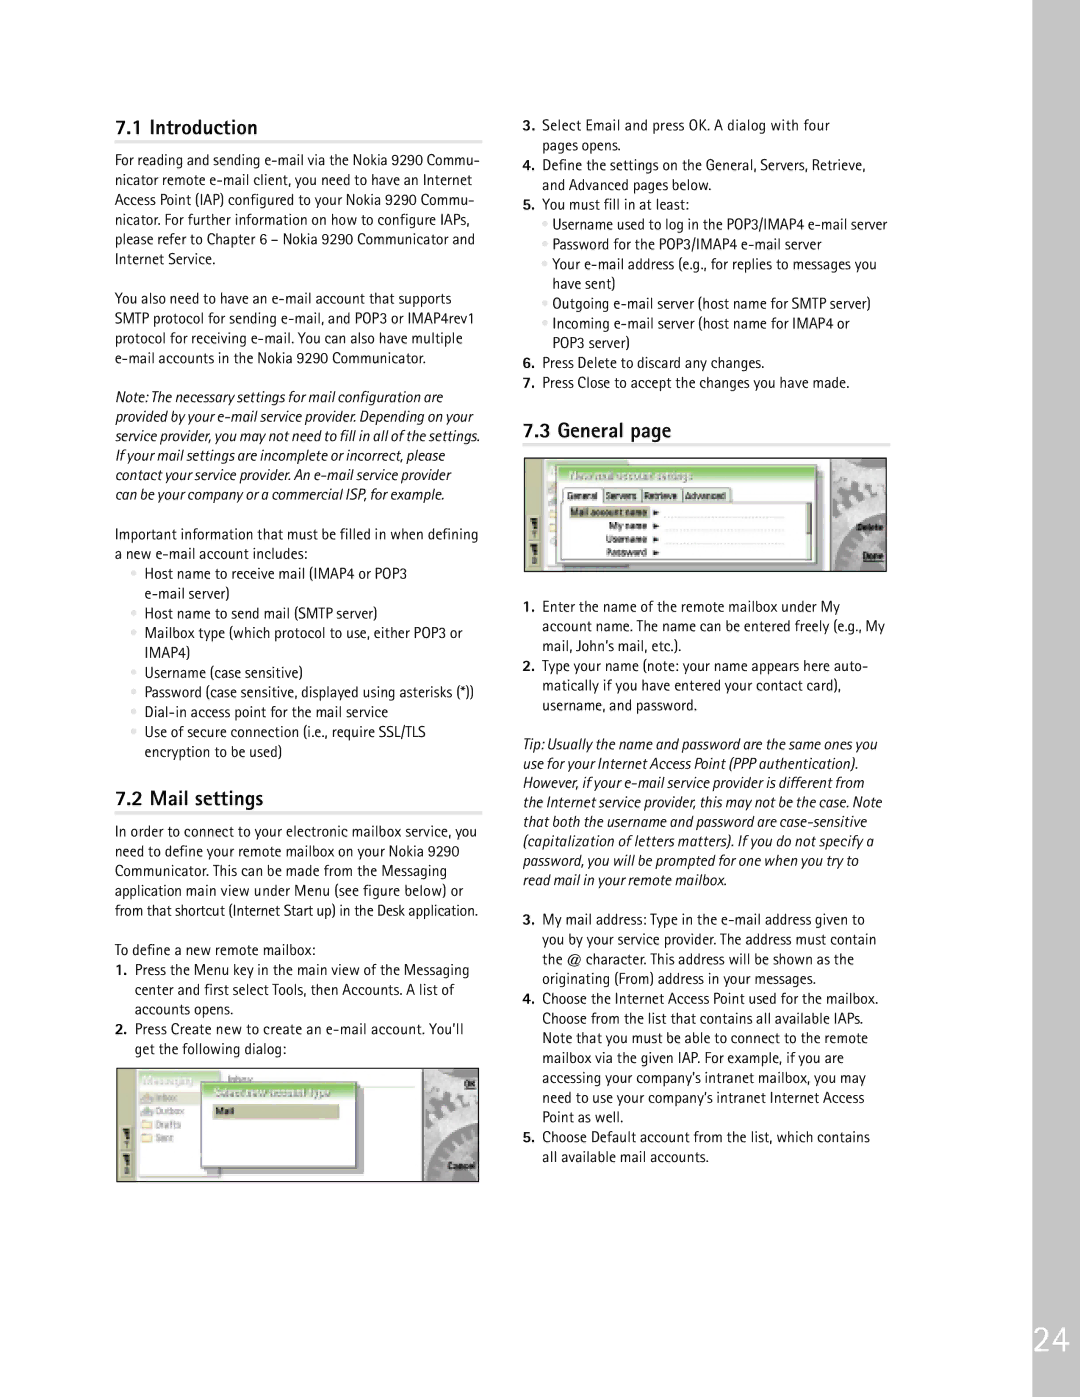
1.Enter the name of the remote mailbox under My account name. The name can be entered freely (e.g., My mail, John’s mail, etc.).

2.Type your name (note: your name appears here auto- matically if you have entered your contact card), username, and password.

Tip: Usually the name and password are the same ones you use for your Internet Access Point (PPP authentication). However, if your e-mail service provider is different from the Internet service provider, this may not be the case. Note that both the username and password are case-sensitive (capitalization of letters matters). If you do not specify a password, you will be prompted for one when you try to read mail in your remote mailbox.

3.My mail address: Type in the e-mail address given to you by your service provider. The address must contain the @ character. This address will be shown as the originating (From) address in your messages.

4.Choose the Internet Access Point used for the mailbox. Choose from the list that contains all available IAPs. Note that you must be able to connect to the remote mailbox via the given IAP. For example, if you are accessing your company’s intranet mailbox, you may need to use your company’s intranet Internet Access Point as well.

5.Choose Default account from the list, which contains all available mail accounts.

24

Page 27
Image 27
Nokia 9290 manual Mail settings, General

9290 specifications

The Nokia 9290, launched in the early 2000s, is a remarkable device that marked a significant step in mobile technology. This smartphone is recognized for blending the features of a traditional mobile phone and a PDA (Personal Digital Assistant), making it an essential tool for professionals on the go.

One of the standout features of the Nokia 9290 is its unique design. It boasts a clamshell form factor that was ahead of its time, allowing users to protect the screen and keypad when not in use. Upon opening the device, users are greeted with a spacious and vibrant color display, which was a rarity for mobile devices of its era. The screen size at 800 x 600 pixels offered clear visibility of texts and images, improving user experience.

The Nokia 9290 supports a range of productivity tools, including a built-in calendar, task manager, and contacts application. It enables users to manage their schedules and keep track of important contacts seamlessly. This functionality is complemented by the ability to send and receive emails, a significant feature for business users of that time. The device utilizes the Symbian operating system, known for its multitasking capabilities, allowing users to switch between applications effortlessly.

Connectivity is another major aspect of the Nokia 9290. It supports GPRS, enabling users to enjoy mobile internet access, which was a groundbreaking feature back in the day. The device also included Bluetooth technology for wireless data transfer with compatible devices, though its wireless capabilities were limited compared to modern standards.

In terms of storage, the Nokia 9290 came with an internal memory of 4MB, expandable via the use of a Multimedia Card (MMC). This expansion capability allowed users to store documents, files, and multimedia, making it a versatile option for its time.

The Nokia 9290's battery life is commendable, providing extended use between charges. With a talk time of up to 6 hours and a standby time of up to 200 hours, users could rely on its stamina during long workdays.

Overall, the Nokia 9290 encapsulated the essence of early mobile computing, marrying phone functionality with the utility of PDA features. Its combination of design, features, and connectivity options made it a standout device that paved the way for future smartphones and remains a nostalgic piece of technology history.