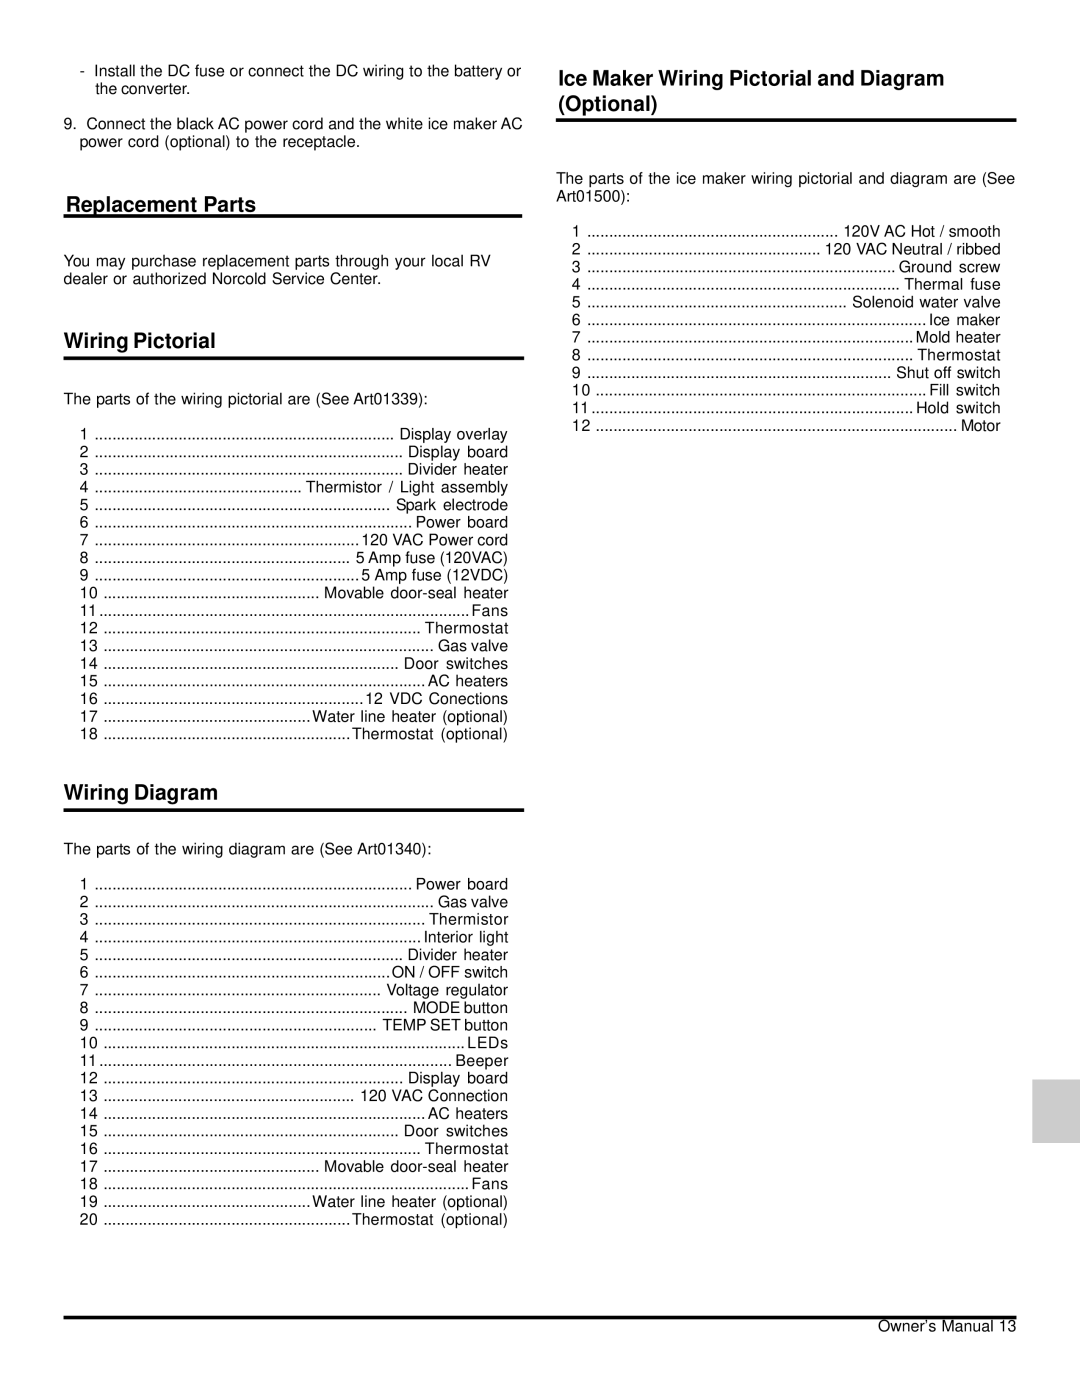
120x specifications
The Norcold 120X is a prominent choice in the realm of absorption refrigerators, particularly favored in recreational vehicles (RVs), campers, and various off-grid applications. Boasting a range of features and technologies, the Norcold 120X presents a combination of efficiency, reliability, and convenience for users seeking a dependable cooling solution.One of the standout features of the Norcold 120X is its dual-power capability. This versatile refrigerator can operate using both AC (alternating current) and DC (direct current) power, offering users flexibility depending on their energy source. Additionally, it can run on propane gas, which is ideal for off-grid scenarios where electric power may be limited. This multi-fuel functionality ensures that users can always rely on the Norcold 120X for consistent cooling, regardless of their location.
The Norcold 120X is designed with user convenience in mind. It features an intuitive control panel that allows users to easily monitor and adjust the temperature settings. With adjustable shelves and door bins, the interior layout can accommodate various food items and maximize storage efficiency. The refrigerator's sleek and compact design ensures it fits seamlessly into smaller spaces typically found in RVs or campers.
Another important characteristic of the Norcold 120X is its advanced absorption cooling technology. Utilizing a unique combination of ammonia and water as refrigerants, the absorption system produces minimal noise levels, making it a suitable choice for those seeking a quiet environment. Furthermore, the absence of mechanical compressors helps to reduce energy consumption, enhancing its overall efficiency.
In terms of insulation, the Norcold 120X boasts high-performance thermal insulation that enhances its cooling capabilities. This feature helps maintain internal temperatures even in hotter external environments, ensuring food and beverages remain fresh for extended periods.
Safety is also a priority with the Norcold 120X, which includes features such as a safety shut-off valve and a robust exterior casing to withstand the rigors of travel.
Overall, the Norcold 120X represents a fusion of innovative technology and practical design. With its reliability, energy efficiency, and user-friendly features, it undoubtedly stands out as a leading choice for those in need of a dependable refrigeration solution on the road.

