HOW TO TURN ON THE POWER
1 Plug in the power cord (see page 11).
2 | Locate the reset/off |
|
|
|
|
|
|
circuit breaker near |
|
|
|
|
|
| |
| the power cord. Make |
| On |
|
|
|
|
|
|
|
|
|
| ||
|
| Position |
|
|
|
| |
| sure that the circuit |
|
|
|
|
| |
|
|
|
|
|
|
| |
| breaker is in the reset |
|
|
|
|
|
|
| position. |
|
|
|
|
|
|
|
|
|
|
|
|
|
Stand on the foot rails of the treadmill. Find the clip
3 attached to the key (see the drawing on page 12) and attach the clip securely to the waistband of your clothes. Next, insert the key into the console. After a moment, the display will light. Note: When the power is turned on, the program that was se- lected the last time the Save button was pressed will automatically be reselected. If the Save button has not yet been pressed, the manual mode will be selected.
Test the clip by carefully taking a few steps backward until the key is pulled from the con- sole. If the key is not pulled from the console, adjust the position of the clip as needed.
HOW TO USE THE MANUAL MODE
1 Insert the key into the console.
See HOW TO TURN ON THE POWER above.
2 Identify yourself as user A or user B.
The console can save program settings for two different users. To identify yourself as user A, press the A button; to identify yourself as user B, press the B button.
3 Select the manual mode.
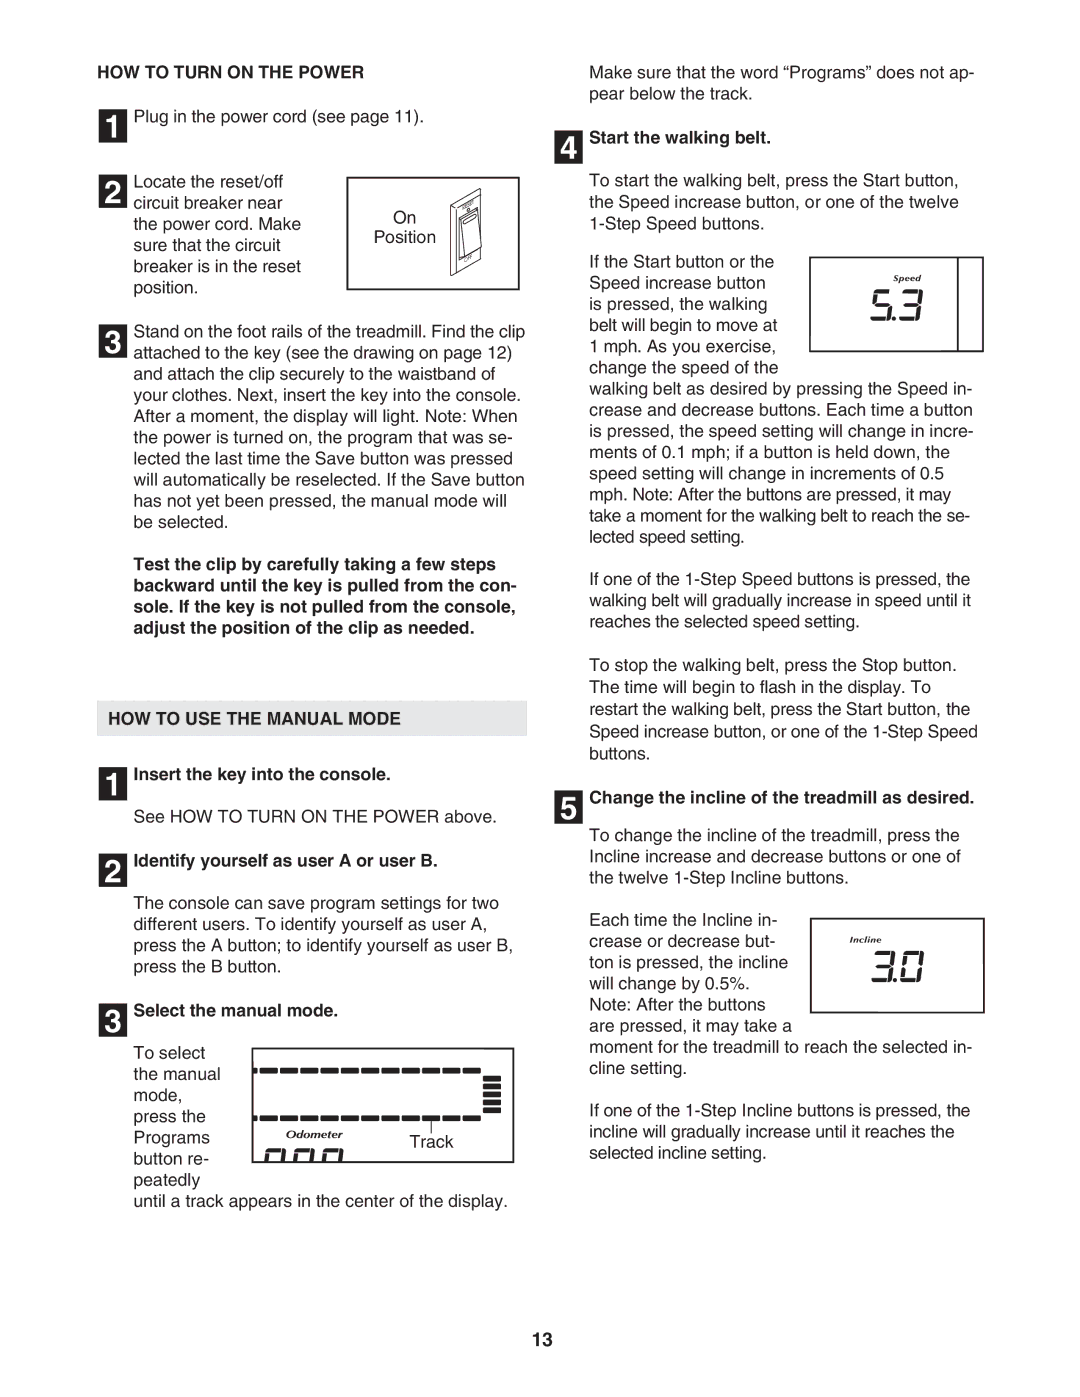
To select |
|
the manual |
|
mode, |
|
press the |
|
Programs | Track |
button re- |
|
peatedly
until a track appears in the center of the display.
Make sure that the word “Programs” does not ap- pear below the track.
4 Start the walking belt.
To start the walking belt, press the Start button, the Speed increase button, or one of the twelve
If the Start button or the
Speed increase button is pressed, the walking belt will begin to move at 1 mph. As you exercise, change the speed of the
walking belt as desired by pressing the Speed in- crease and decrease buttons. Each time a button is pressed, the speed setting will change in incre- ments of 0.1 mph; if a button is held down, the speed setting will change in increments of 0.5 mph. Note: After the buttons are pressed, it may take a moment for the walking belt to reach the se- lected speed setting.
If one of the
To stop the walking belt, press the Stop button. The time will begin to flash in the display. To restart the walking belt, press the Start button, the Speed increase button, or one of the
5 Change the incline of the treadmill as desired.
To change the incline of the treadmill, press the Incline increase and decrease buttons or one of the twelve
Each time the Incline in-
crease or decrease but-
ton is pressed, the incline will change by 0.5%.
Note: After the buttons are pressed, it may take a
moment for the treadmill to reach the selected in- cline setting.
If one of the
13
