COMPLETING INSTALLATION


7-5/8"


1.

Reinstall the heater unit and tighten four (4) screws securely.

2-1/2"


2.

Plug fan and heater assemblies to receptacles on junction box cover.


3.

Install a 100 watt lamp in light socket and 7 watt lamp in night light socket.


4.

Place grille over grille mounting screws and tighten.


5.

Check out all functions for proper operation.


INSTALLATION IN EXISTING CONSTRUCTION


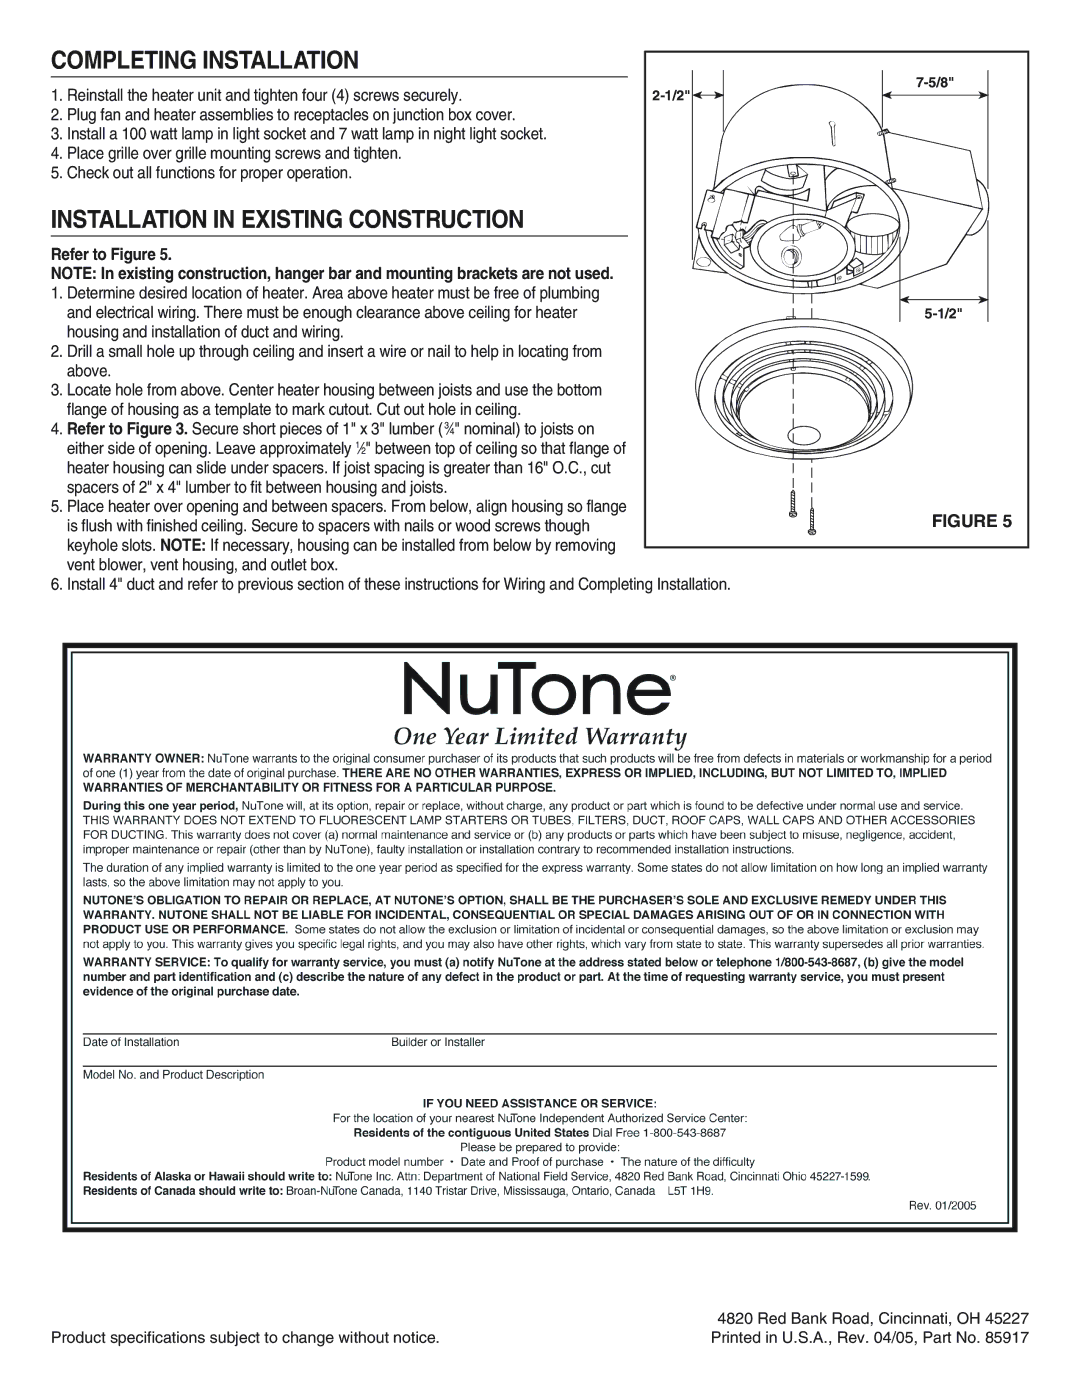
Refer to Figure 5.


NOTE: In existing construction, hanger bar and mounting brackets are not used.


1.

Determine desired location of heater. Area above heater must be free of plumbing


and electrical wiring. There must be enough clearance above ceiling for heater


5-1/2"


housing and installation of duct and wiring.


2.

Drill a small hole up through ceiling and insert a wire or nail to help in locating from


above.


3.

Locate hole from above. Center heater housing between joists and use the bottom


flange of housing as a template to mark cutout. Cut out hole in ceiling.


4.

Refer to Figure 3. Secure short pieces of 1" x 3" lumber (34" nominal) to joists on


either side of opening. Leave approximately 12" between top of ceiling so that flange of


heater housing can slide under spacers. If joist spacing is greater than 16" O.C., cut


spacers of 2" x 4" lumber to fit between housing and joists.


5.

Place heater over opening and between spacers. From below, align housing so flange


FIGURE 5


is flush with finished ceiling. Secure to spacers with nails or wood screws though


keyhole slots. NOTE: If necessary, housing can be installed from below by removing


vent blower, vent housing, and outlet box.


6.

Install 4" duct and refer to previous section of these instructions for Wiring and Completing Installation.


4820 Red Bank Road, Cincinnati, OH 45227

Product specifications subject to change without notice.

Printed in U.S.A., Rev. 04/05, Part No. 85917

Page 2
Image 2
NuTone QT-9093 installation instructions Completing Installation, Installation in Existing Construction

QT-9093 specifications

The NuTone QT-9093 is a premium bath fan that combines functionality with advanced technology, making it an ideal choice for modern bathrooms. Its sleek design and efficient performance make it a popular option for homeowners looking to improve ventilation and air quality.

One of the main features of the QT-9093 is its powerful ventilation capability. With a robust airflow rating, this fan is designed to effectively remove excess moisture and odors from the bathroom, preventing the growth of mold and mildew. This is particularly important in areas with high humidity levels, ensuring a healthier environment.

The QT-9093 also incorporates a quiet operation feature, which is a significant advantage for bathroom fans. Designed with a sound-absorbing technology, it operates at an ultra-quiet level, making it suitable for nighttime use without disturbing household members. This feature is perfect for modern homes where noise reduction is a priority.

Additionally, this fan comes equipped with a unique, adjustable light that not only brightens the bathroom but also enhances its overall aesthetic appeal. The integrated lighting system offers a warm glow, creating a relaxing ambiance for users. The QT-9093 also features a stylish grille design that blends seamlessly with various bathroom décors, further adding to its versatility.

The installation of the NuTone QT-9093 is designed to be straightforward, allowing homeowners to easily integrate it into their existing bathroom layouts. The fan is lightweight yet durable, made with materials that ensure longevity and reliable performance.

Moreover, the QT-9093 includes a built-in heating element, providing additional comfort during colder months. The heating feature can quickly warm up the bathroom, making it particularly helpful in regions with harsh winters.

In terms of energy efficiency, this NuTone fan is designed with low energy consumption in mind while still delivering high performance. Homeowners can benefit from reduced electricity costs without sacrificing effectiveness.

In conclusion, the NuTone QT-9093 is a standout choice for anyone looking to enhance their bathroom's ventilation and comfort. With features such as quiet operation, powerful airflow, adjustable lighting, and built-in heating, it exemplifies a perfect blend of technology and practicality tailored for modern living.