8.Dress extra cable into the hole
(or wall box if used) and position the camera, starting at the top onto the plastic back frame.
9.Fully seat the camera into the back frame and secure the camera with 4mm camera attachment screw (supplied) thru the
bottom of the back frame and camera.
Important: If camera is exposed to outside elements, caulk should be added to the top and sides of the camera at the wall surface. Do not caulk bottom surface.
Operational Checkout
Refer to the instructions provided with NuTone models VSM4SK, or VSUC4SK.
Camera Volume Adjustment
The VSC4S door camera is provided with a volume level adjustment set screw. The adjustment has been
Important: Do not use excessive force to rotate the screw. Damage could occur to the camera, and loss of audio may result. Use extreme caution when making the adjustment. Do not use a screwdriver that is too big for the application.
VSC4S
Volume Adjustment
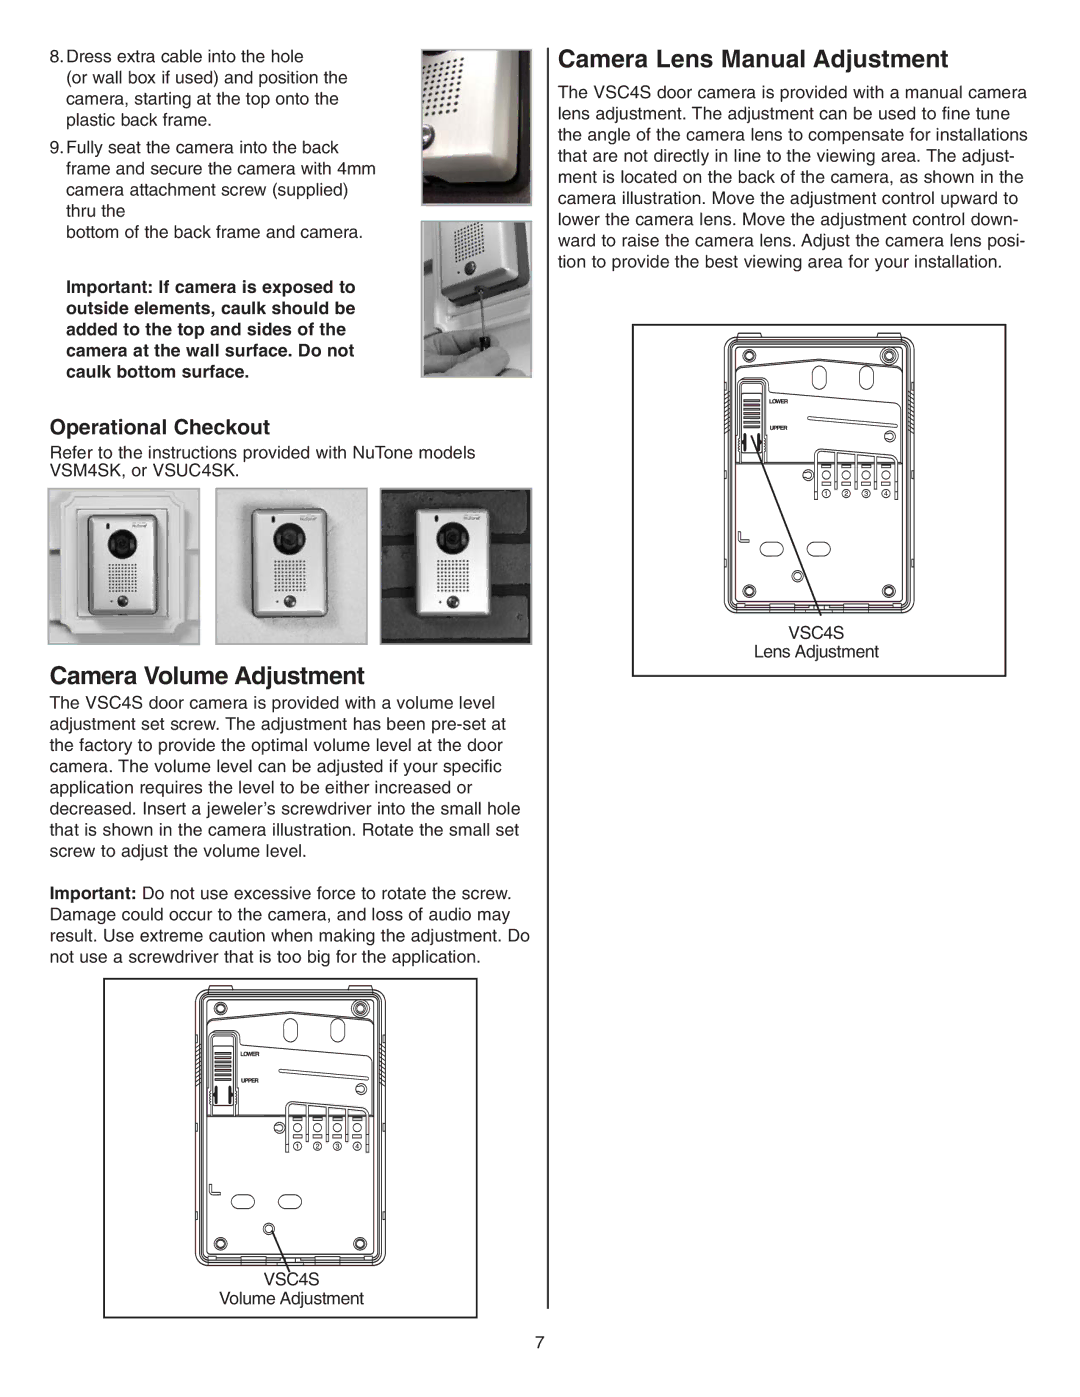
Camera Lens Manual Adjustment
The VSC4S door camera is provided with a manual camera lens adjustment. The adjustment can be used to fine tune the angle of the camera lens to compensate for installations that are not directly in line to the viewing area. The adjust- ment is located on the back of the camera, as shown in the camera illustration. Move the adjustment control upward to lower the camera lens. Move the adjustment control down- ward to raise the camera lens. Adjust the camera lens posi- tion to provide the best viewing area for your installation.
VSC4S
Lens Adjustment
7