FIGURE 4: REPLACE THE LID
CLOSE HOUSING
1.Place housing back over front and align the complete mating surface of the housing and the gasket, forming a proper seal.
2.Ensure that the pressure release plug is pulled all the way out while closing, otherwise the air cannot escape.
3.Squeeze the lid closed all the way, you will hear the hiss of air being expelled.
4.Screw home the pressure release plug; you need not excessively tighten this plug. The seal is made by the internal
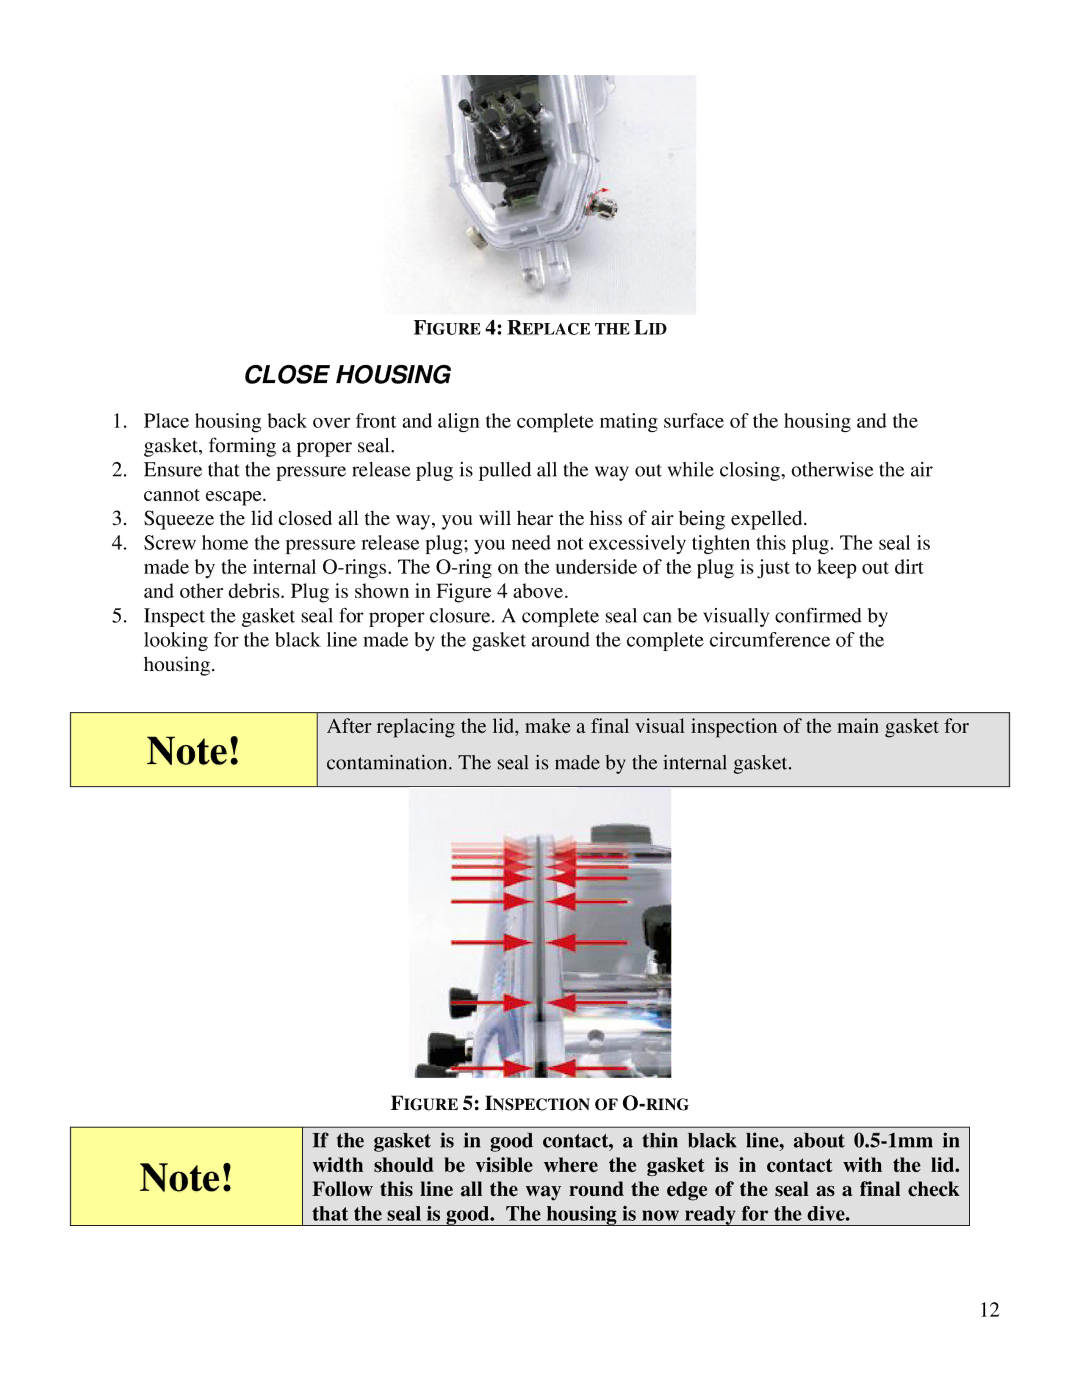
5.Inspect the gasket seal for proper closure. A complete seal can be visually confirmed by looking for the black line made by the gasket around the complete circumference of the housing.
Note!
After replacing the lid, make a final visual inspection of the main gasket for contamination. The seal is made by the internal gasket.
|
|
| FIGURE 5: INSPECTION OF |
|
|
|
|
| Note! |
| If the gasket is in good contact, a thin black line, about |
|
| width should be visible where the gasket is in contact with the lid. | |
|
| Follow this line all the way round the edge of the seal as a final check | |
|
|
| that the seal is good. The housing is now ready for the dive. |
12