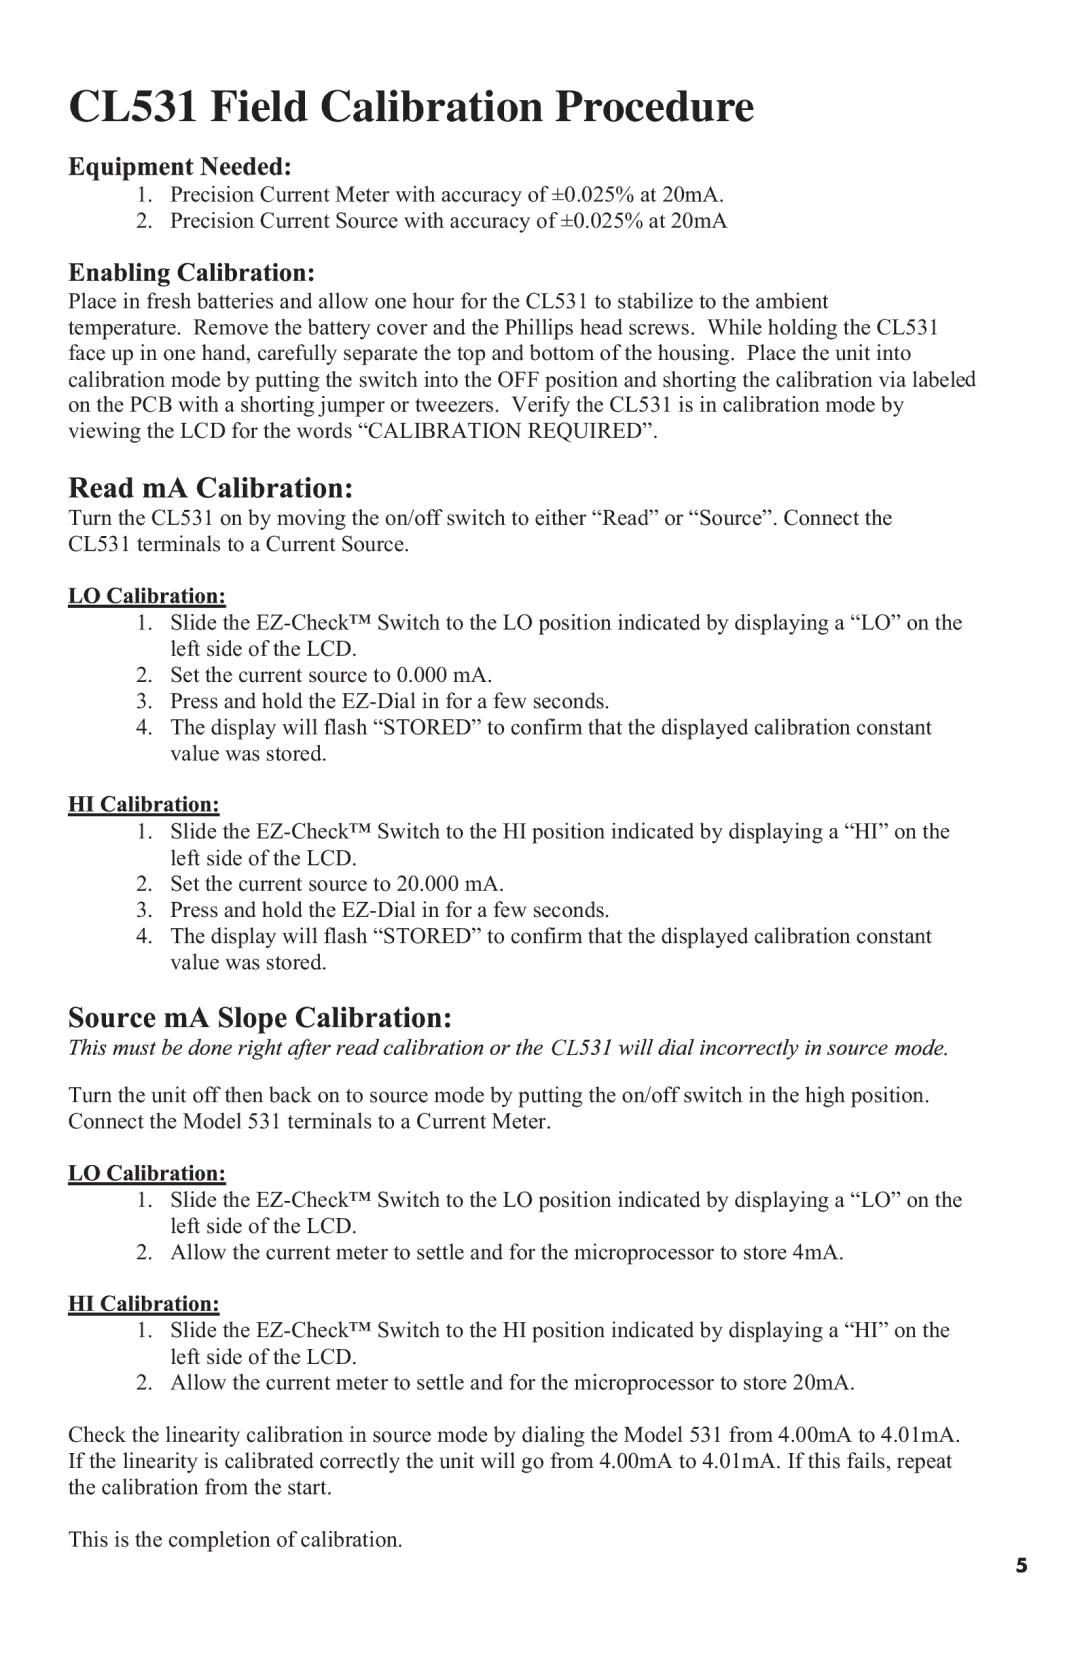
CL531 specifications
Omega Engineering is renowned for its precision instruments and innovative solutions in the field of measurement and control. Among its notable offerings is the Omega CL531, an advanced process controller that has gained recognition for its reliability and versatility in a wide range of industrial applications.The Omega CL531 features a powerful microprocessor-based design, which allows for precise control and monitoring of various parameters such as temperature, pressure, and flow. This capability makes it ideal for use in laboratories, manufacturing processes, and environmental monitoring. The device features a dual-display that simultaneously shows the process variable and the setpoint, providing users with clear visibility of critical data.
One of the standout technologies integrated into the CL531 is its user-friendly interface. The controller is designed with a simple navigation system, allowing operators to configure settings and adjust parameters quickly. This ease of use is complemented by a comprehensive manual and support resources, ensuring that users can efficiently operate the device without extensive training.
The CL531 also boasts advanced control capabilities, including PID control, which optimizes the regulation of process variables. This functionality is crucial for maintaining stability in processes where precise control is essential. Users can easily adjust the PID settings to tailor the controller's performance to their specific application requirements.
In addition to its control features, the Omega CL531 supports a wide range of input types, including thermocouples, RTDs, and voltage or current signals. This versatility enables users to integrate the controller into existing systems without the need for significant modifications, making it a cost-effective solution for upgrading process control technologies.
Another significant characteristic of the CL531 is its robust construction, designed to withstand the demands of industrial environments. With its durable housing and reliable components, the device ensures long-term performance even in challenging conditions.
In summary, the Omega CL531 serves as a powerful and versatile tool for process control in various applications. Its advanced features, user-friendly interface, and robust design make it an essential instrument for industries requiring precision monitoring and control. Whether in laboratory settings or manufacturing lines, the Omega CL531 stands out as a top choice for engineers and technicians seeking reliable process management solutions.

