VA Series Vapor Actuated Dial Thermometer
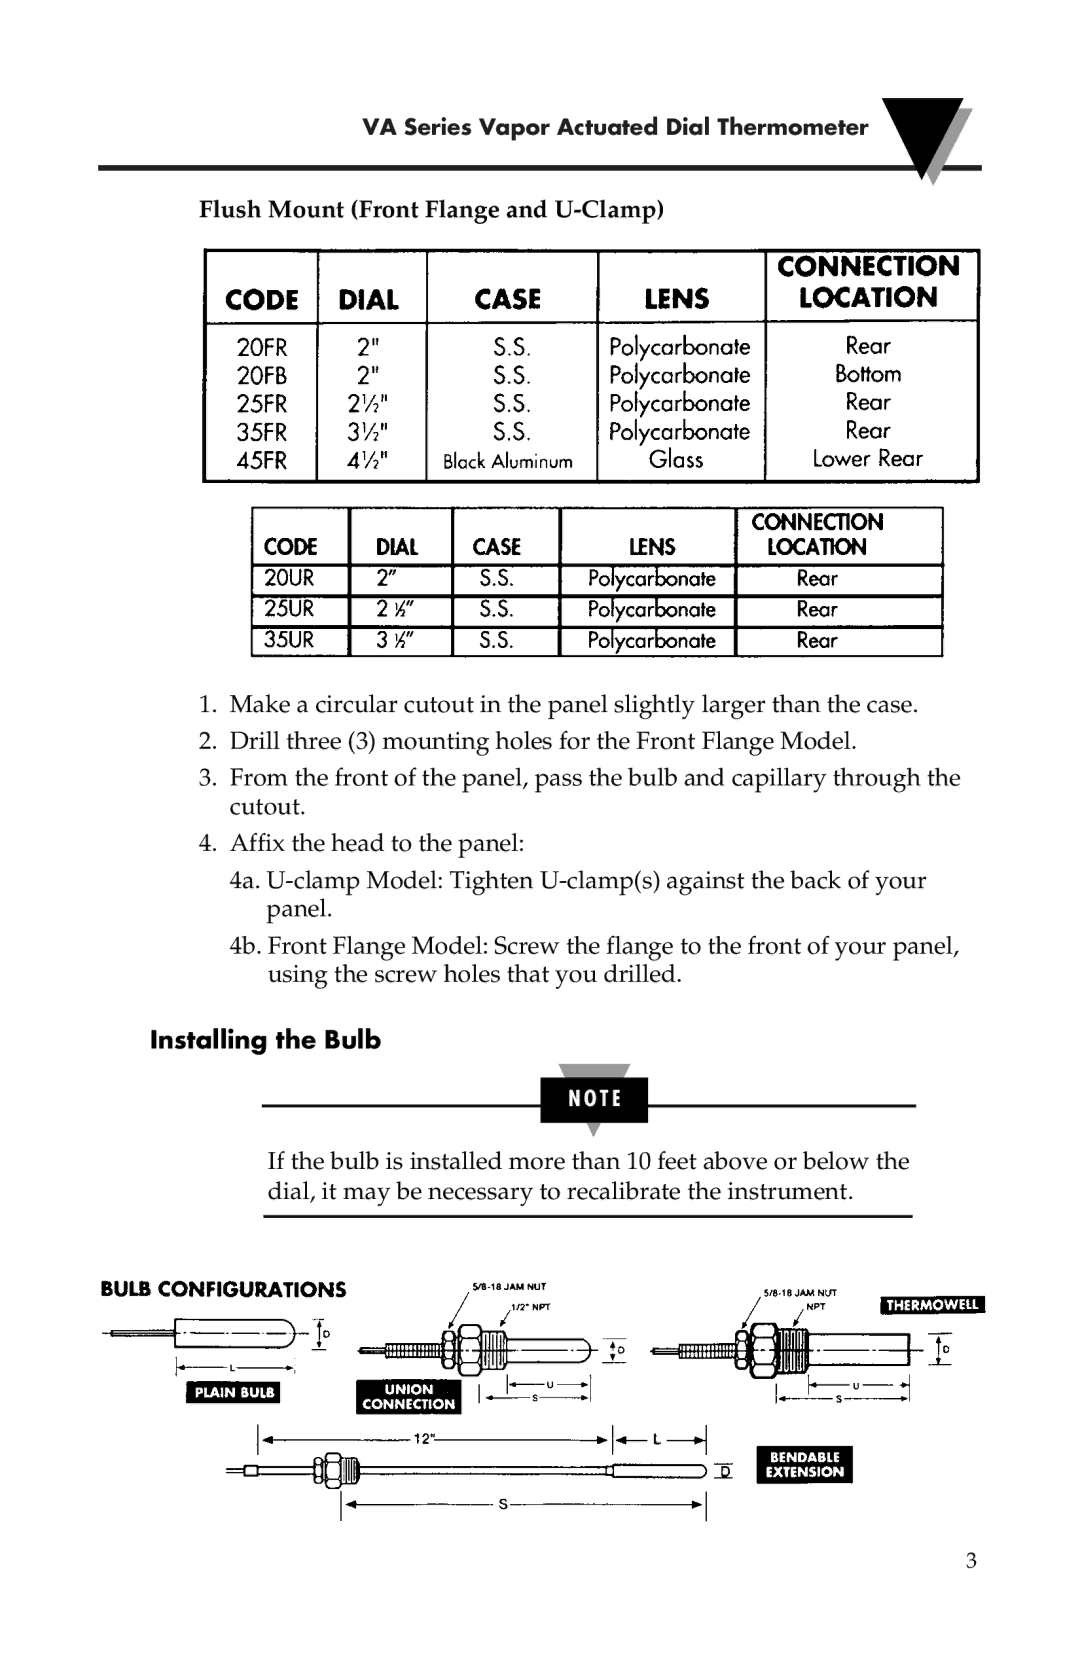
Flush Mount (Front Flange and U-Clamp)
1.Make a circular cutout in the panel slightly larger than the case.
2.Drill three (3) mounting holes for the Front Flange Model.
3.From the front of the panel, pass the bulb and capillary through the cutout.
4.Affix the head to the panel:
4a.
4b. Front Flange Model: Screw the flange to the front of your panel, using the screw holes that you drilled.
Installing the Bulb
N O T E
If the bulb is installed more than 10 feet above or below the dial, it may be necessary to recalibrate the instrument.
3
