OPERATING INSTRUCTIONS
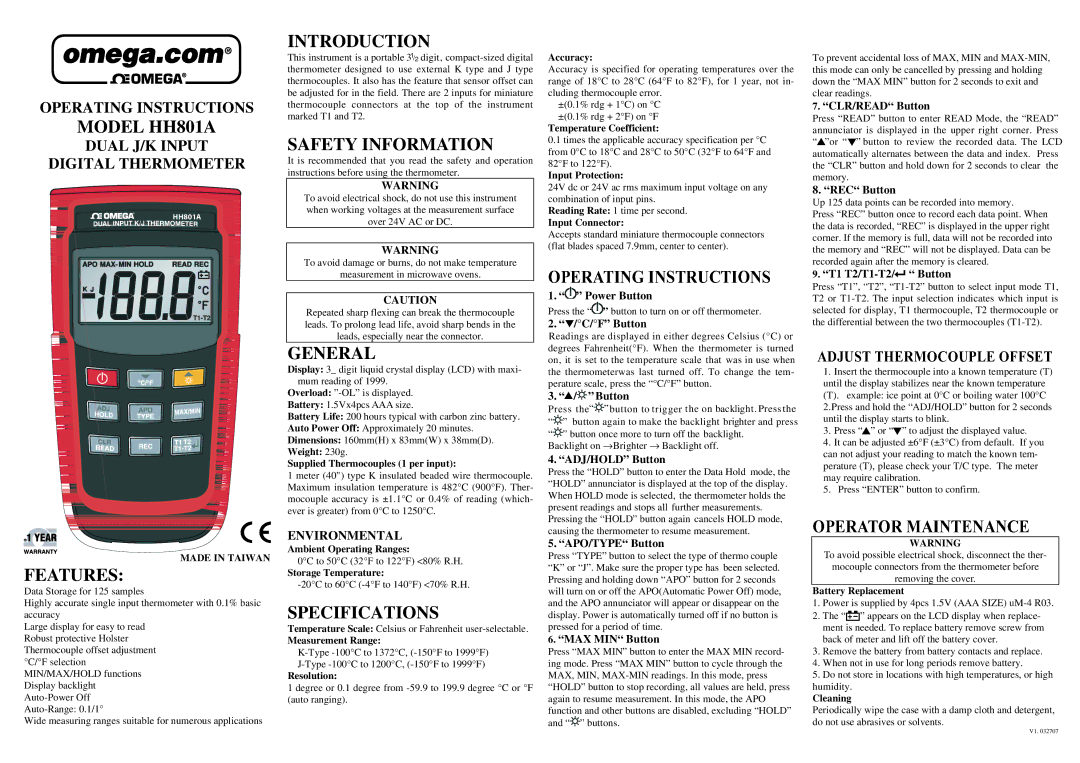
MODEL HH801A
DUAL J/K INPUT
DIGITAL THERMOMETER
INTRODUCTION
This instrument is a portable 31/2 digit,
SAFETY INFORMATION
It is recommended that you read the safety and operation instructions before using the thermometer.
WARNING
Accuracy:
Accuracy is specified for operating temperatures over the range of 18°C to 28°C (64°F to 82°F), for 1 year, not in- cluding thermocouple error.
±(0.1% rdg + 1°C) on °C ±(0.1% rdg + 2°F) on °F
Temperature Coefficient:
0.1 times the applicable accuracy specification per °C |
from 0°C to 18°C and 28°C to 50°C (32°F to 64°F and |
82°F to 122°F). |
Input Protection: |
24V dc or 24V ac rms maximum input voltage on any |
To prevent accidental loss of MAX, MIN and
7.“CLR/READ“ Button
Press “READ” button to enter READ Mode, the “READ” annunciator is displayed in the upper right corner. Press “![]() ”or “
”or “![]() ” button to review the recorded data. The LCD automatically alternates between the data and index. Press the “CLR” button and hold down for 2 seconds to clear the memory.
” button to review the recorded data. The LCD automatically alternates between the data and index. Press the “CLR” button and hold down for 2 seconds to clear the memory.
8. “REC“ Button
®
FEATURES:
HH801A
MADE IN TAIWAN
To avoid electrical shock, do not use this instrument when working voltages at the measurement surface over 24V AC or DC.
WARNING
To avoid damage or burns, do not make temperature
measurement in microwave ovens.
CAUTION
Repeated sharp flexing can break the thermocouple leads. To prolong lead life, avoid sharp bends in the leads, especially near the connector.
GENERAL
Display: 3_ digit liquid crystal display (LCD) with maxi- mum reading of 1999.
Overload:
Battery: 1.5Vx4pcs AAA size.
Battery Life: 200 hours typical with carbon zinc battery.
Auto Power Off: Approximately 20 minutes.
Dimensions: 160mm(H) x 83mm(W) x 38mm(D).
Weight: 230g.
Supplied Thermocouples (1 per input):
1 meter (40") type K insulated beaded wire thermocouple. Maximum insulation temperature is 482°C (900°F). Ther- mocouple accuracy is ±1.1°C or 0.4% of reading (which- ever is greater) from 0°C to 1250°C.
ENVIRONMENTAL
Ambient Operating Ranges:
0°C to 50°C (32°F to 122°F) <80% R.H.
Storage Temperature:
combination of input pins. |
Reading Rate: 1 time per second. |
Input Connector: |
Accepts standard miniature thermocouple connectors |
(flat blades spaced 7.9mm, center to center). |
1. “![]()
![]()
![]()
![]() ” Power Button
” Power Button
Press the “![]()
![]()
![]()
![]() ” button to turn on or off thermometer.
” button to turn on or off thermometer.
2. “ /°C/°F” Button
Readings are displayed in either degrees Celsius (°C) or degrees Fahrenheit(°F). When the thermometer is turned on, it is set to the temperature scale that was in use when the thermometerwas last turned off. To change the tem- perature scale, press the “°C/°F” button.
3. “ /
/

 ” Button
Press the“![]()
![]()
![]() ”button to trigger the on backlight. Press the “
”button to trigger the on backlight. Press the “![]()
![]()
![]() ” button again to make the backlight brighter and press “
” button again to make the backlight brighter and press “![]()
![]()
![]() ” button once more to turn off the backlight.
” button once more to turn off the backlight.
Backlight on →Brighter → Backlight off.
4. “ADJ/HOLD” Button
Press the “HOLD” button to enter the Data Hold mode, the “HOLD” annunciator is displayed at the top of the display. When HOLD mode is selected, the thermometer holds the present readings and stops all further measurements.
Pressing the “HOLD” button again cancels HOLD mode, causing the thermometer to resume measurement.
5. “APO/TYPE“ Button
Press “TYPE” button to select the type of thermo couple “K” or “J”. Make sure the proper type has been selected. Pressing and holding down “APO” button for 2 seconds
Up 125 data points can be recorded into memory.
Press “REC” button once to record each data point. When the data is recorded, “REC” is displayed in the upper right corner. If the memory is full, data will not be recorded into the memory and “REC” will not be displayed. Data can be recorded again after the memory is cleared.
9.“T1 T2/T1-T2/

“ Button
Press “T1”, “T2”,
1.Insert the thermocouple into a known temperature (T) until the display stabilizes near the known temperature
(T). example: ice point at 0°C or boiling water 100°C 2.Press and hold the “ADJ/HOLD” button for 2 seconds until the display starts to blink.
3. Press | ” or “ ” to adjust the displayed value. |
4.It can be adjusted ±6°F (±3°C) from default. If you can not adjust your reading to match the known tem- perature (T), please check your T/C type. The meter may require calibration.
5.Press “ENTER” button to confirm.
WARNING
To avoid possible electrical shock, disconnect the ther- mocouple connectors from the thermometer before removing the cover.
Data Storage for 125 samples
Highly accurate single input thermometer with 0.1% basic accuracy
Large display for easy to read Robust protective Holster Thermocouple offset adjustment °C/°F selection MIN/MAX/HOLD functions Display backlight
Wide measuring ranges suitable for numerous applications
SPECIFICATIONS
Temperature Scale: Celsius or Fahrenheit
Measurement Range:
Resolution:
1 degree or 0.1 degree from
will turn on or off the APO(Automatic Power Off) mode, and the APO annunciator will appear or disappear on the display. Power is automatically turned off if no button is pressed for a period of time.
6.“MAX MIN“ Button
Press “MAX MIN” button to enter the MAX MIN record- ing mode. Press “MAX MIN” button to cycle through the MAX, MIN, ![]()
![]()
![]() ” buttons.
” buttons.
Battery Replacement
1.Power is supplied by 4pcs 1.5V (AAA SIZE) uM-4 R03.
2.The “![]()
![]()
![]() ” appears on the LCD display when replace- ment is needed. To replace battery remove screw from back of meter and lift off the battery cover.
” appears on the LCD display when replace- ment is needed. To replace battery remove screw from back of meter and lift off the battery cover.
3.Remove the battery from battery contacts and replace.
4.When not in use for long periods remove battery.
5.Do not store in locations with high temperatures, or high humidity.
Cleaning
Periodically wipe the case with a damp cloth and detergent, do not use abrasives or solvents.
V1. 032707