Safety instructions
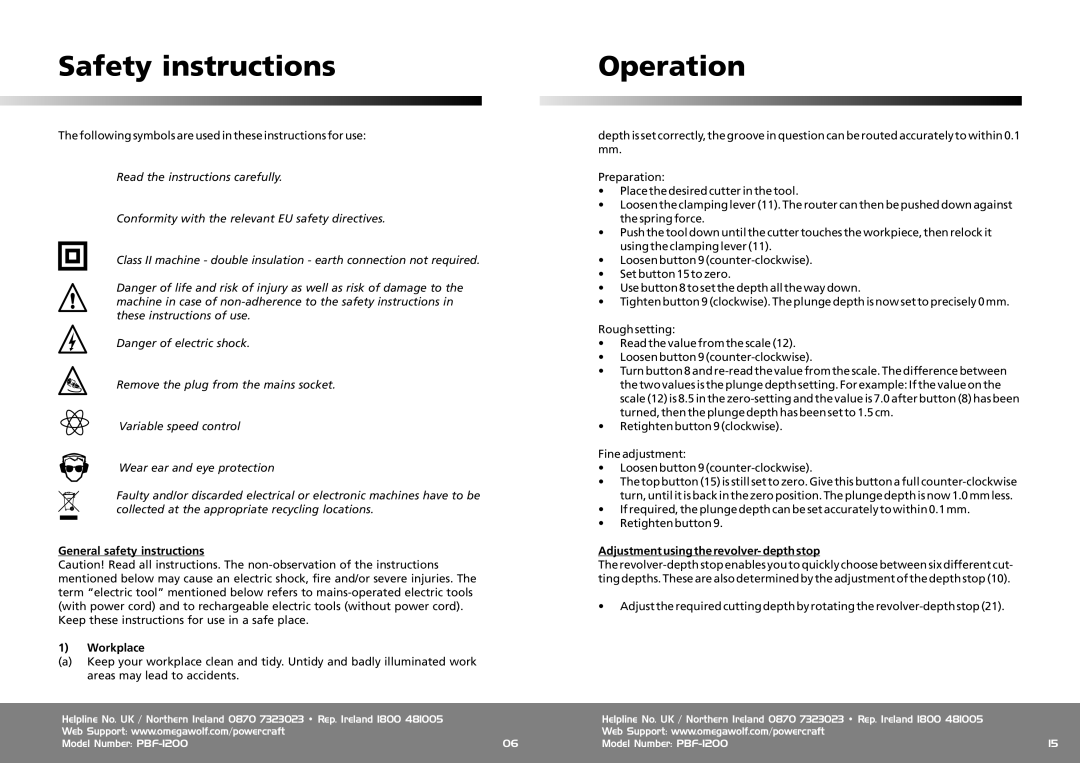
The following symbols are used in these instructions for use:
Read the instructions carefully.
Conformity with the relevant EU safety directives.
Class II machine - double insulation - earth connection not required.
Danger of life and risk of injury as well as risk of damage to the machine in case of
Danger of electric shock.
Remove the plug from the mains socket.
Variable speed control
Wear ear and eye protection
Faulty and/or discarded electrical or electronic machines have to be collected at the appropriate recycling locations.
General safety instructions
Caution! Read all instructions. The
1)Workplace
(a)Keep your workplace clean and tidy. Untidy and badly illuminated work areas may lead to accidents.
Operation
depth is set correctly, the groove in question can be routed accurately to within 0.1 mm.
Preparation:
•Place the desired cutter in the tool.
•Loosen the clamping lever (11). The router can then be pushed down against the spring force.
•Push the tool down until the cutter touches the workpiece, then relock it using the clamping lever (11).
•Loosen button 9
•Set button 15 to zero.
•Use button 8 to set the depth all the way down.
•Tighten button 9 (clockwise). The plunge depth is now set to precisely 0 mm.
Rough setting:
•Read the value from the scale (12).
•Loosen button 9
•Turn button 8 and
•Retighten button 9 (clockwise).
Fine adjustment:
•Loosen button 9
•The top button (15) is still set to zero. Give this button a full
•If required, the plunge depth can be set accurately to within 0.1 mm.
•Retighten button 9.
Adjustment using the revolver- depth stop
The
•Adjust the required cutting depth by rotating the
Helpline No. UK / Northern Ireland 0870 7323023 • Rep. Ireland 1800 481005 |
| Helpline No. UK / Northern Ireland 0870 7323023 • Rep. Ireland 1800 481005 |
|
Web Support: www.omegawolf.com/powercraft |
| Web Support: www.omegawolf.com/powercraft |
|
Model Number: | 06 | Model Number: | 15 |
|
|
|
|
