iConverter® 10T/2 User Manual
Model Type | Connectors | Distance | |
|
|
| |
UTP | 100m | ||
|
| ||
Coax | 185m | ||
| |||
|
|
|
For wide temperature
Page 1
MOUNTING AND CABLE ATTACHMENT:
iConverter modules are
1.Carefully slide the iConverter module into the installation slot, aligning the module with installation guides, and secure using the front panel fastener screw. NOTE: Ensure that module is firmly seated against the backplane.
2.Secure module by securing panel fastener screw (attached to module) to chassis front.
3.Attach the iConverter 10T/2 RJ45 connector via a category 5 cable to a
4.Attach the iConverter 10T/2, via a coax cable to a
5.If using the iConverter 10T/2 at the end of a coaxial network, set Coax Termination
LED INDICATORS:
LED | Color | Description |
Pwr: | Yellow | On - Power on |
Col: | Yellow | On - Coax collision |
Act: | Green | On - Coax activity |
Lk/Act: | Green | On - UTP link |
|
| Blink - UTP activity |
Page 6
OVERVIEW:
The iConverter 10T/2 converter supports the IEEE
802.3standard and converts
The 10T/2 can be used as a standard
The 10T/2 can be used in an unmanaged or managed fashion. When unmanaged, it can be installed in a chassis without a Network Management Module (NMM). To be managed, a NMM module must be installed in the same chassis.
Due to the Ethernet
4 iConverter 10T/2 modules can be
linked together via the backplane buses.
PORT STRUCTURE:
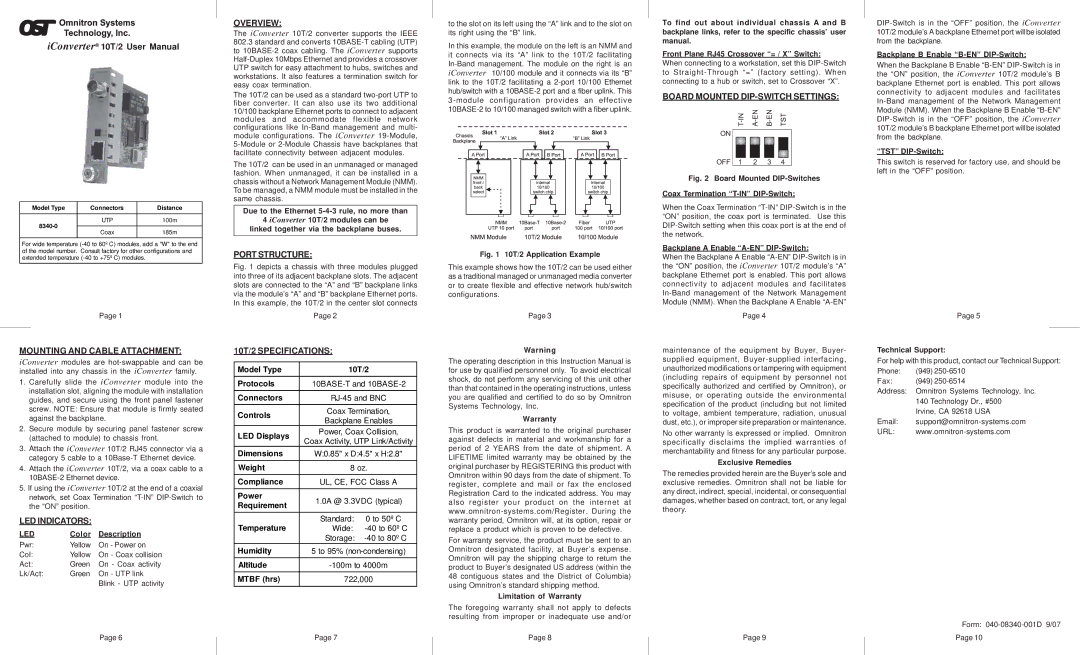
Fig. 1 depicts a chassis with three modules plugged into three of its adjacent backplane slots. The adjacent slots are connected to the “A” and “B” backplane links via the module’s “A” and “B” backplane Ethernet ports. In this example, the 10T/2 in the center slot connects
| Page 2 |
| |
10T/2 SPECIFICATIONS: |
| ||
|
| ||
Model Type | 10T/2 | ||
Protocols | |||
Connectors | |||
Controls | Coax Termination, | ||
Backplane Enables | |||
| |||
LED Displays | Power, Coax Collision, | ||
Coax Activity, UTP Link/Activity | |||
| |||
Dimensions | W:0.85" x D:4.5" x H:2.8" | ||
Weight | 8 oz. | ||
Compliance | UL, CE, FCC Class A | ||
Power | 1.0A @ 3.3VDC (typical) | ||
Requirement | |||
|
| ||
Temperature | Standard: | 0 to 50º C | |
Wide: | |||
| Storage: | ||
Humidity | 5 to 95% | ||
Altitude | |||
MTBF (hrs) | 722,000 | ||
Page 7
to the slot on its left using the “A” link and to the slot on its right using the “B” link.
In this example, the module on the left is an NMM and it connects via its “A” link to the 10T/2 facilitating
Fig. 1 10T/2 Application Example
This example shows how the 10T/2 can be used either as a traditional managed or unmanaged media converter or to create flexible and effective network hub/switch configurations.
Page 3
Warning
The operating description in this Instruction Manual is for use by qualified personnel only. To avoid electrical shock, do not perform any servicing of this unit other than that contained in the operating instructions, unless you are qualified and certified to do so by Omnitron Systems Technology, Inc.
Warranty
This product is warranted to the original purchaser against defects in material and workmanship for a period of 2 YEARS from the date of shipment. A LIFETIME limited warranty may be obtained by the original purchaser by REGISTERING this product with Omnitron within 90 days from the date of shipment. To register, complete and mail or fax the enclosed Registration Card to the indicated address. You may also register your product on the internet at
For warranty service, the product must be sent to an Omnitron designated facility, at Buyer’s expense. Omnitron will pay the shipping charge to return the product to Buyer’s designated US address (within the 48 contiguous states and the District of Columbia) using Omnitron’s standard shipping method.
Limitation of Warranty
The foregoing warranty shall not apply to defects resulting from improper or inadequate use and/or
Page 8
To find out about individual chassis A and B backplane links, refer to the specific chassis’ user manual.
Front Plane RJ45 Crossover “= / X” Switch:
When connecting to a workstation, set this
BOARD MOUNTED DIP-SWITCH SETTINGS:
|
|
|
| TST | |||||
ON |
|
|
|
|
|
|
|
|
|
|
|
|
|
|
|
|
|
| |
OFF |
|
|
|
|
|
|
|
|
|
|
|
|
|
|
|
|
|
| |
1 | 2 |
| 3 | 4 |
| ||||
Fig. 2 Board Mounted DIP-Switches
Coax Termination “T-IN” DIP-Switch:
When the Coax Termination
Backplane A Enable “A-EN” DIP-Switch:
When the Backplane A Enable
Page 4
maintenance of the equipment by Buyer, Buyer- supplied equipment,
No other warranty is expressed or implied. Omnitron specifically disclaims the implied warranties of merchantability and fitness for any particular purpose.
Exclusive Remedies
The remedies provided herein are the Buyer’s sole and exclusive remedies. Omnitron shall not be liable for any direct, indirect, special, incidental, or consequential damages, whether based on contract, tort, or any legal theory.
Page 9
Backplane B Enable “B-EN” DIP-Switch:
When the Backplane B Enable
“TST”
This switch is reserved for factory use, and should be left in the “OFF” position.
Page 5
Technical Support:
For help with this product, contact our Technical Support:
Phone: | (949) |
Fax: | (949) |
Address: Omnitron Systems Technology, Inc. | |
| 140 Technology Dr., #500 |
| Irvine, CA 92618 USA |
Email: | |
URL: | |
Form:
Page 10
